

This site contains affiliate links. Please see Policies for more information.
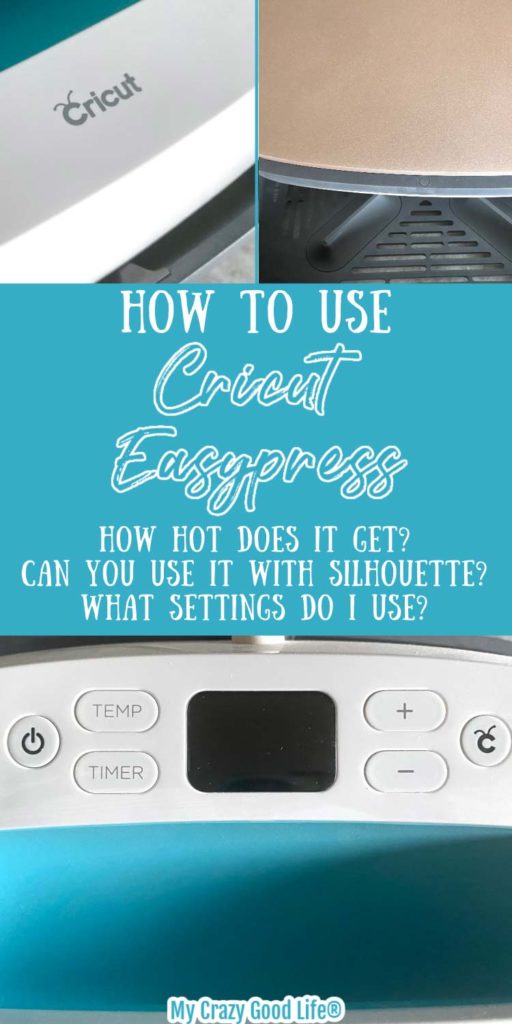
The Cricut Easypress is a portable and easy to use heat press that adheres heat transfer vinyl and can also be used with the Infusible Ink system!
Though the Easypress is designed to be “easy” there still might be some questions you need answered. This guide will help you learn how to use a Cricut Easypress while also answering some common questions.
Do you need an Easypress mat?
You may have seen photos or videos where people are using their Easypress with a mat. Cricut makes an Easypress mat in a variety of sizes to coordinate with the different sized presses.
You do not need an Easypress mat to use the heat press at home. There are some benefits to the mat, like protecting your surfaces and being able to press items safely on the go, but it’s not necessary.
The alternative to a mat is to find a place in your home that you can press safely. Things like ironing boards, heat safe glass or stone surfaces, or with several towels folded to create a base.
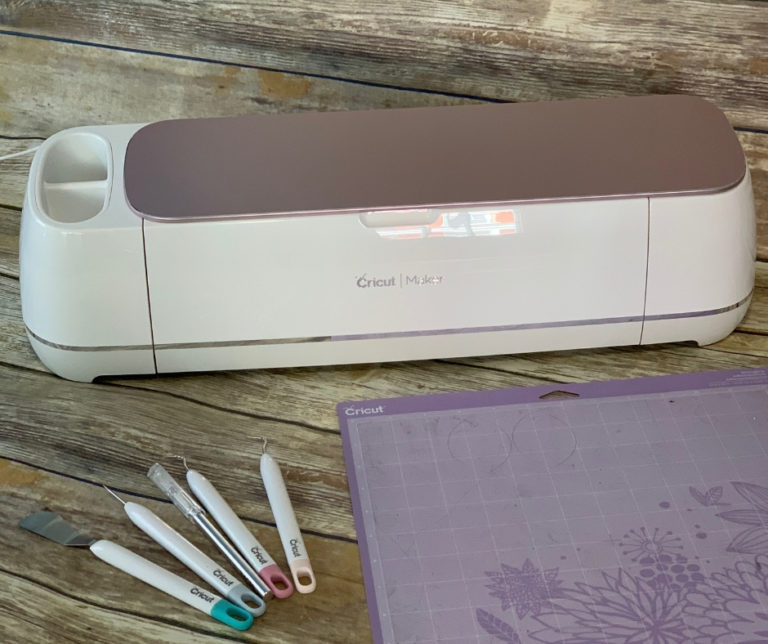
Can you use the Easypress with Silhouette machines?
Yes, you can use the Cricut Easypress with any cutting machine. Brother, Silhouette, and larger industrial machines will plot and cut the vinyl for you, and the Easypress is specifically for adhering heat transfer materials to your finished crafts, shirts, bags, and more.
The Easypress is essentially a heat press–people also call it a Cricut Iron Press. Most regular irons have hot spots, and the Easypress has an advanced heat plate design so the heat stays the same throughout.
What size Easypress do I need?
Before we jump into the use of the Easypress, let’s chat about the different sizes. If you aren’t sure which size you need to buy for your projects, this section will help you decide.
The Easypress comes in four different sizes:
- Cricut Easypress Mini: The littlest member of the family! It’s 1.92×3.25 inches.
- Good for hats, shoes, and stuffed animals.
- Small heat press: for detailed projects and small items, it’s 6×7 inches.
- Good for onesies, kid’s shirts, coasters, and towels
- 9×9 and 12×10 press: for larger projects you’ll be interested in either the 9×9 inch press or the 12×10 inch press.
- Good for larger designs, adult shirts, and more.
Of course you can do projects that are both larger and smaller than the press you have. You can press things in sections and it’s totally fine if the press is larger than the project you are working on.
How to use a Cricut Easypress
The good news is that all of the Cricut Easypress machines work in the same way. So if you have one, you can operate any of the other sizes as well!
Time needed: 15 minutes
If this is the first time that you are using your press, remove all of the plastic film. These steps will walk you through the Easypress settings.
- Plug it in
Place the press in the heat safe cradle. Plug in the Easypress and make sure you are using a workspace that is heat safe.
- Turn it on
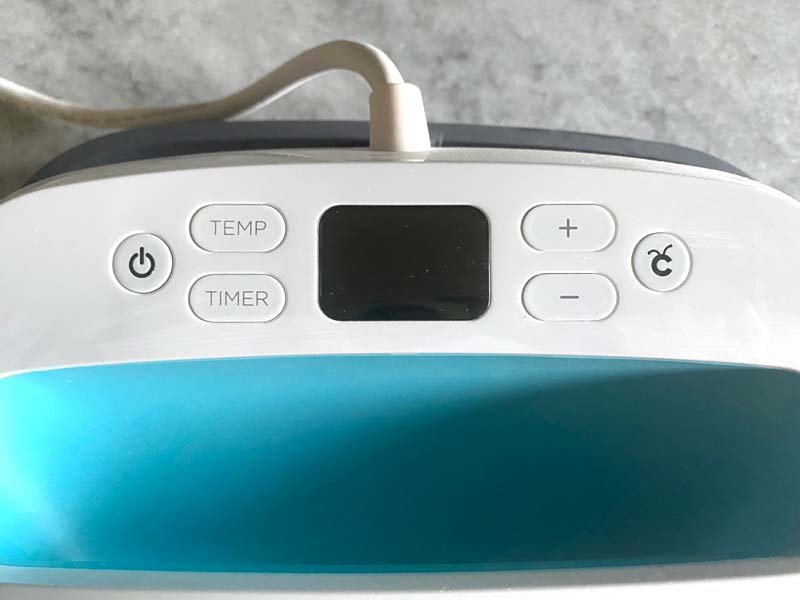
To turn on the Cricut easy press just click the power button. The button furtherest to the left on most of the presses.

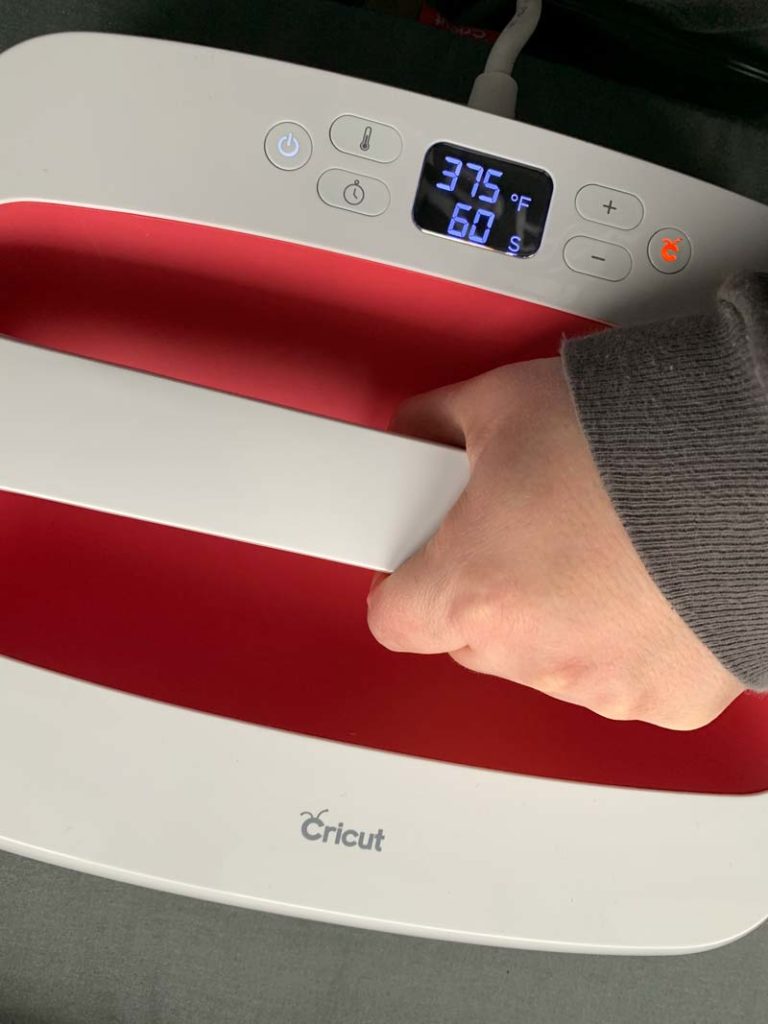
- Temperature check
Your temperature will need to be based on the vinyl or other material you are working with. Check the directions that came with each type of iron on vinyl for the recommended settings to use, and then follow the easypress heat settings for that vinyl.
- Set the temperature
Click on the thermometer button and then use the + or – buttons to scroll up or down to your intended temperature.
The temperature will flash and then the press will start to heat up. It will beep when it is up to temperature. - Set the timer
To set the timer, press the clock button and then use the + or – buttons to set your timer, it will show you the time in seconds.
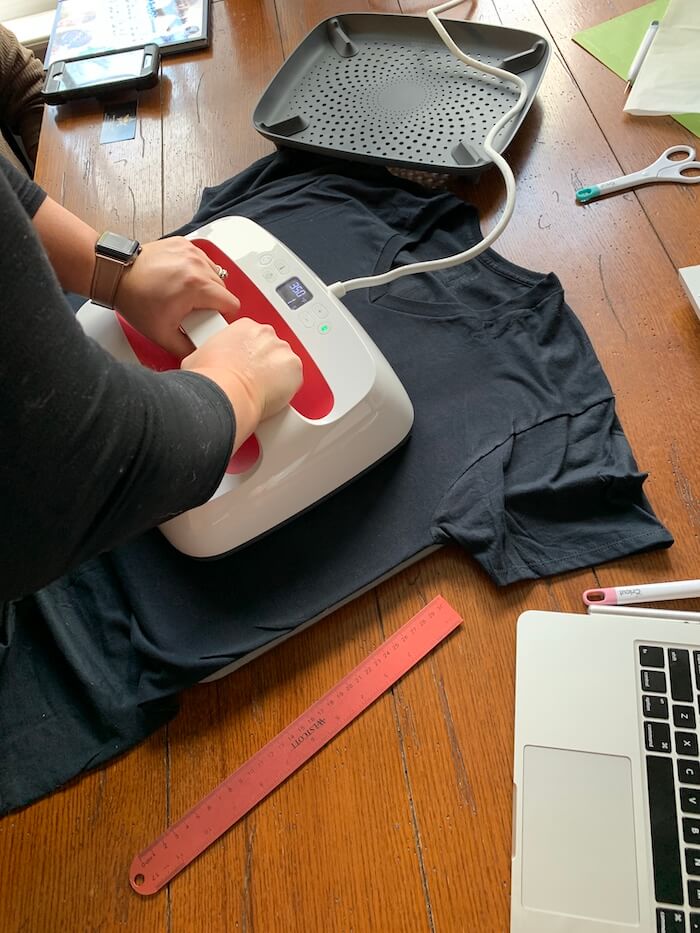
Your Cricut Easypress has a “go” button just like the Cricut cutting machines. That button will start the timer. - Press!
I love the design feature of the Cricut Easypress is the handle. It’s designed to make it really easy to apply firm, consistent pressure to the design you are working with.
After you have pressed your design, it also makes it really easy to place the press back into the heat safe cradle.
- Turn it off
You shut the press off the same way you turn it on, by clicking the power button on the far left.
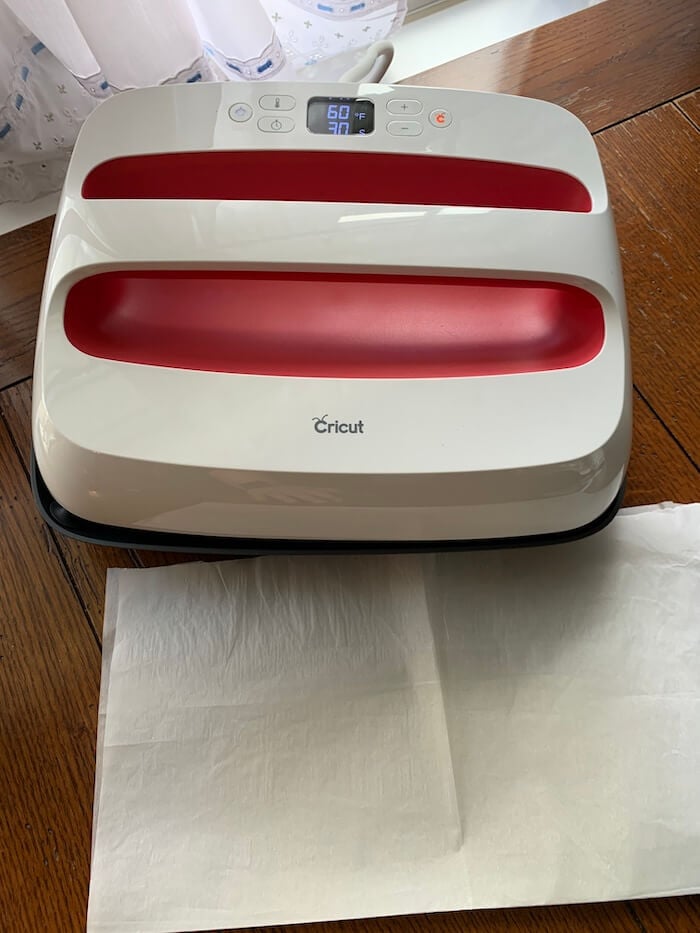
Allow it to cool down completely before you put it back into the storage bag.
If you are doing a lot of presses you’ll need to let the Easypress come back up to temperature before you press again. It will beep to let you know when it’s ready to go or the screen will show you the temperature it’s currently at.
Safety Tip: If you let the press sit idle for too long, it will start to beep and then eventually shut itself off. If you want to keep using it, just press the power button and it will stay on.
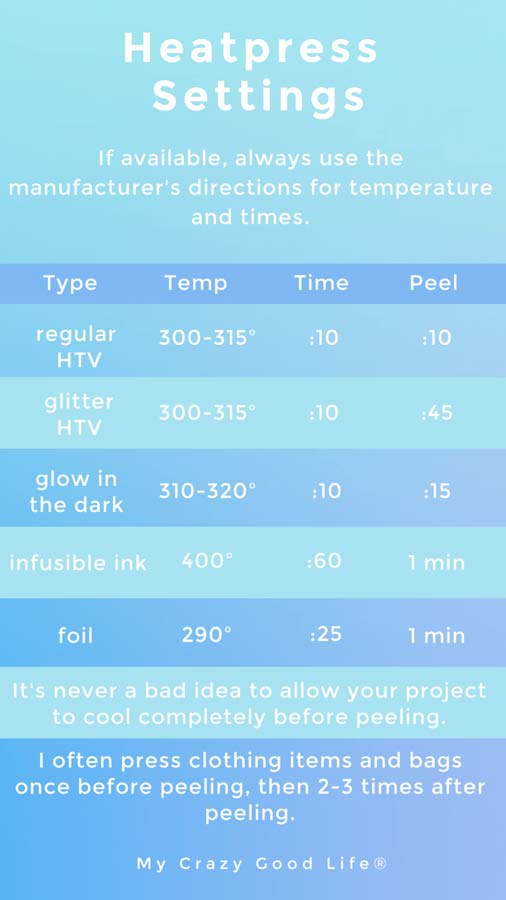
Save this Easypress Settings graphic to your phone for quick reference when making projects!
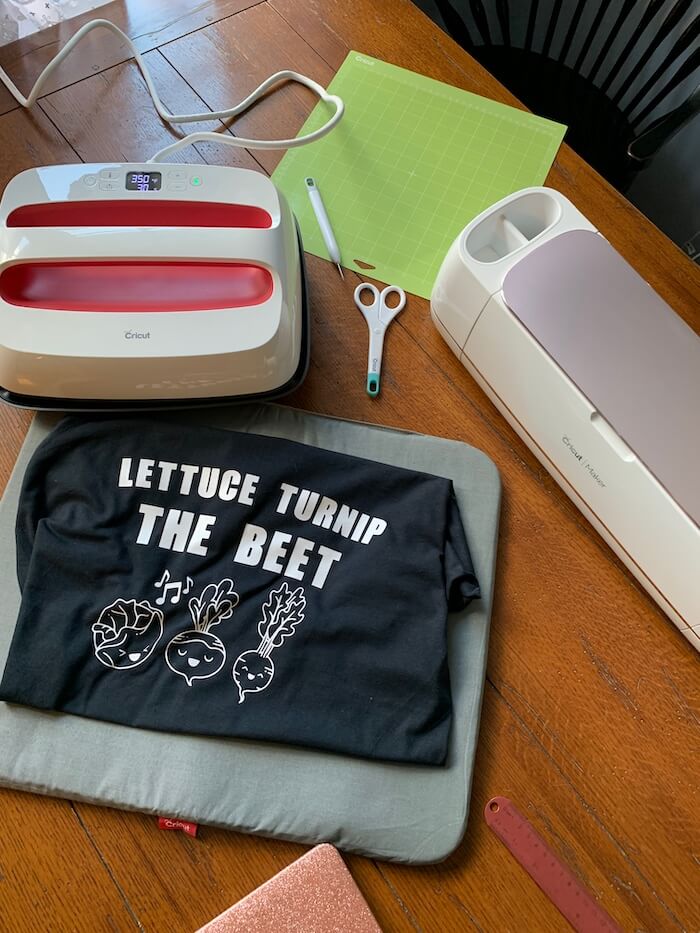
Looking for Cricut Easypress project ideas?
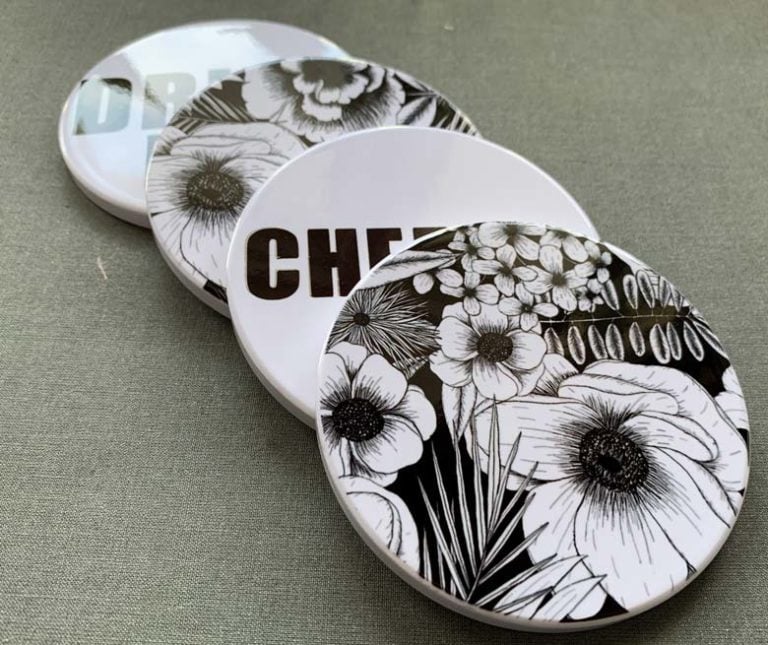
- DIY Cricut Coasters Black and White Coasters
- Infusible Ink Coasters Tropical Coasters
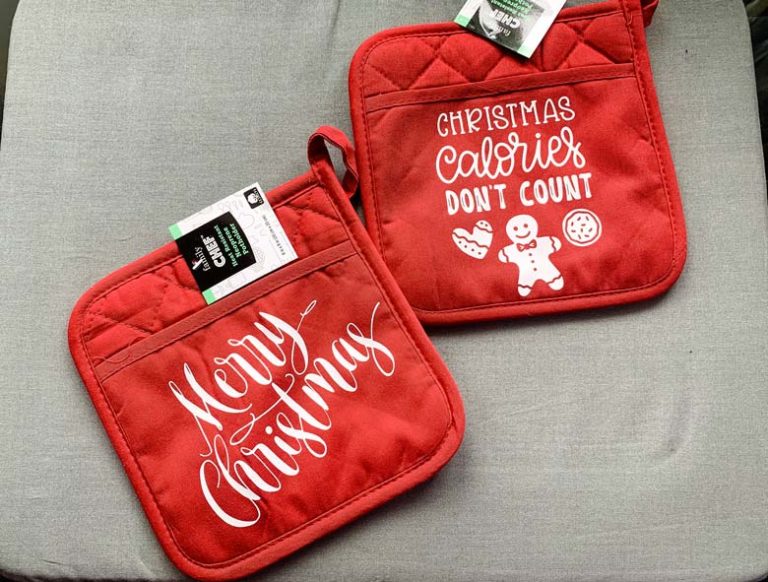
- Cricut Christmas Gift Ideas: Personalized Potholders
- Reverse Canvas
- DIY Yoga Shirt
- Disney’s Main Street Electrical Parade Shirt
- Cute Music Shirt with Free SVG


Did you love this recipe?
Make sure to comment below so we can chat about it!