

This site contains affiliate links. Please see Policies for more information.
This is a sponsored conversation written by me on behalf of Cricut. The opinions and text are all mine.
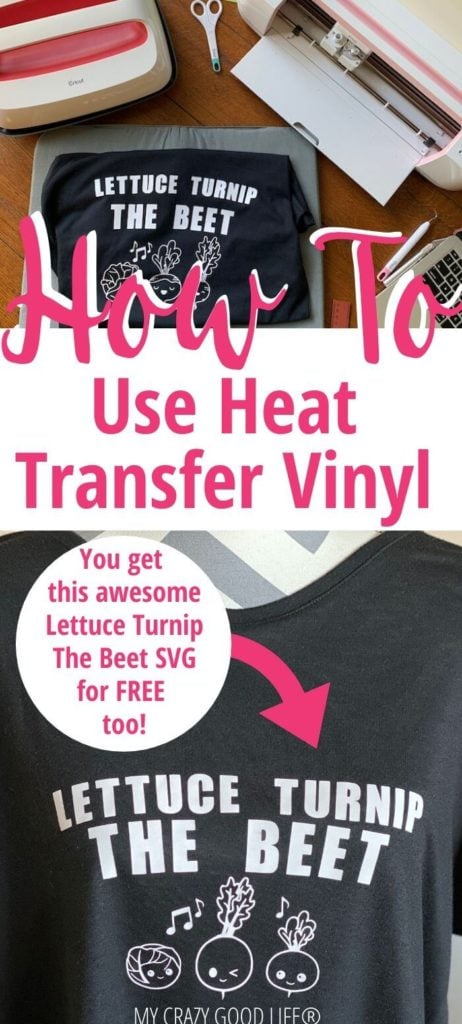
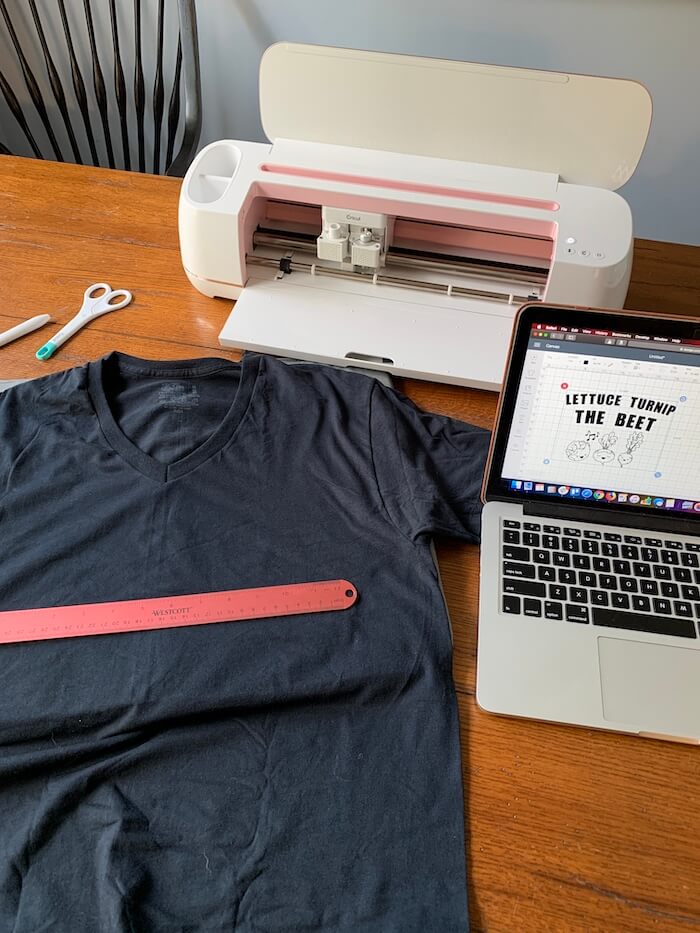
Using heat transfer vinyl with your Cricut or other die cutting machine is easy. HTV (heat transfer vinyl) is also known as t-shirt vinyl because you can apply it to fabric with heat. I’m going to show you how to use HTV, some tips for making sure your HTV cuts properly, and adheres to your project surface properly!
Let me show you how to use HTV to make shirts, canvases, and more! I’m also sharing a fun and free SVG design for you to use on your next Cricut project or Cricut craft!
You might have seen some of my Cricut projects. Most of these projects use heat transfer vinyl, or HTV. You probably already know a lot of the details about which vinyl you need for different projects and how to make different kinds of Cricut crafts with vinyl. if you’re still needing some help, read on!
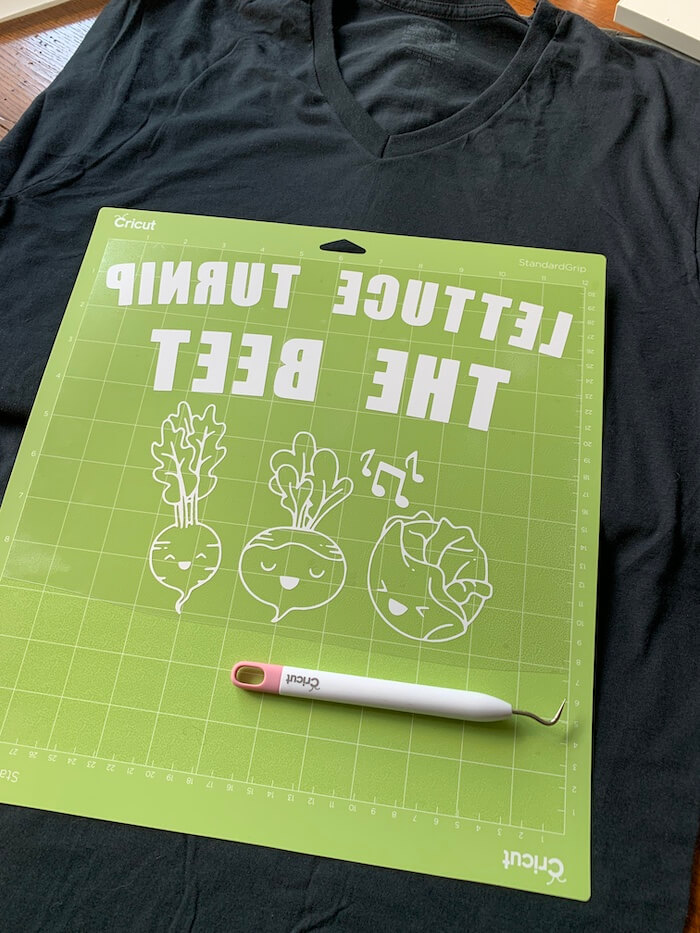
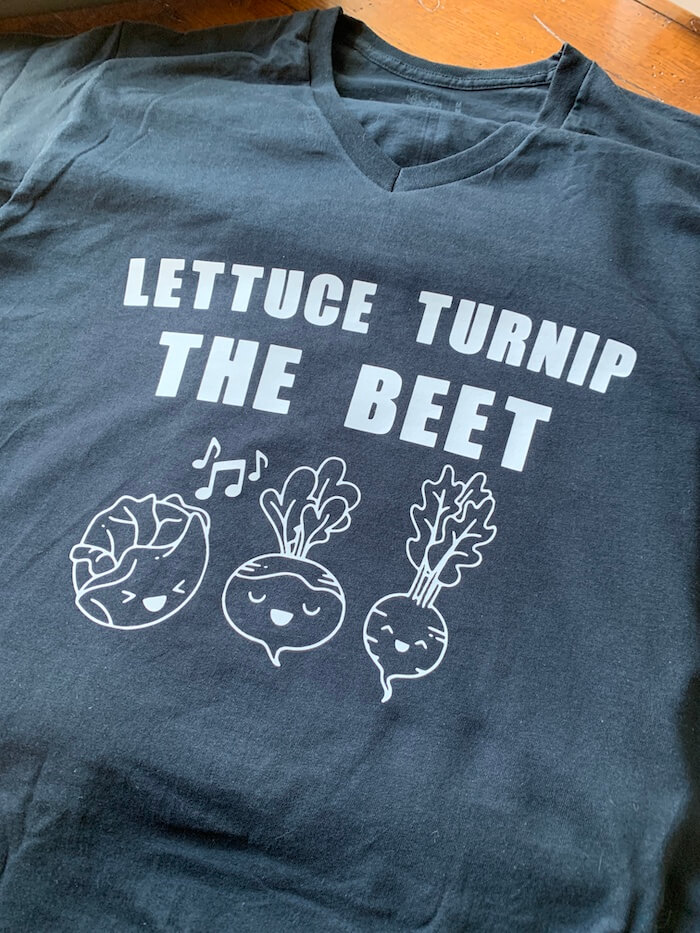
Today I’m focusing solely on HTV and how to use heat transfer vinyl to make a fun and festive shirt. This Lettuce Turnip The Beet shirt is cute and easy to make. It’s also a free SVG file that you can find in my library of files and printables!
How To Use Heat Transfer Vinyl
The first thing you will need to do is choose the best vinyl for your project. Just like everything else in the crafting world there are different brands of HTV. Cricut has their own brand and then there are also a variety of brands that you can purchase.
If you use an iron or a Cricut EasyPress for transferring vinyl onto your project surface, you will want to use a HTV that requires less pressure. I’ve found through trial and error that the Cricut brand Iron On Vinyl is a great option that adheres easily and with little effort or pressure.
Can I buy HTV on Amazon?
I have to warn you about buying HTV on Amazon. It’s an easy solution if you can get a quality brand like Cricut and need it within the 2 Day Prime Shipping window but it might be pricey. If you can wait, order from the Cricut site.
Price isn’t the only thing to watch out for on Amazon when it comes to Heat Transfer Vinyl. There are a lot of off brand varieties of vinyl that you want to avoid. They don’t adhere nicely, they require a lot of pressure and heat, and sometimes they don’t cut well either.
It can seem like a great deal to get a variety of colors in a bundle pack but unless it is a brand that you have used before and trust, I’d avoid it. I’ve been burned before by weird cheap brands of vinyl and when it comes to HTV it’s hard to go back once you’ve started cutting and pressing onto your project surface.
Tips For Cutting HTV With Cricut:
I only use a Cricut cutting machine so I can’t speak for the Silhouette Cameo or other plotting/cutting machines. These tips are for cutting HTV with Cricut machines.
- The first big tip is to make sure that you place an oversized piece of Heat Transfer Vinyl on your mat. Make sure the vinyl reaches just outside the furthest part of your design. The last thing you want to do is waste a piece of HTV because it cut a few centimeters outside of where you placed it.
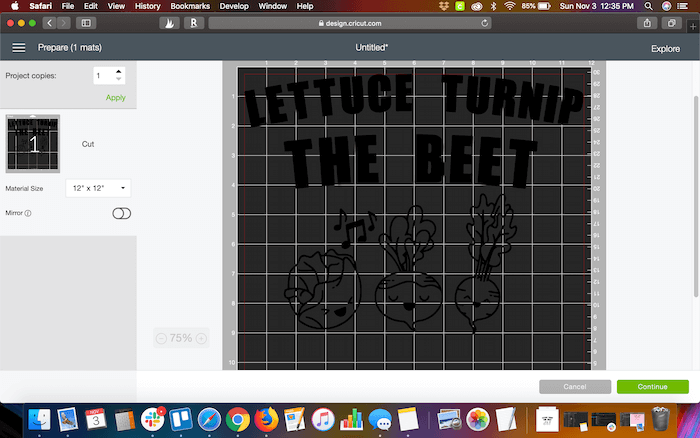
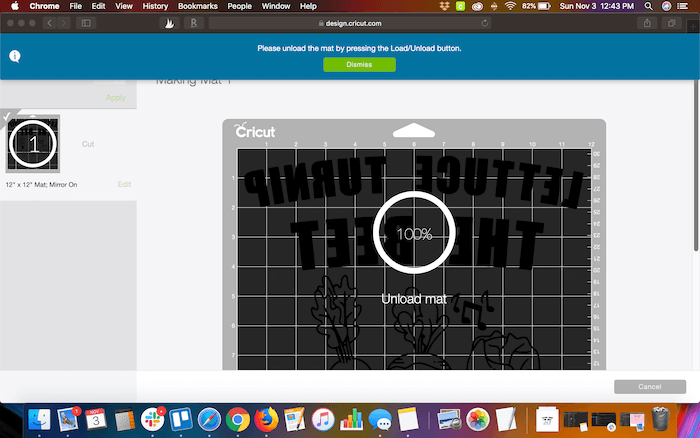
When you are ready to cut make sure you select the “mirror” option. Since your design needs to be cut in reverse essentially the “mirror” option flips it around! Always check your cut settings to be sure they are correct before you begin, some people even add a little adhesive vinyl note to their machines that reminds them of this each time :)
- Click “edit” on your project mat in the final screen before you actually cut. From there you can actually slide your design around your cutting mat while looking at the mirrored image. Place it where you need it on your mat to be sure that your vinyl and the design are in the same place.
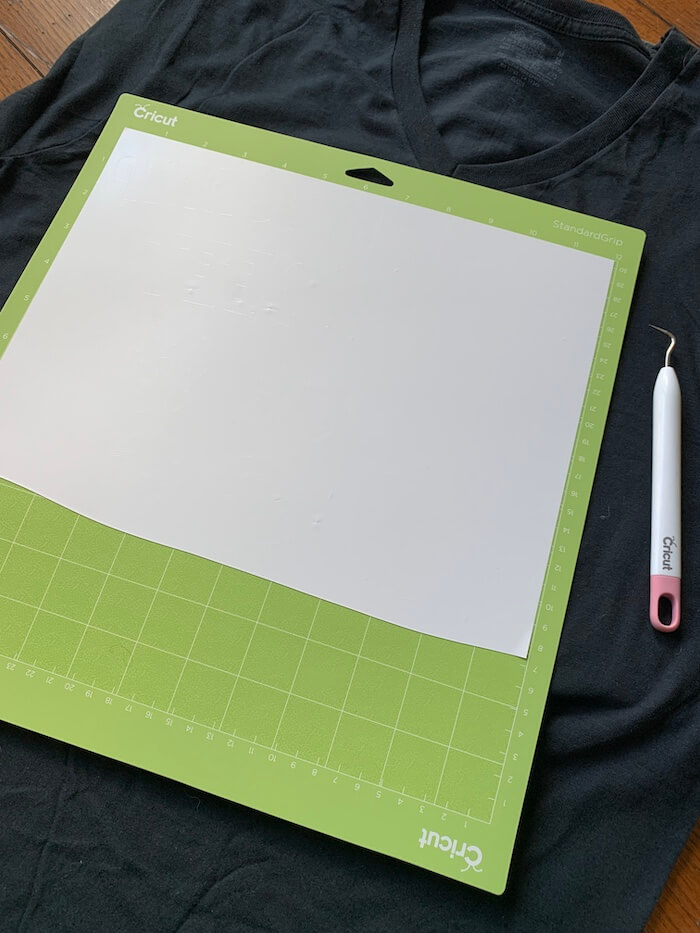
Which Side Faces Up When Cutting HTV?
When you are cutting Heat Transfer Vinyl the shiny side of the HTV should be attached to your mat. You want the backing to be facing up as that will be cut by your machine.
Remember, shiny side down!
Most machines have a setting for T-Shirt Vinyl or HTV, it’s also called Iron On for the settings. When you choose those settings, the machine knows that it needs to use enough pressure to cut through the vinyl ONLY and not the backing.
When you weed your design, the backing (shiny side) will stay in tact so that you can flip it over. Once face down the design will look right and be able to attach to your work surface.
The shiny side also acts as a barrier for your first heat press! Once you press the design the shiny backing will peel off, leaving your design attached to the work surface.
If you are very nervous about cutting HTV you can do a test cut on a small piece or a scrap from a ruined design. Then you can also practice with your favorite weeding tool to make sure you have the hang of it before you start a large or intricate design!
How Do I Weed Heat Transfer Vinyl?
Weeding HTV can be tricky. Weeding is the act of pulling out the parts of the HTV that will not be a part of your finished project. Part of learning how to use HTV is learning how to weed it without going crazy. It can be difficult to see, especially with glitter htv. In most cases the outer part of your design will easily be removed and then you just need to pick out the details.
I have found that a lighted work surface like the Cricut BrightPad makes it easy to see the lines in the design and then you can quickly and efficiently remove the unnecessary pieces.
Be sure to do a double and triple check because once you press the design it can be very difficult to remove unwanted pieces that should have been weeded out!
Another way to help make the weeding process easier is to pull up the original image of your design on the computer. This will help you see which parts of the vinyl should stay attached and which parts you want to pull up.
If you accidentally remove a piece of vinyl that is supposed to stay attached you can replace it on the sticky backing of the HTV. Just remember to get it facing the right way. You can see an example of this in my beautiful but difficult to weed Yoga girl tshirt. Only one side of Heat Transfer Vinyl has adhesive so if it is facing the wrong way when you re-stick it to the backing it won’t adhere to your design, it will stick to the backing.
How To Use HTV + Free Music SVG:
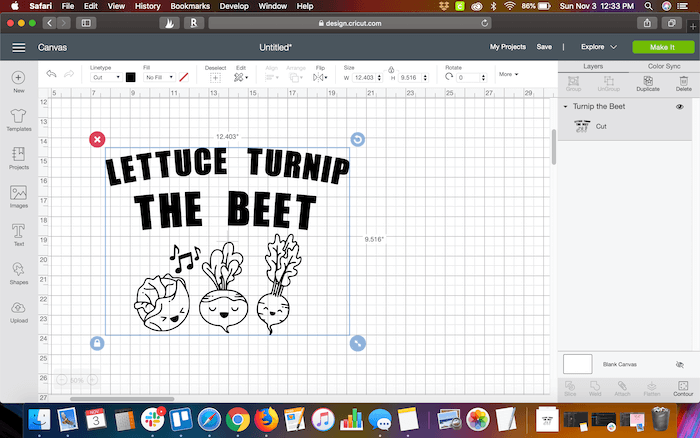
Choose Your Design
You will need a cut file. In Cricut that means an SVG file or a personalized design that you create in Design Space. You can use any design that you want. Make sure to measure your work surface, like a t-shirt or pillow, and size your design accordingly in Design Space.
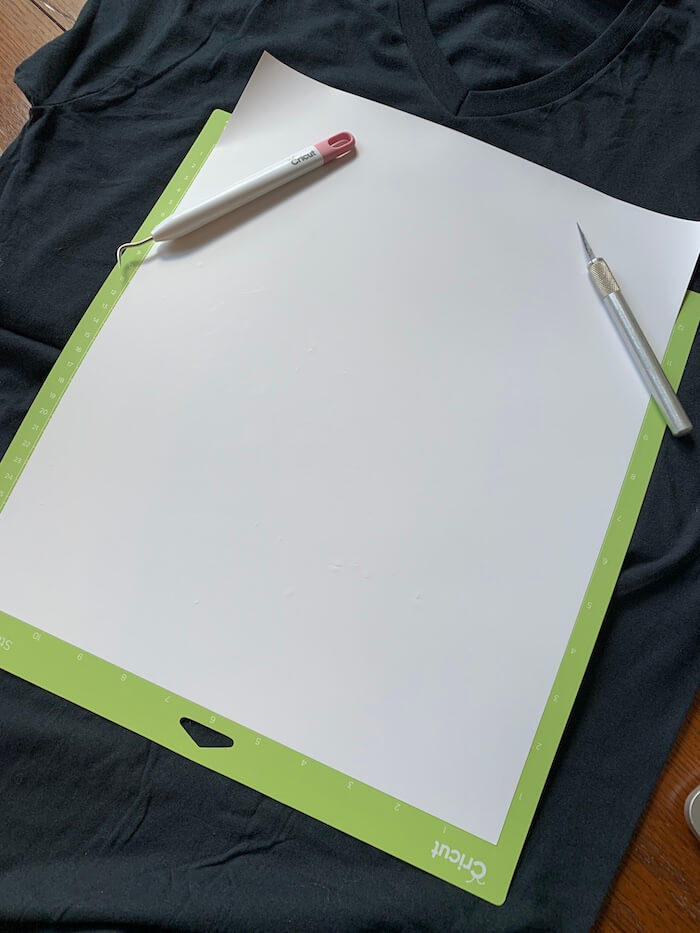
Place HTV On Your Mat
Next up we need to put our Heat Transfer Vinyl onto the mat. You can cut it before or after you attach it to your mat. I prefer to leave it in one big piece and then trim off any excess before weeding.
Cut Your File
You can see my tips above on making sure the vinyl is placed correctly on your mat. Once it is ready you can cut your design!

Weed Your Design
Now that your cut file is finished you can trim off any excess HTV so you can use it for your next project and then weed your design. Again, there are more tips on weeding HTV above. Essentially you need to use a tool of some kind, I prefer a weeding hook, to remove the unnecessary or background parts of the design.
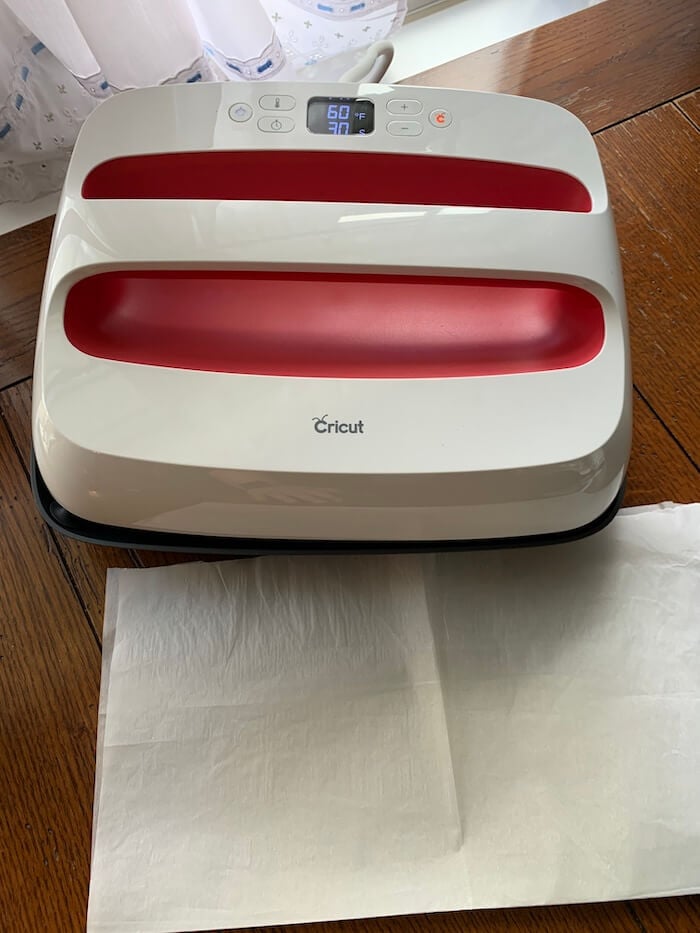
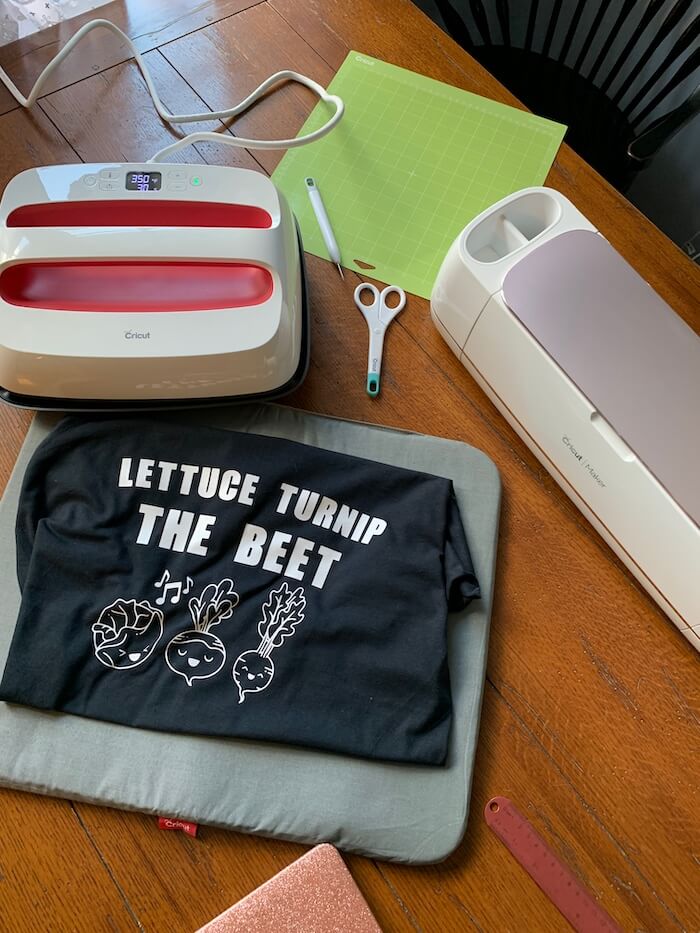
Prepare Your Surface
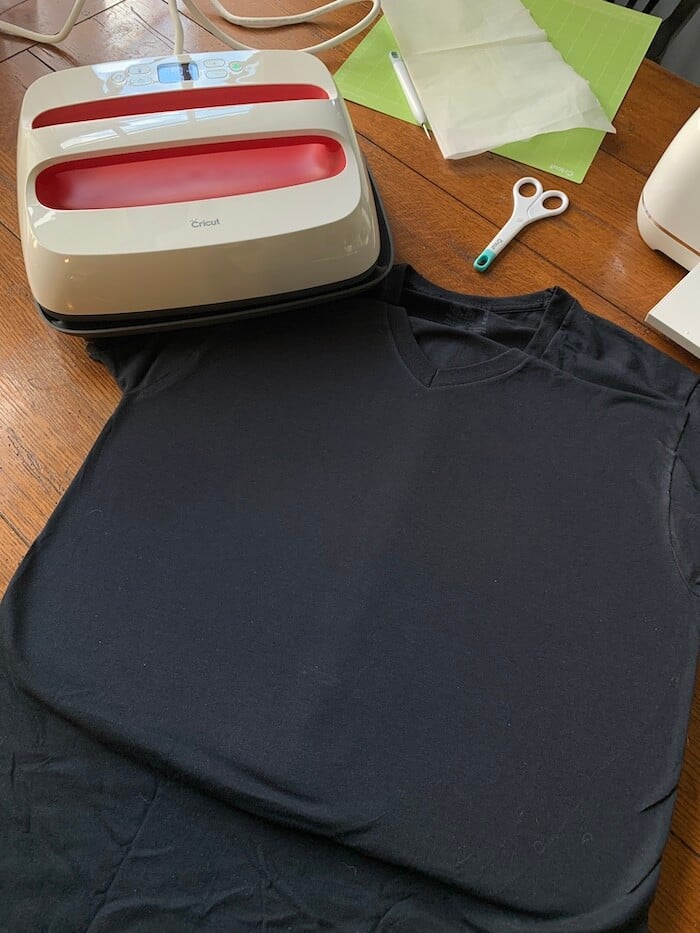
Different types of vinyl have different needs for the surface you are attaching to, it’s a good rule of thumb to place the project on a flat and hard surface with heat protection. I’m using the Cricut EasyPress Mat in the photos below! The EasyPress comes in several sizes and is perfect for those of you who want to make t-shirts and other HTV projects.
Now you will want to make sure your surface is free from wrinkles and heated up. I usually use my heat press or EasyPress to make sure the shirt or fabric is wrinkle free and warm before starting my transfer process.
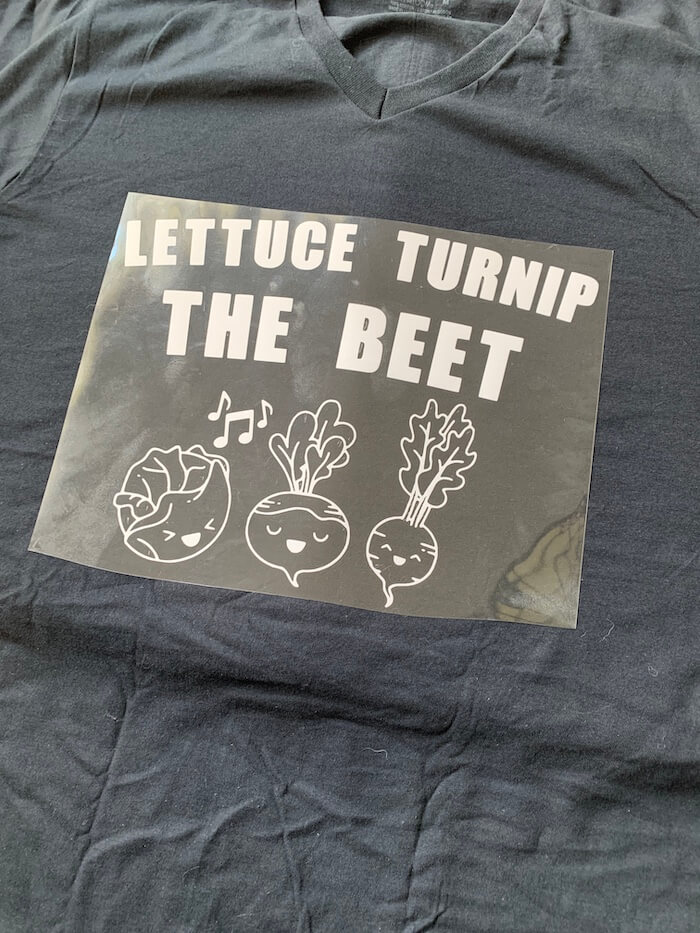
Place Your Design
Now that your design is weeded and your surface is ready you can flip it over (shiny side up) and place your design on your surface where you want it to stay…permanently. I say that on purpose so you remember to triple check where you place it! It’s not like adhesive vinyl that can be easily removed or scraped off if it is in the wrong place.
Add The Heat
Use your Cricut EasyPress, a Heat Press, or an Iron to attach your design to your work surface. I usually like to check the packaging of my vinyl to see what temperature and for how long to press the design. The heat and pressure need to be enough that the design is perfectly pressed.
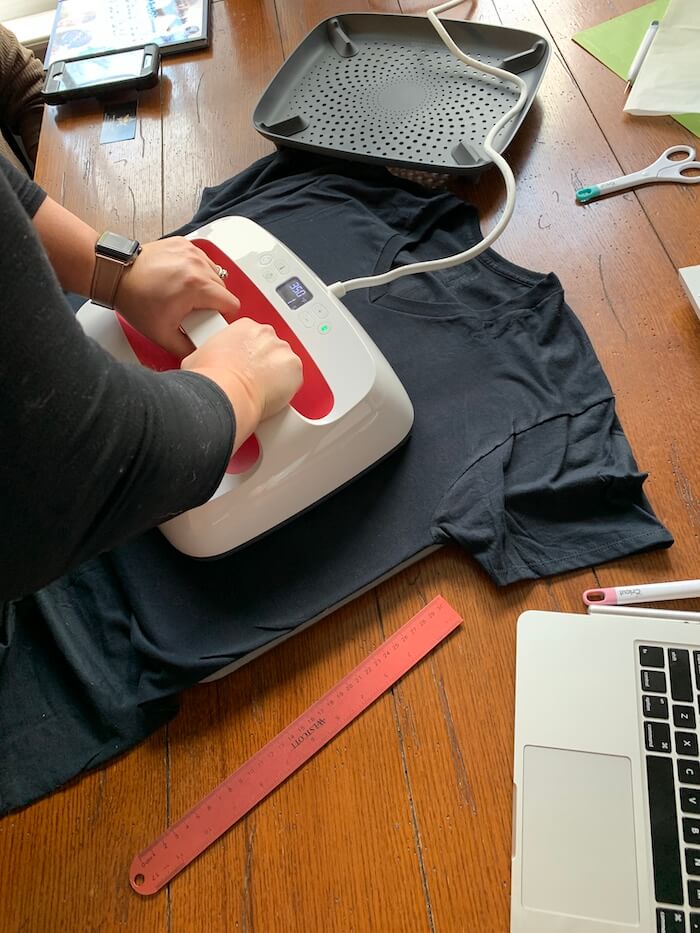
For Cricut HTV 10-20 seconds and moderate pressure will be sufficient. If you are using an iron for heat you will want the cotton setting and make sure the steam is turned off. For a heat press or the Cricut EasyPress you can select the recommended heat and press time from the packaging of your HTV.
Peel Off The Shiny Backing
Once your design is pressed you can slowly remove the shiny backing from your design. Now that the adhesive side is attached to your shirt it’s fine to remove it. It’s easiest to do when the design is still a bit warm, but some types of HTV require a cool peel so make sure to check the packaging.
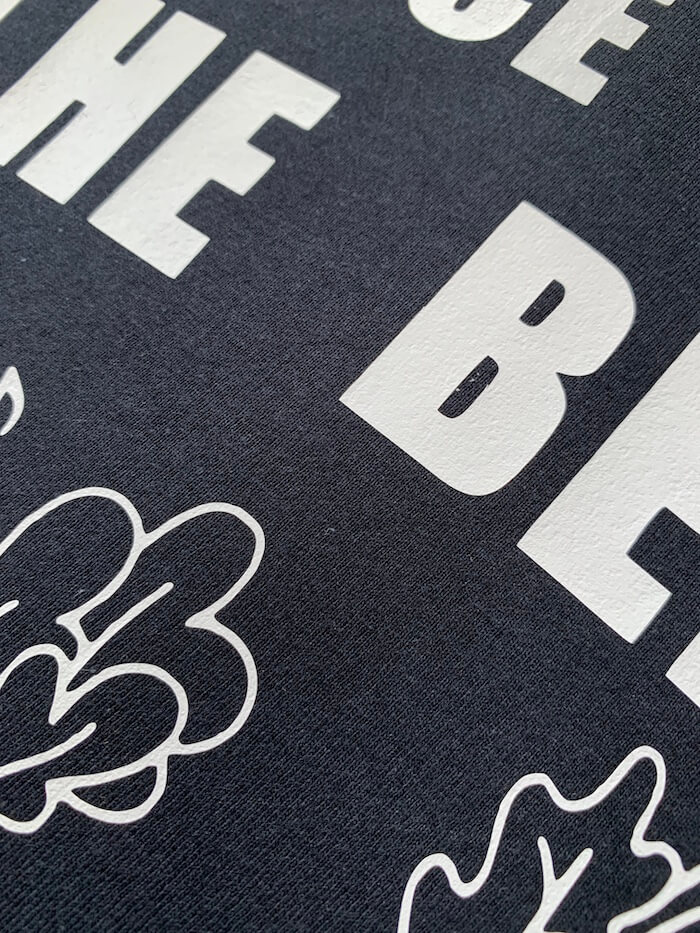
After the backing is peeled off, check your design to make sure it is properly pressed.
If you can see the pattern of the fibers of the fabric in the HTV then it has been pressed enough.
If not, use a piece of parchment paper or a teflon sheet to shield the design and press it again with heat from your iron, EasyPress, or heat press. The cover sheet protects the heat transfer vinyl (HTV) from being melted during this last press.
Give It 24 Hours
After your design is pressed you can wear it or gift it but remember it will need 24 hours to completely cure the adhesive so don’t wash it sooner than that.
After 24 hours your project can be washed and dried. Use a low dryer setting and a cold water wash inside out for best results with all types of heat transfer vinyl. No matter what kinds of HTV designs you are using they should be permanent on your fabric if they are properly adhered.
Cricut Craft Shoppable Links
If you are excited to dive into the great big world of Cricut crafts and Cricut projects you can start here with these shopping links. You will find everything from machines to accessories and even sales! There are fonts, mats, vinyl, and Cricut access memberships for sale in these links as well.
These links will basically get you everything you need to start your Cricut obsession and keep it going strong for years to come…once you start you won’t want to stop, trust me, I know ;)
- Cricut Machines
- EasyPresses
- BrightPad
- All Cricut Vinyl
- Mats
- Premium Cricut Access
- Cricut Access Fonts
- Cricut Flash Sales
Interested in other Cricut projects that we have done here in the past?
Here are some other Cricut projects that might interest you! I’ve shared many projects that I’ve done with the Cricut in the past but I have also shared some useful tutorials on how to use Design Space and your Cricut. Some people like to learn the basics without diving straight into a project, I respect the research phase and hopefully some of these posts can help!
- Free Cricut Downloads
- Cricut Design Space Tutorial
- How to Center Text on a Cricut Project
- What Is A Reverse Canvas | A Cricut Tutorial
- Cricut Projects | Which Vinyl To Use
- Main Street Electrical Parade Shirt | Cricut Project
- How to Make Cricut Paper Flowers | Cricut Paper Crafts
- Cricut Text in Shape Tutorial
- How to Slice in Cricut | How to Slice in Design Space
- Gorgeous DIY Yoga Shirt + Free Zen AF SVG!


Did you love this recipe?
Make sure to comment below so we can chat about it!