

This site contains affiliate links. Please see Policies for more information.
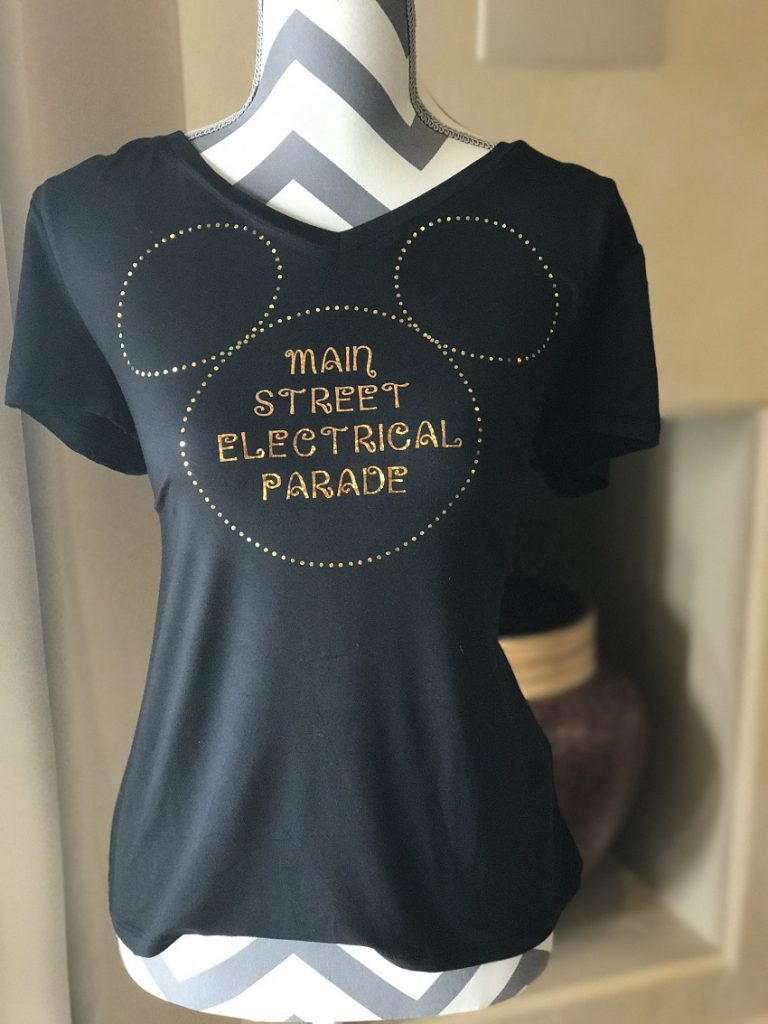
I can’t be the only one who is anxiously awaiting the Main Street Electrical Parade right? This simple Cricut project is the perfect way to prepare. The whole family will look extra festive, and an Electrical Light Parade Shirt serves as a great reminder of all the fun memories you’ll make.
It’s no secret that I love making any and all crafts into a Cricut project. Making shirts and tank tops is so much fun. They make great gifts too. If you aren’t able to attend you can still make an Electrical Light Parade shirt for any of your friends or family who might be attending!
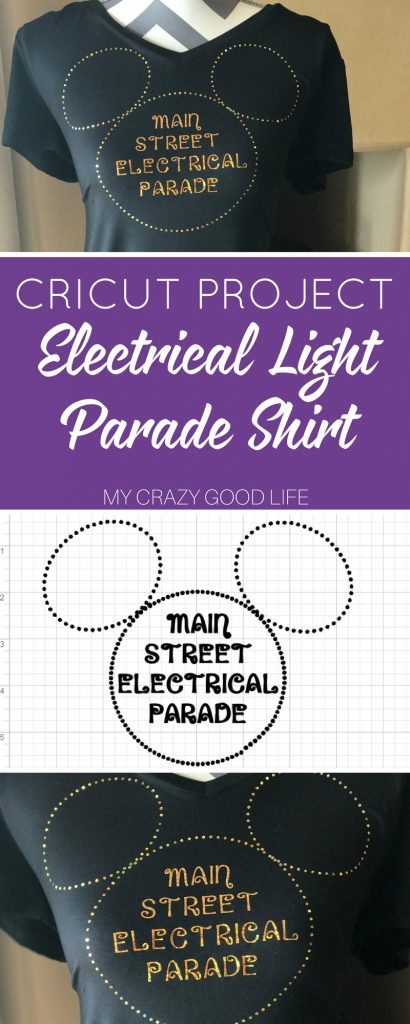
Main Street Electrical Parade Shirt | Cricut Project
This is a simple and quick tutorial on how to make a fun and festive Electrical Light Parade Shirt for the Disney Main Street Electrical Parade. A Cricut project like this is fun for the whole family. You can all have adorable matching shirts to celebrate and they serve as a great reminder for years to come of all the fun memories you’ll make!
Supplies Needed for this Cricut Project:
Holographic Heat Transfer Vinyl
Heat Press or Iron
Blank T-Shirt or Tank Top
Cricut, Cameo, or Other Vinyl Cutting Machine
Design Space Compatible Device
Main Street Electrical Parade Shirt Cut File (download this file by entering your email below)
How to Make this Electrical Light Parade Shirt:
- First you need to download the Electrical Light Parade Shirt .svg file above. Upload that to Design Space (or whatever program your vinyl cutting machine uses).
- Insert the image to a new project.
- Size to fit your shirt, or the fun matching shirts you might be making for the whole family!
- Make it! Check your settings, don’t forget to mirror, and then cut!
- Make sure you are cutting the right side of your heat transfer vinyl and don’t freak out, the image is supposed to be cutting backwards.
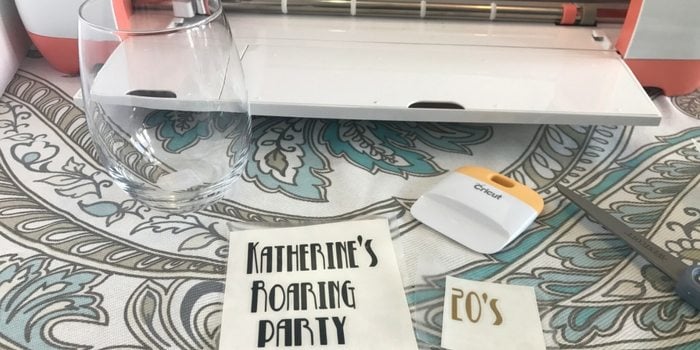
- After you weed out the unnecessary parts of the image, place it sticky side down on your shirt.
- Iron or heat press according to the instructions on the vinyl packaging.
- Peel off the vinyl backing and your shirt is ready to go!

Looking for More Great Cricut Projects?
Cricut Paper Flowers | Paper Flower Tutorial
How to Make Text in Shapes | Cricut Tutorial


Did you love this recipe?
Make sure to comment below so we can chat about it!