

This site contains affiliate links. Please see Policies for more information.
If you want to know more about the Cricut Design Space slice tool, you’ve come to the right place! In this article you will learn the three different ways to use the slicing function on your Cricut machine.
The Cricut slice tool is one of my favorite tools to use in the Cricut Design Space app. I love playing around with different Cricut projects and have learned some cool tricks to help out with common issues that can come up.
If you are new to the Cricut world of crafts, you might not know what to do with the slice option in the menu. This quick and easy tutorial will give you step by step instructions and answers to some common questions. It is so much fun to create your own designs for all sorts of different projects, and this tutorial is a great way to learn how to use the slice feature in Design Space to bring your designs to life.
What is Cricut Design Space?
Cricut Design Space is a web based software program that allows you to connect to your cutting machines via USB or bluetooth. It’s how you make all of the awesome designs that will end up on your projects, shirts, pillows, coffee mugs, and more!
It is also preloaded with lots of ready to make projects that are created by Cricut and other users. If you don’t think you would be any good at starting from scratch, or maybe you lack the patience to do this, there is still plenty you can do with your Cricut through Cricut Design Space.
As an alternative to making your own designs or buying them from Cricut, I often shop at Etsy (just search what you’re looking for with SVG at the end) and then “play with” my designs. You can see how it’s done in the short video in this post.
How much does Cricut Design Space cost?
Cricut Design Space is free to use when you are making projects from scratch or from elements that you purchase online. There are also Cricut access subscriptions to Design Space where you can get lots of pre-made projects, fonts, elements, and more.
You don’t have to pay for Design Space, but you can do so if you want to. I have never paid for Design Space, and prefer to download my fonts for free at DaFont.com. For projects, I buy most of mine from Etsy.
You can pay for the entire year of Design Space upfront and it comes out to about $7.99 per month. If you don’t want to pay for the whole year at once you can pay month to month for $9.99. Paying monthly doesn’t change your access to Cricut Design Space itself. It just gives you more access to the projects and elements are that are part of the Cricut Access program.
How to Slice in Cricut | How to Slice in Design Space
There are three different ways to use slice in Cricut Design Space. The first way lets you operate with a crop type function. The second allows you to make duplicates, called punches, of a shape or words. The third way to use the slicing tool allows you to take an actual slice out of an image, called a cut out.
All three ways are very easy and can add a great deal of depth to the overall capabilities of the Cricut machines.
Before you can start slicing, the first thing you’ll need to do is to gather some important tools.
What You Will Need to Slice in Cricut:
Amazon Shopping List:
- Cricut Machine (Design Space Compatible): Cricut Maker, Cricut Explore Air 2 (you can read about the difference between the Cricut Maker and the Cricut Explore Air 2 in this post).
- Image of Text File / Project
- A Pinch of Patience
Optional Supplies:
- Brightpad
- An extra cutting mat (or two)
- Vinyl: there are different kinds of vinyl that you can use with your Cricut. There is adhesive vinyl that you can use on tumblers and mugs, or heat transfer vinyl (or HTV) that you would use to heat press on fabrics like t-shirts or tote bags.
How to Slice in Design Space Using Crop or Punch Function
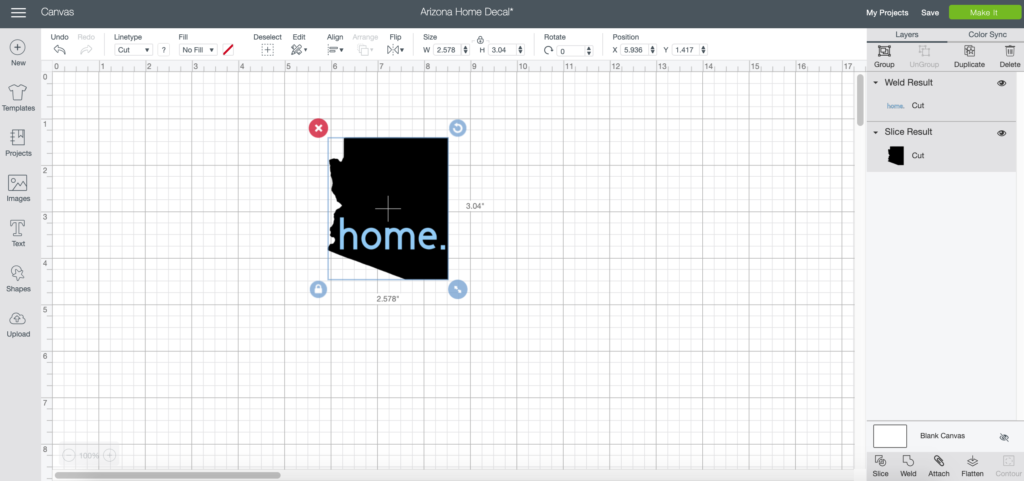
Start with a new project, and then add a single image. In this first example I am using the state silhouette of Arizona.
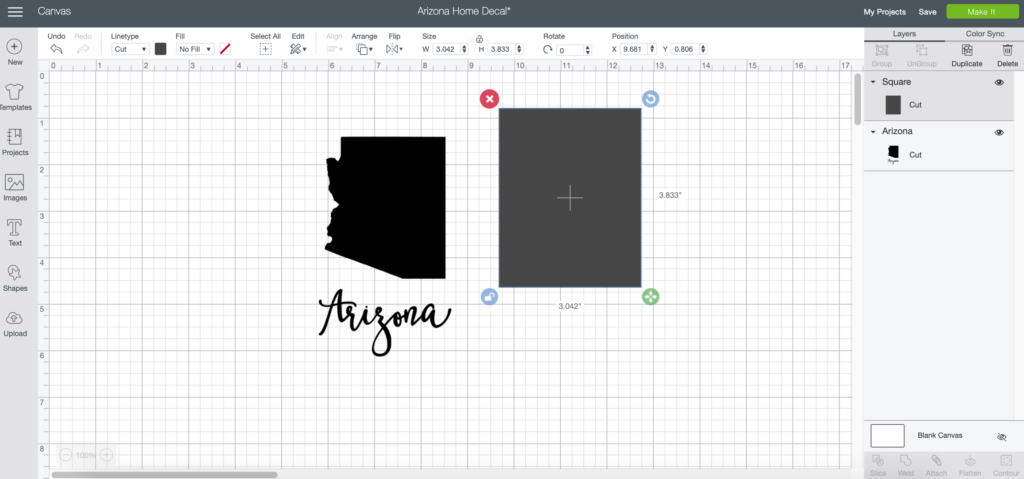
Decide if there are any portions that need to be removed or cropped out. I removed the text box “Arizona” because I don’t need it for this project.
Insert a shape, square.
Size to cover the part of your project that you want to crop or remove.
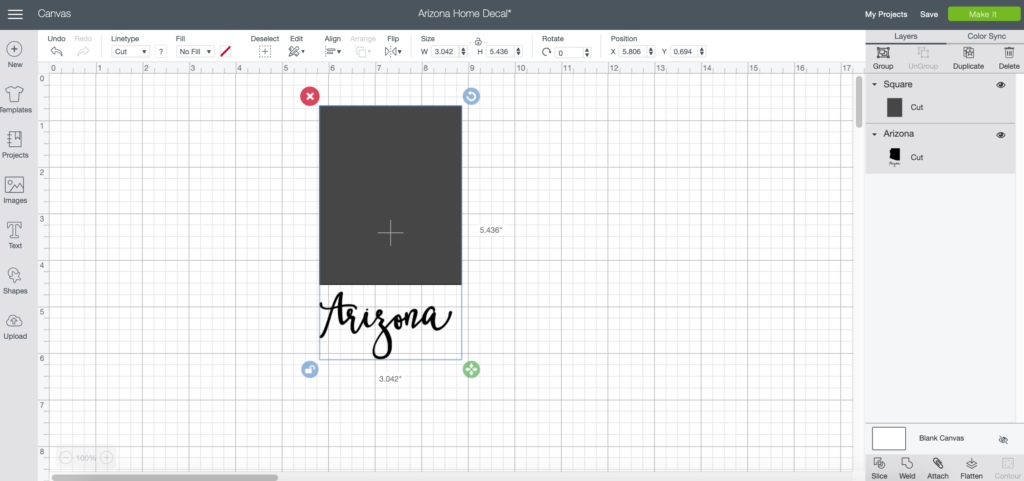
Select the shape first and then, while holding the control (ctrl key) or command key, select your background image.
In the lower right corner of your canvas you will find the slice button. Click it!

Allow Design Space to process, then you will be able to separate the different layers.
You can now delete anything that you do not need.
You have successfully cropped a portion of your image with the slice function. You may have also separated a portion that was previously welded together using the weld tool. If that was your goal you can now move that bit somewhere else.
How to Slice in Cricut “Cut Out” Function
Now that you have removed any unwanted bits we can move on to making the final project which includes some cut out portions.
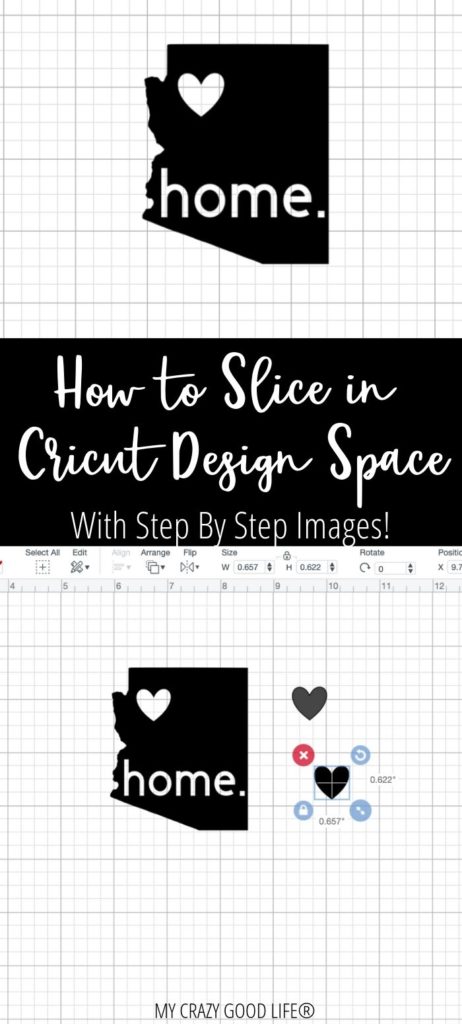
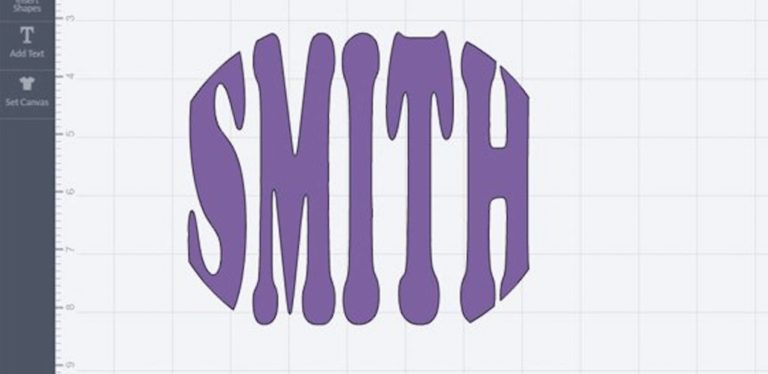
Insert the text of your choosing. I’ll be using the word home and adding a heart shape from the shapes menu.
If you have ungrouped your text to connect cursive text you will want to make sure to attach all of the letters. I usually weld them just to be on the safe side.
Now you can weld the text so that it is one smooth vector for the machine to cut. Next you will want to size the text to fit inside your shape. And finally, place the text where you would like to “cut out” the word.
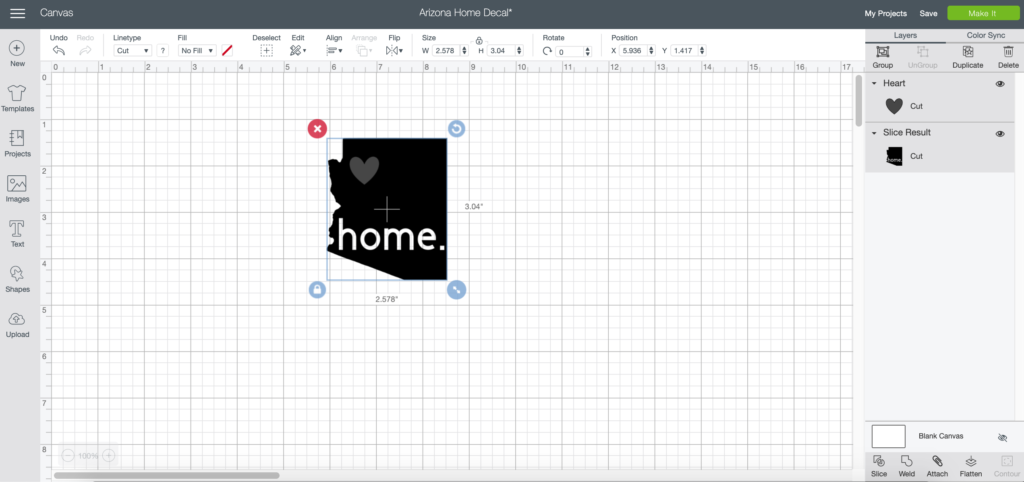
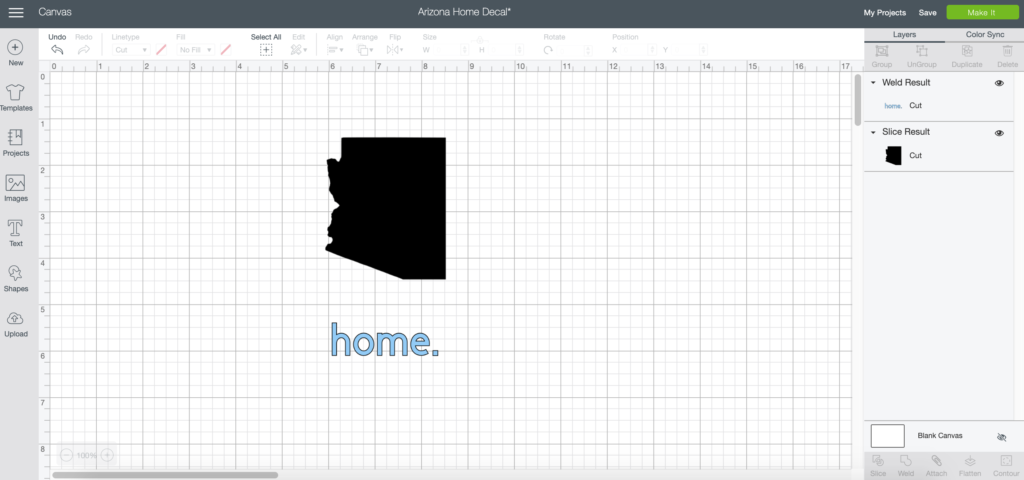
Select the text FIRST and then, while holding the control or command key, select the image. Click slice again and wait for Design Space to finish processing.
If you don’t need the text for your project anymore you can remove the two layers of text.
Next, using the shapes tool, I’ve inserted a heart and sized it to fit. There are different shapes to choose from, place your shape where you want it to be and perform another slice.

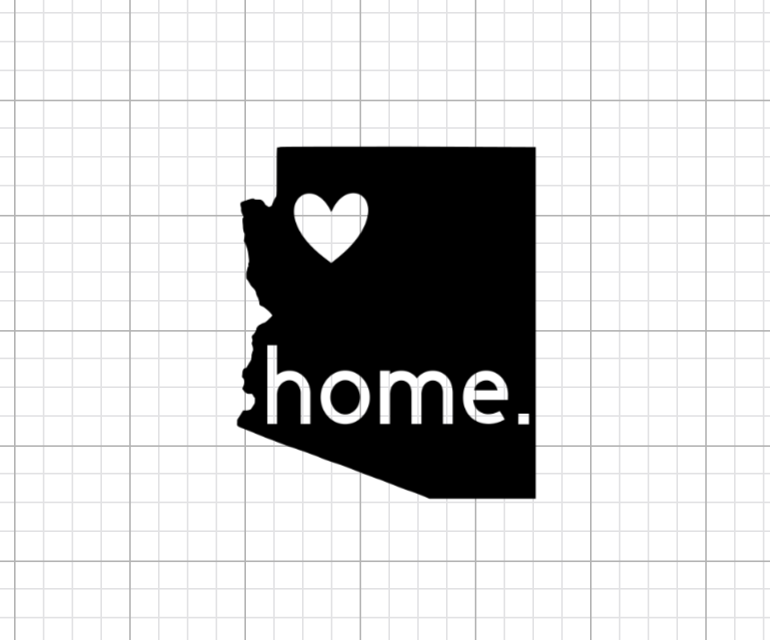
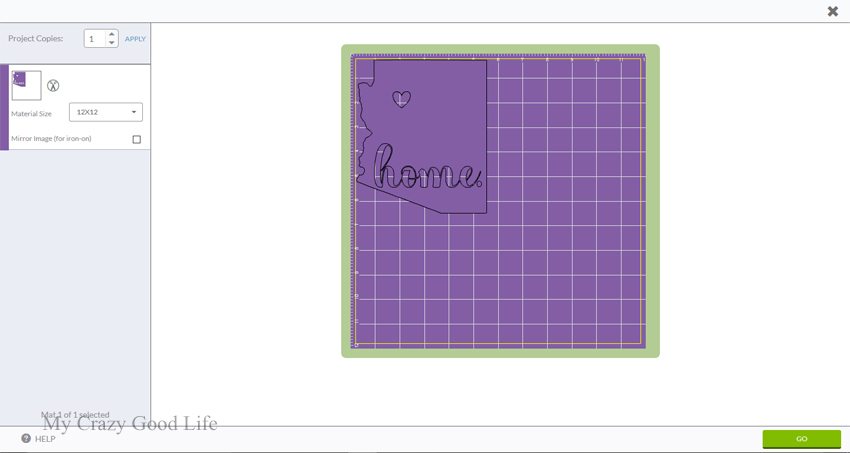
At this point you can delete any unneeded pieces on your screen, and then you’re ready to cut!
I have found, among other things, that slice was the feature I didn’t know I needed until I learned how it worked. Now that I know how to slice things I don’t think I’ll be able to stop! I find so many great functions for it in all of my projects and I hope you will too! Happy crafting!
Looking for more Cricut Projects and Info?
- How to Center Text on a Cricut Project
- What is a Reverse Canvas?
- How to Make a Reverse Canvas Sign
- New Design + Free SVG File
- How to Use HTV + Free Music SVG
- Cricut Design Space Tutorial
- DIY Cocktail Napkins
- Confetti Umbrellas
- Roaring 20s Party Favors | Cricut Party Favors
- Cricut Welcome Sign | DIY Plant Hanger
- How to Make Cricut Paper Flowers | Cricut Paper Crafts
Quick Cricut Shopping Links
- Premium Cricut Access
- Cricut Access Fonts
- Cricut Flash Sales
- Cricut Machines
- EasyPresses
- BrightPad
- All Cricut Vinyl
- Mats
Amazon Shopping Links
I prefer shopping with Amazon because of their Prime shipping and variety of deals so here are some of my supplies that you can shop for through Amazon:
- Cricut Maker
- Cricut Explore Air 2
- Cricut EasyPress
- Cricut BrightPad
- Cricut Tools | Mats Pack
- Cricut Tools Big Pack 12×24 Mats
- Siser Heat Transfer Vinyl Bundle
- Teflon Sheets, Pack of 5
- Rectangle Back Stapled Canvas Variety Pack
- Square Back Stapled Canvas Variety Pack
- 1/2 Pint Minwax Stains
Want to Take a Closer Look?
If you’re looking for a more in-depth tutorial on specific features of the Cricut Design Space, you can find the Cricut Official YouTube Video page here.


Hi Becca,,, I’m new to Cricut…. I’m excited to use this new machine on several new projects including this! Thank you.
You’re going to love it, Alice! I’m having so much fun :)
This was soooooooo easy and helpful. Thank you soooo much!!!
I need to take a class. I got a Cricut Explore One for Christmas and I am having the worst time trying to figure it out! I was just trying to make a project similar to this and couldn’t get it to work. I use an iPad with mine and there is no right click. I am so frustrated!
I ended up buying a wireless mouse it makes life so easy.
Yes!
You just hold down on the screen until they all are boxed in.
Great tutorial Becca! I wasn’t sure how to use the slice feature, so I am glad to have found your site. I just purchased my Cricut and I am excited to start crafting!
Thank you!!’ Very helpful!
I’ve had my Cricut for a few years now, first the explore air 1, then we moved acrossed the country and the movers lost the tote that had my Cricut machine, accessories, and my wedding album. 😫😭. So my husband bought me the Cricut explore air 2. I never knew how to use the slice until reading this!!! Thank you so much, I’ve read other articles on it but could never figure it out!!! So excited to put this into practice.
Thank you so much ,I have been working on a candy corn attached to another candy corn for a couple of days now ,watched utube a couple of times and feeling frustrated .now I think I got it . I have to slice the two first.then the three color shapes right.
life saver!!! Thank you, thank you, thank you!! :)
Are these instructions only when using a PC?
Thank you so much for your screen shots and clear instructions! This was amazingly helpful and has opened up a whole new world of options with my Cricut Explore 2. I feel like I under utilize it but I also feel overwhelmed by the possibilities (and I am WAY behind on the learning curve).
Yay! So glad it helped–I feel the same way with mine!
Becca
I made an Oval using Shapes. I want to cut out the Oval but first I want to draw a black oval line inside my Oval. Someone told me to use Slice but I found this confusing. Do you know how to do this?
I would make a second oval and overlap them to create the thickness that you desire for the outline and then slice. That will essentially cut the smaller oval out of the larger oval and leave behind the “outline” type shape that you are looking for!
Love this tutorial! What font did you use for home?
Thank you, Angie!! OMG I can’t remember! Let me peek around and see if I can find it!
This was so helpful! Thank you. I’ve watched videos but still didn’t quite find them as helpful as your post! Thank you for the step by step directions and photos to go along with the steps. I now can slice a name into a heart monogram!
Hi Becca, I am frustrated, I cannot get my slice tool to enable? Any suggestions? Thanks, Denise
If I were you I’d log out and log back in again. :)