

This site contains affiliate links. Please see Policies for more information.
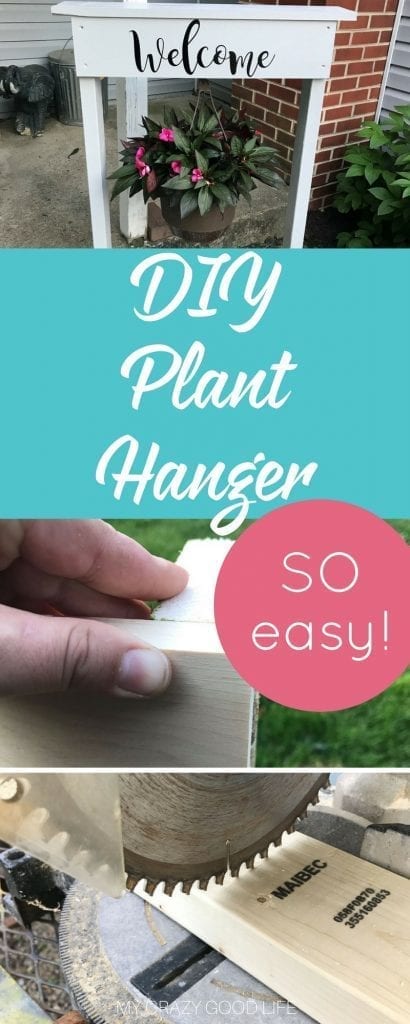
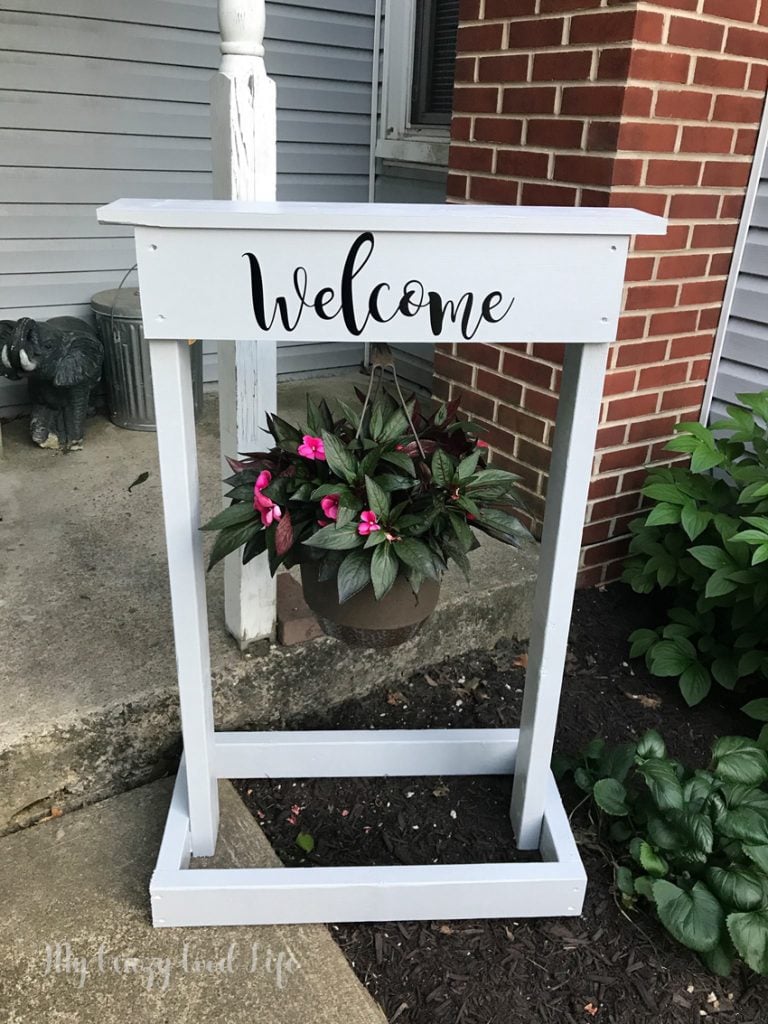
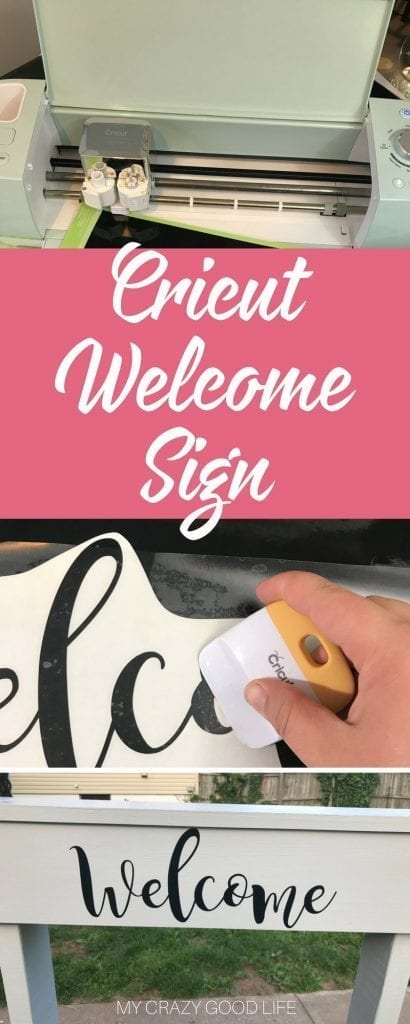
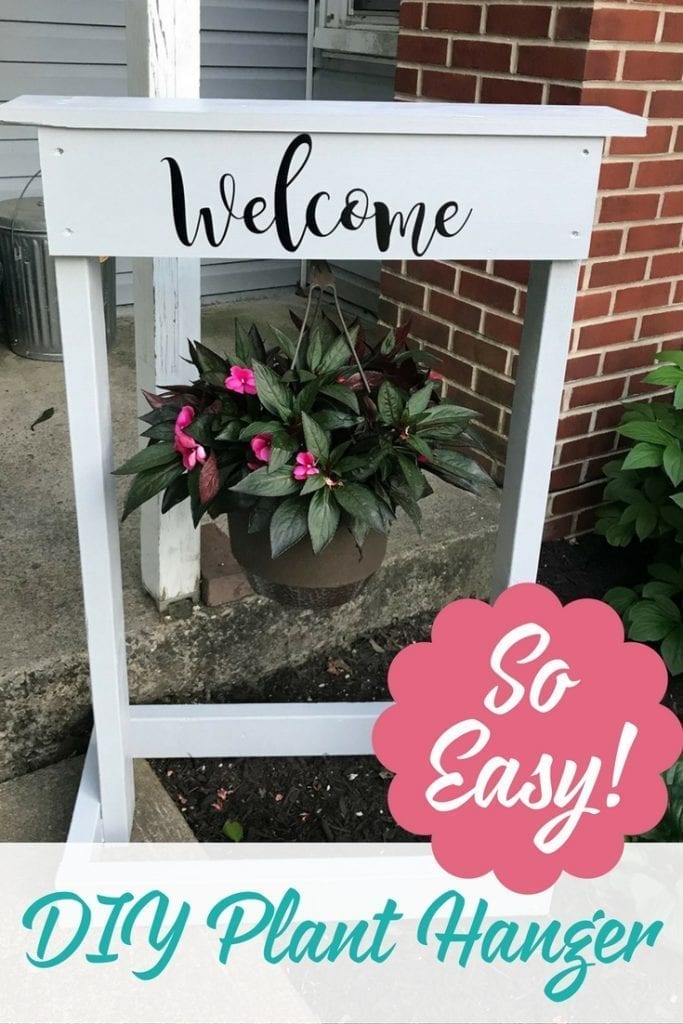
This Cricut welcome sign is a great weekend project. It’s not too complicated and a DIY plant hanger makes a lovely addition to the front yard, porch, or give it as a gift!
I’m going to break this down into two parts so that you can see the process of making the DIY plant hanger and then I’ve also included some step by step screen shots for the Cricut Design Space tutorial for the Cricut welcome sign portion.
The vinyl needs to be added at the very end anyway so that you avoid pulling up the paint on your DIY plant hanger! Let’s get started!
DIY Plant Hanger
Materials:
2 – 8 ft 2×4’s
1 – 8 ft 1×6’s
2 inch outdoor screws
Drill
Screw in garden hooks
Paint (I used leftover paint from a sign project I did previously)

Directions:
I like to make all my cuts first so we’re going to go through all of that now. This is also a great list if you are getting your wood precut at Lowe’s, Home Depot, etc.
- Cut 2 pieces of 2×4 that are 43 inches long
- Cut 2 pieces of 2×4 that are 12 inches long
- Cut 2 pieces of 2×4 that are 28 inches long
- Cut 2 pieces of 1×6 that are 25 inches long
- Cut 1 piece of 1×6 that is 29 inches long
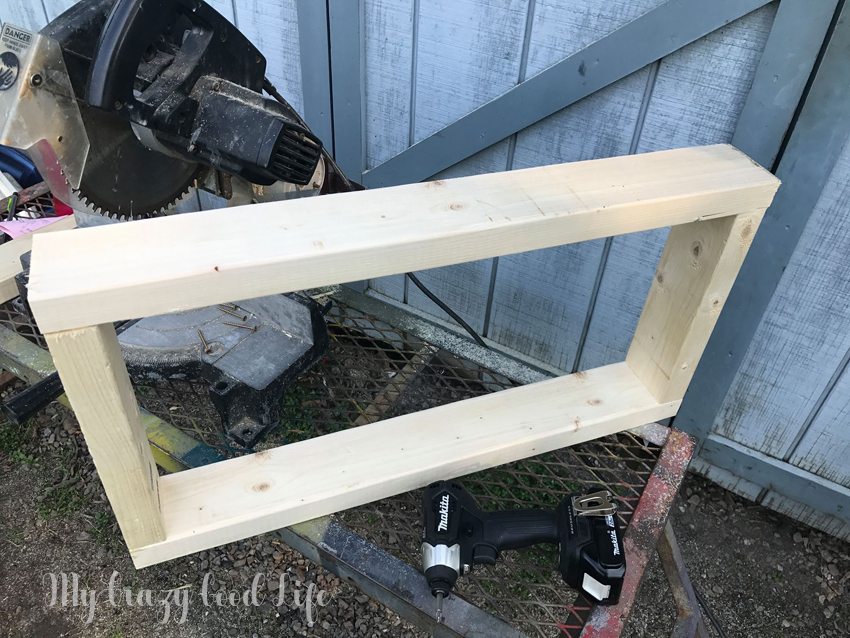
Take the 2 pieces of 2×4 that are 28 inches long and the 2 pieces of 2×4 that are 12 inches long and create the box for the bottom of your DIY welcome sign.
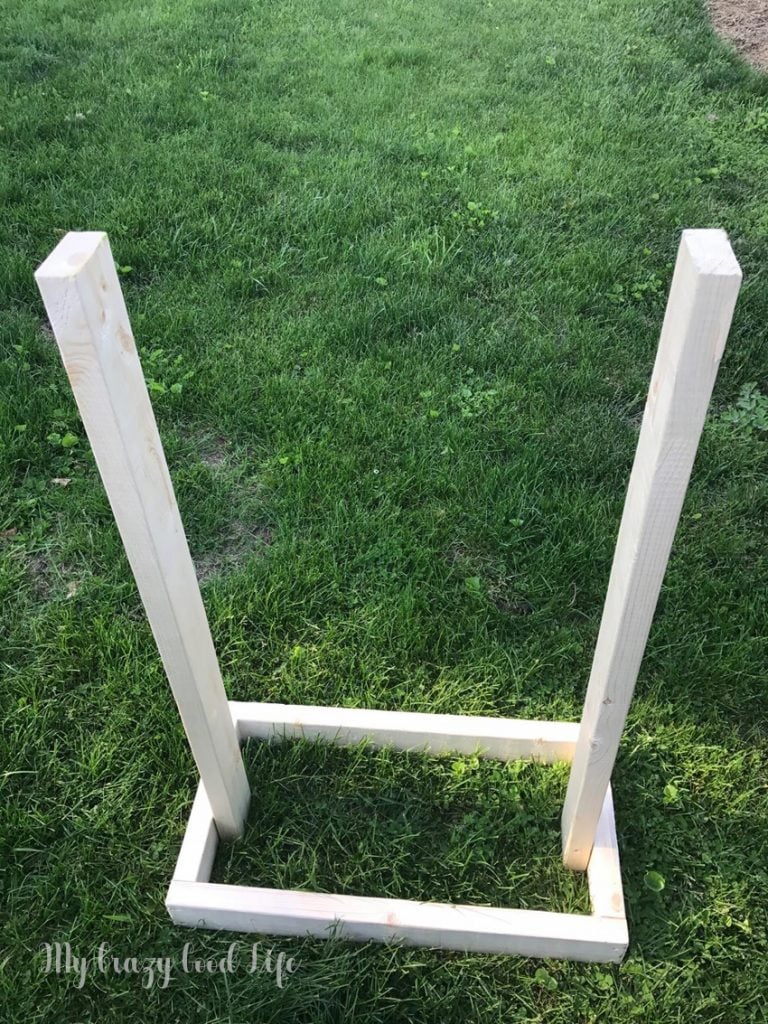
Next take the 2 pieces of 2×4 that are 43 inches long and attach them inside the box, measure so they are in the middle of the 12 inches side pieces of the box.
Now we will make the top. Attach 1 piece of 25 inch long 1×6 to the front and one to the back of the top of your side posts.
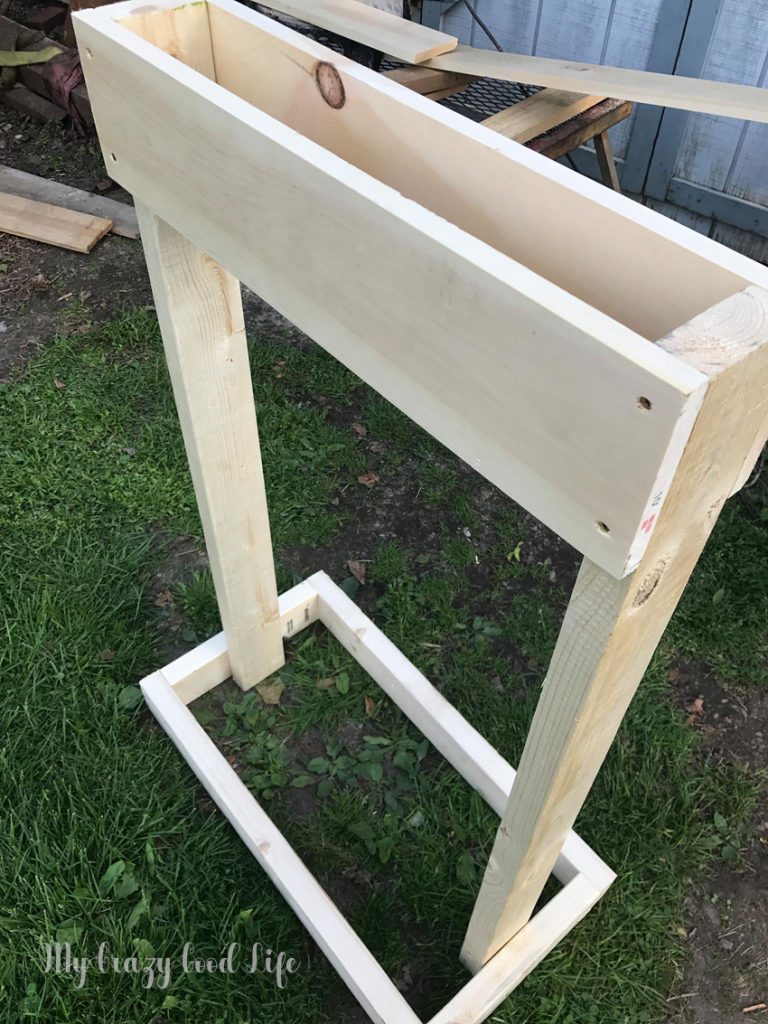
This will secure them together, make sure they are flush on the ends and the top!
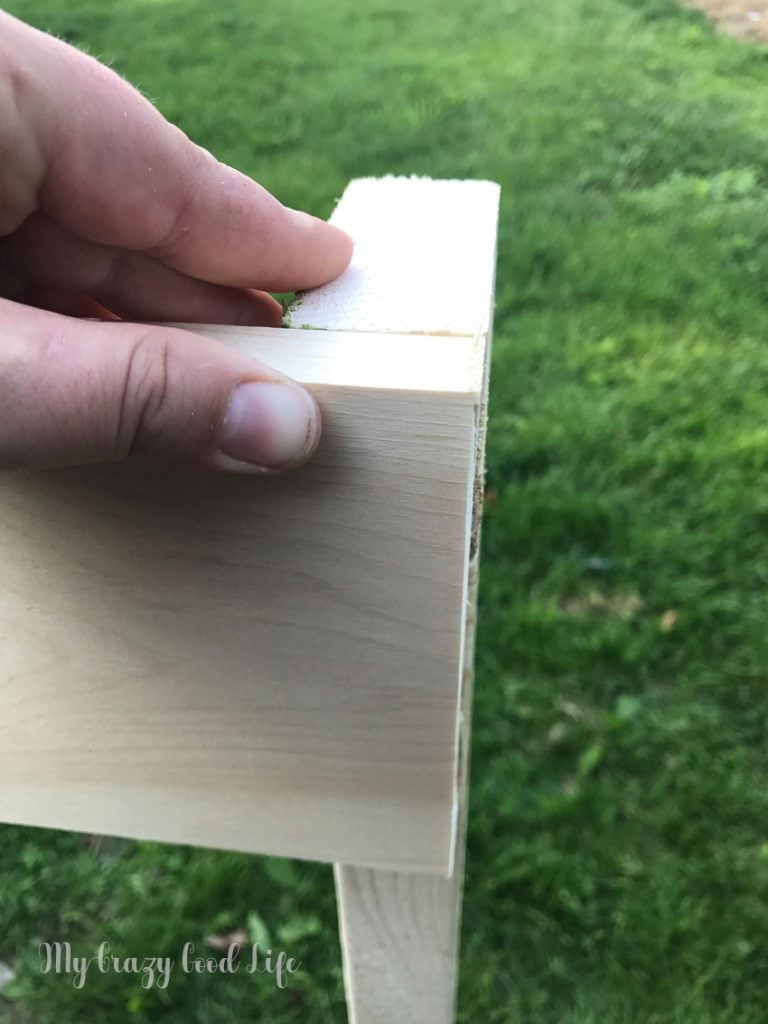
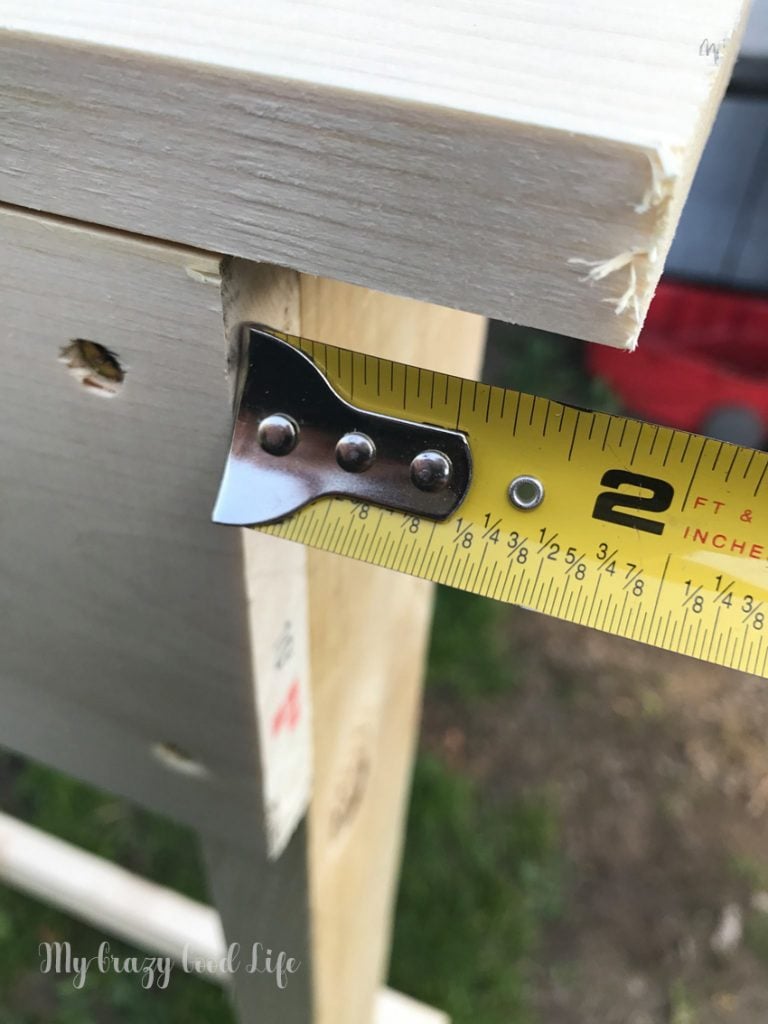
Add the top. This should be your remaining piece of 1×6 that is 29 inches long. You should have 2 inches of overhang on either side for reference!
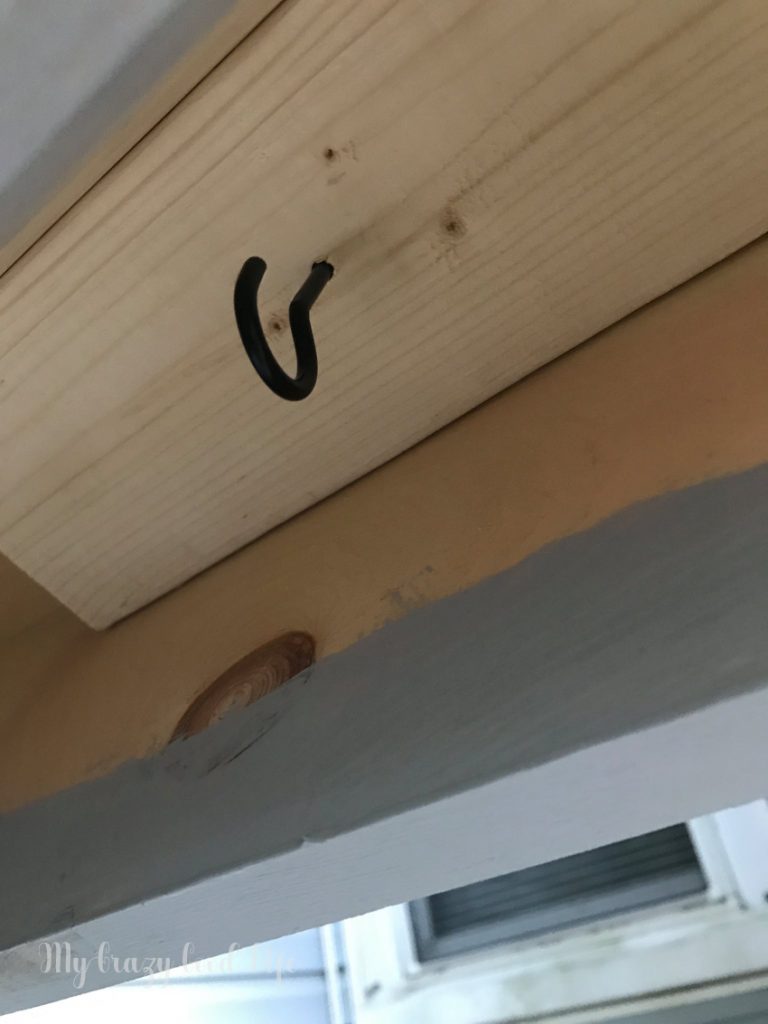
Finally, we attached a garden hook to a block of leftover 2×4 and attached the block with two screws to secure it to the top board. It fits just up between the front and back pieces of 1×6 and helps to drop the hook down lower so it’s easily accessible (kind of the point of a DIY plant hanger after all)!
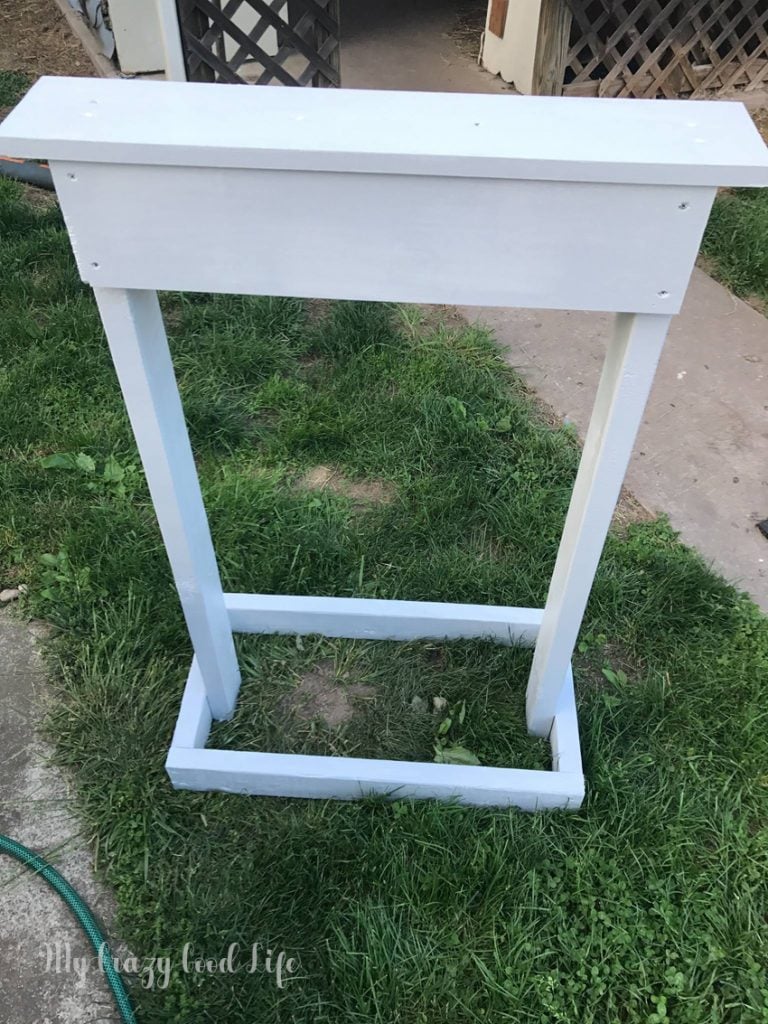
The last step is paint! I used leftover indoor house paint for mine. It was paint and primer in one, semi-gloss finish, and it’s holding up just fine during the rain, humidity, etc.
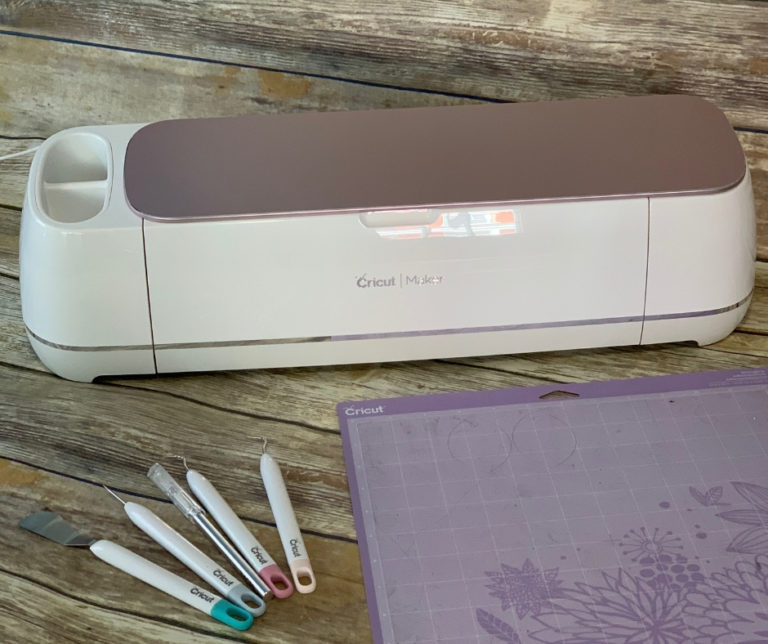
Cricut Welcome Sign
Materials:
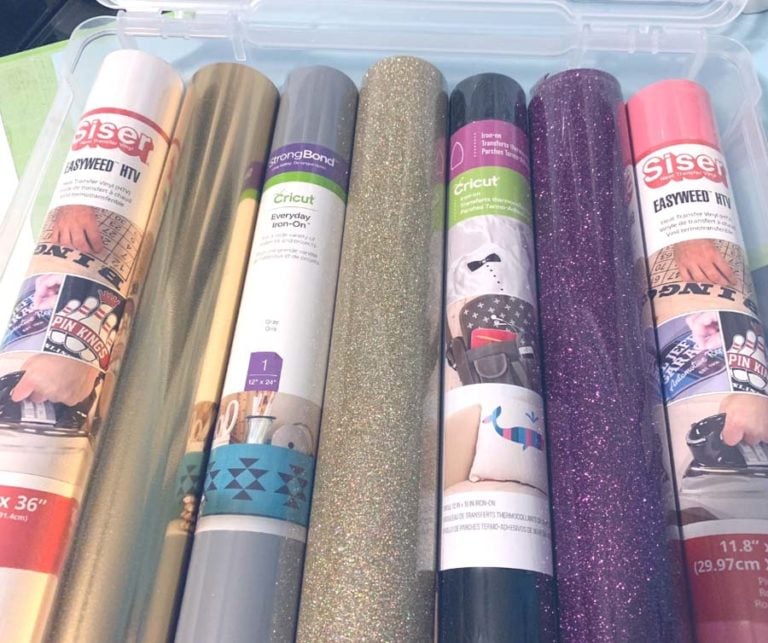
Black 651 Permanent Adhesive Vinyl
Cricut or other cutting machine
Design Space compatible device
Transfer tape or Contact Paper
Scraper
Weeding tool
Directions:
Start in Design Space with a blank document.
Add the word “Welcome” in whatever font you love. I used Magnolia Sky because it’s beautifully cursive but easy to read.
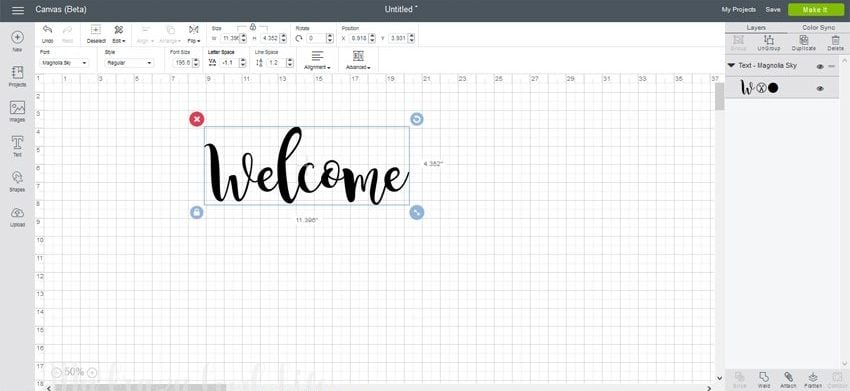
Take out any extra letter spacing.
Connect letters and weld.

After you weld, size to fit your DIY plant hanger face. For this Cricut welcome sign you will have about 5.5 inches of visible height and 28 inches of width.
Attach your vinyl and load your mat into your Cricut machine.
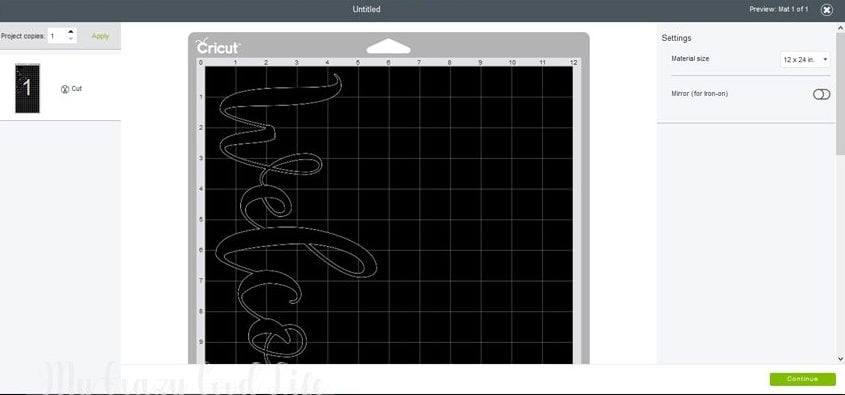
Start the cut.
Weed and apply transfer tape.
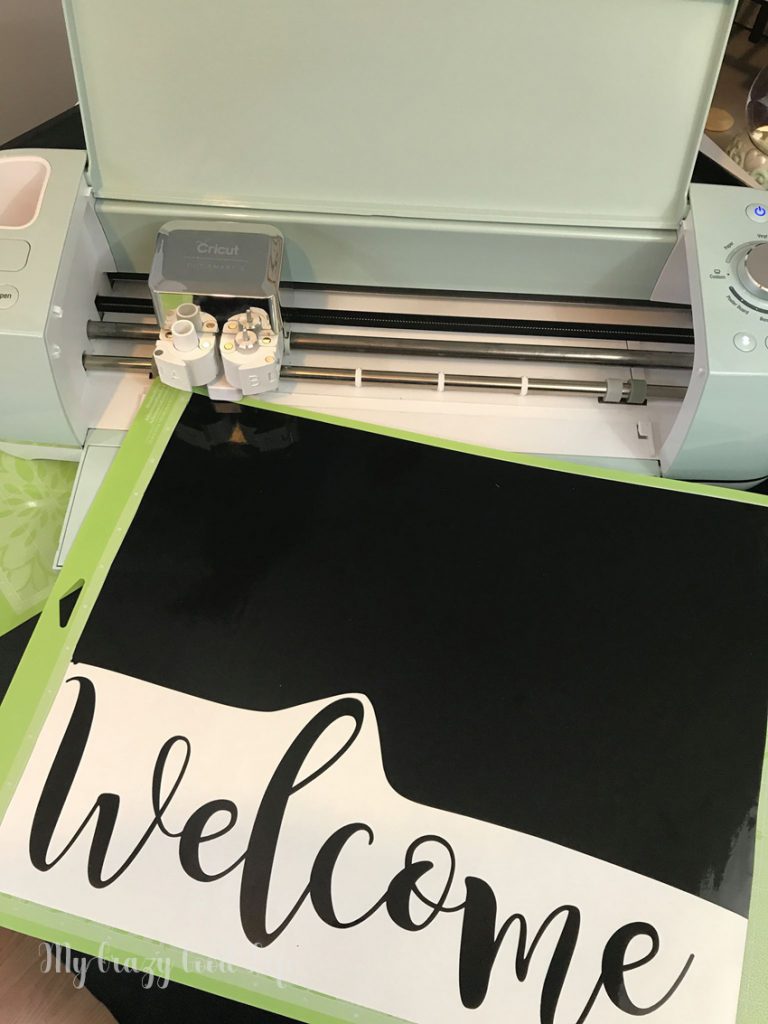
Once your DIY plant hanger is completely dry you can affix your Cricut welcome sign.
Make sure to press hard with the scraper but also use your fingers. You’ll need to squash the vinyl into the ridges of the wood and the little extra heat from your hands will help with this process.

Once you remove the contact paper go over the design again with your fingers to press it down firmly and make sure it’s adhered properly.
Keep it dry for 72 hours so the adhesive can set!
If you love making Cricut projects check out some of these other great designs available here at My Crazy Good Life:
Main Street Electrical Parade Shirt | Cricut Project
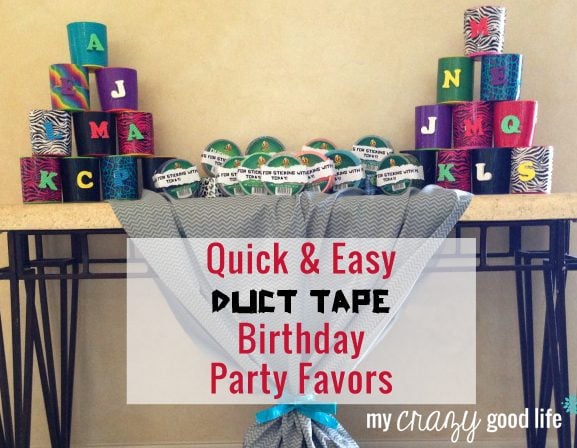
Roaring 20’s Part Favors | Cricut Party Favors
Vinyl Craft Idea | DIY Vinyl Cups


Can you give me a little bit more info on the adding the transfer tape step? Also, when you load your vinyl, you’re keeping the backing on? Or are you peeling it prior to cutting? I’m interested in this whole approach as my sister and I have tried every way possible and still aren’t in love with the end result. Thanks!
I’m sorry that I’m JUST seeing this! The transfer tape is just to pick the vinyl up off the backing after it is cut and weeded. Then you use that to move it over to the board. Once you press it onto the board the transfer tape should peel back easily. I’m sorry if that makes it more confusing! Feel free to let me know if you still have questions and again sorry for the delay!
Hi Pauline,
I’m sorry but I’m not sure what you mean? To make the top of this one we used two boards, one for the front and one for the back that were 28 inches long! If you are referring to the overhang being slightly less than 2 inches? You can make that top board whatever size you want to give you the amount of overhang you’d like. We used this one because it was handy and didn’t require another trip to the hardware store.
Great tutorial! It got me thinking… it’s been so rainy here lately that I haven’t had dry enough conditions to apply vinyls like 631/651. I heard that 751 was a bit more durable but after talking with Oracal it’s the same adhesive and still wants to be applied dry.
Do you know about any outdoor vinyls that are okay to apply in wet/damp conditions? I’ll keep my eyes open too and let you know if I find anything. Thanks again for the great post :)
I don’t know about that, I’m sorry! I’m in the driest place ever–Arizona!
Hi Ali! I live where it’s very cold & wet. I used 651 and seal it with Mod Podge after pressing it on as Becca detailed in her steps!
I do the same exact thing! It gives the vinyl an extra layer of protection, especially with projects I do for outdoors. 😉😉
Hi there! How do you get your magnolia sky font? My system isn’t showing that font. I have the cricut air explore 2.
Hi Amber! I use dafont.com to download free fonts – they have a ton and I’ve been doing it for years!
Could you tell me how these good up to wind?. Do they topple over?. Thank you for stating the plans