

This site contains affiliate links. Please see Policies for more information.
Have you seen the cool new way to make DIY signs with your Cricut or Cameo? Making a reverse canvas takes a lot of the work and materials out of creating your own DIY farmhouse signs. This process is quick and easy and makes for a great custom gift!

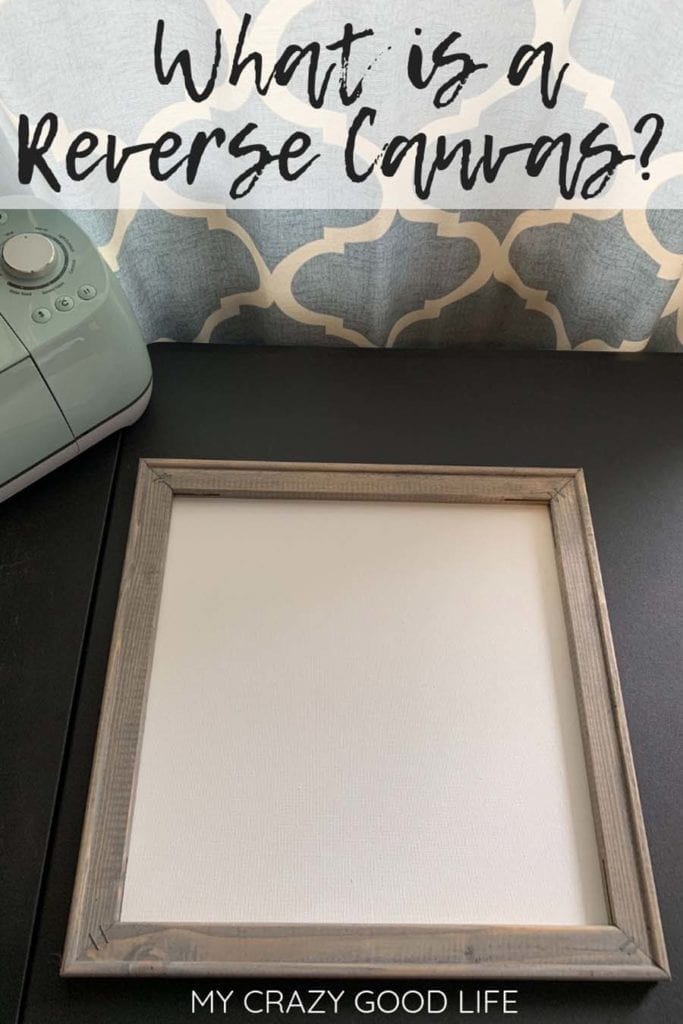
What is a reverse canvas?
There’s a new trend that is sweeping the crafting and Circuit-ing world! They’re called a reverse canvas and it’s an easy hack for making farmhouse style signs without all the work and expense of building frames.
A reverse canvas is a way to use back stapled canvases (that you’d use for painting) and turn them into a sign. The great thing is that you have the frame and the backing built in. I love projects like this because they’re the perfect kind of DIY hack.
Using the reverse canvas method saves time, energy, and money. I’m going to show you how to make your own reverse canvas below.
What materials do I need to make a reverse canvas sign?
You’ll need a few things to start making reverse canvas projects at home. Most of them you probably have on hand if you are a Cricut crafter!
I’m including links to some of my tried and true favorites so you can see exactly what I like using when I make my reverse canvas signs at home.
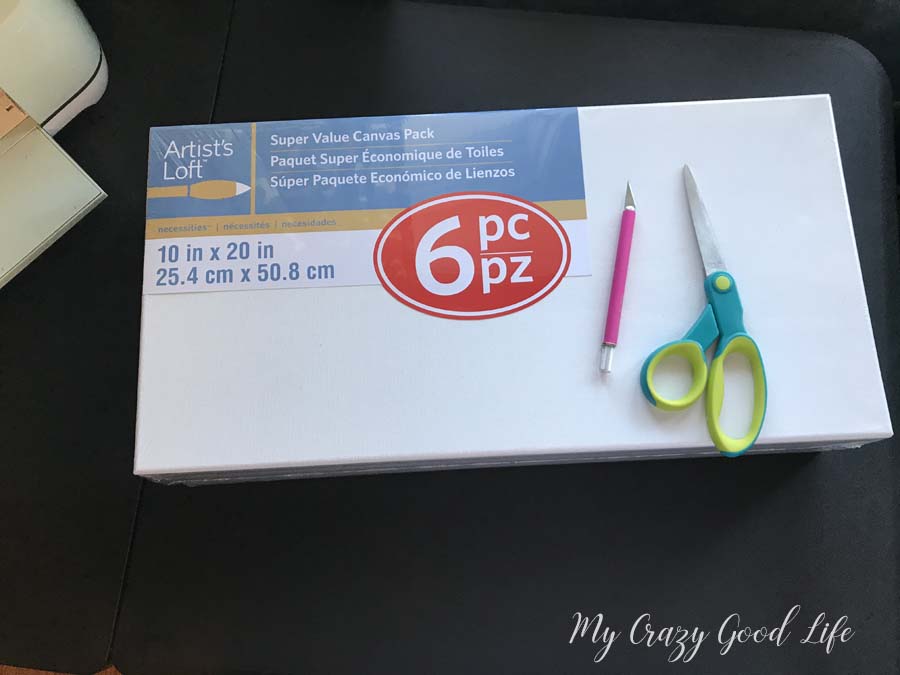
- Xacto Knife
- Scissors
- Back Stapled Canvases (You can get these at any Michael’s or Hobby Lobby…I usually stock up when they’re on sale so I don’t have order online)
- Paint or Stain
- Staple Gun
- Cricut Machine & Mats (You’ll need these for turning your reverse canvas into a sign or project)
These are the materials you will need to turn your back stapled art canvases into a reverse canvas. We talk more right here about how you can turn those reverse canvases into some awesome signs for your home or for gifts!
How do you make a reverse canvas?
This is going to be quick and painless, I promise! Let’s dive right in (don’t worry, there are pictures of each step so you know what it should look like)!
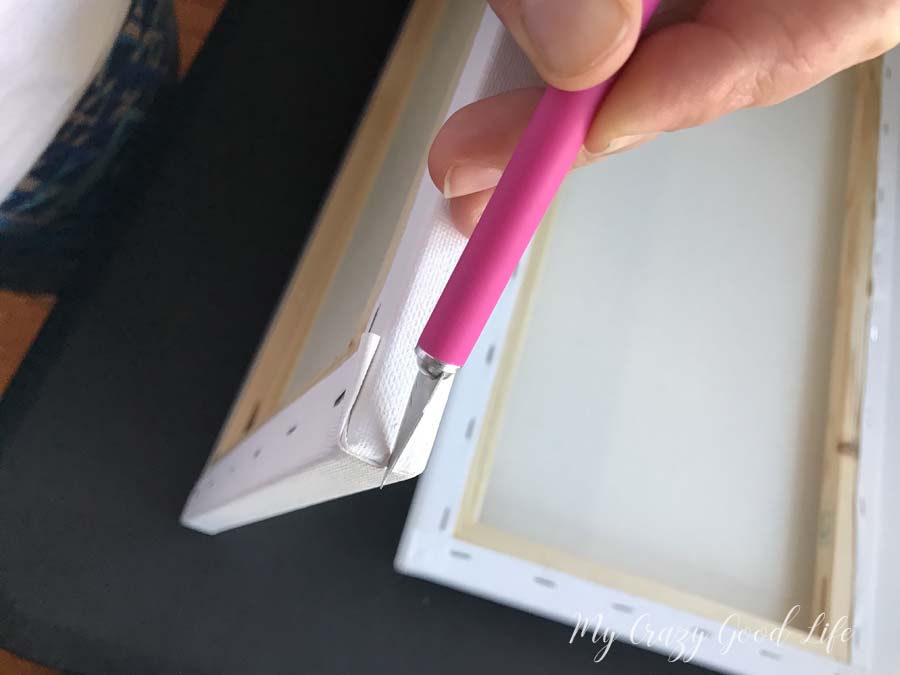
1. First we need to remove the canvas from the frame. Some people take the time to rip out all the staples and drive themselves crazy. I’m not one of those people. Those staples are going to be covered up folks, no reason to kill your hands ripping them all out. Take your Xacto knife and cut the canvas all around the outside edge of the frame!
2. Now we’re going to pull the strip that’s left behind. There’s no science to this. Just rip it off. If the staples start to pull up you can pull that one out. For the most part the canvas should just rip right off, leaving you with a clean frame.
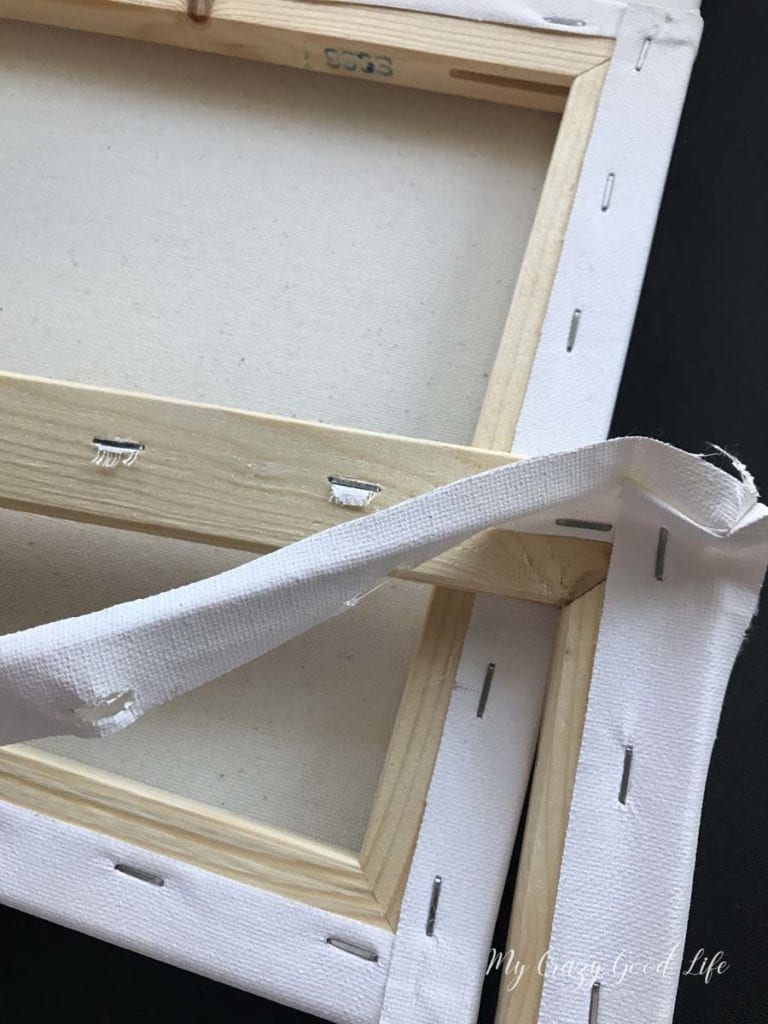
3. Now you have two pieces. Your canvas backing and the frame! If you are using a really large canvas your frame might have stability pieces in the middle.
Just cut those out with a small handsaw or a reciprocating saw. I usually use the little saw on my husbands multi tool, cut about halfway through, flip it over and press down. They’re crack and pull right out of there!
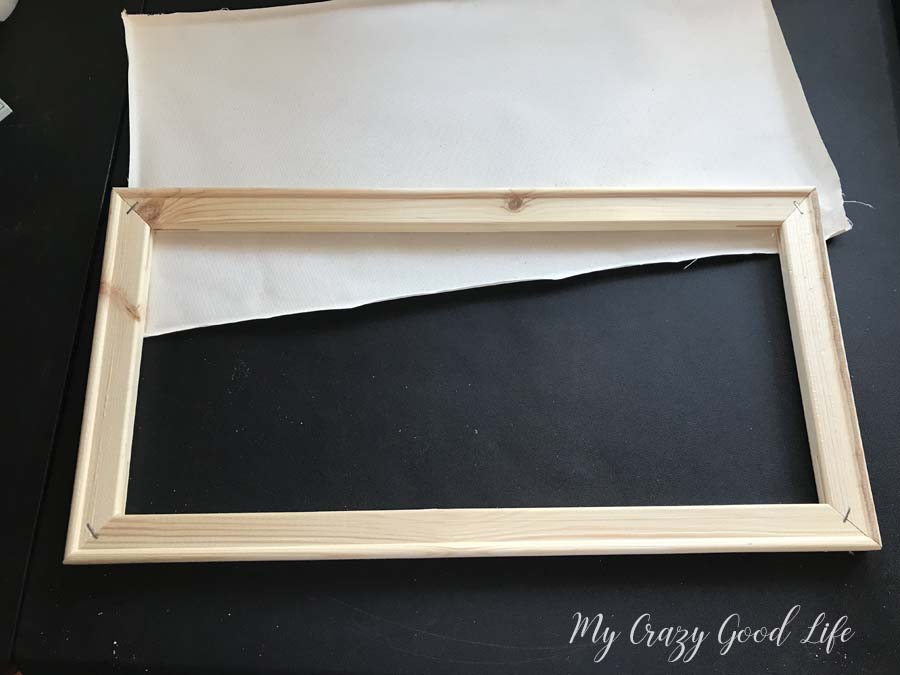
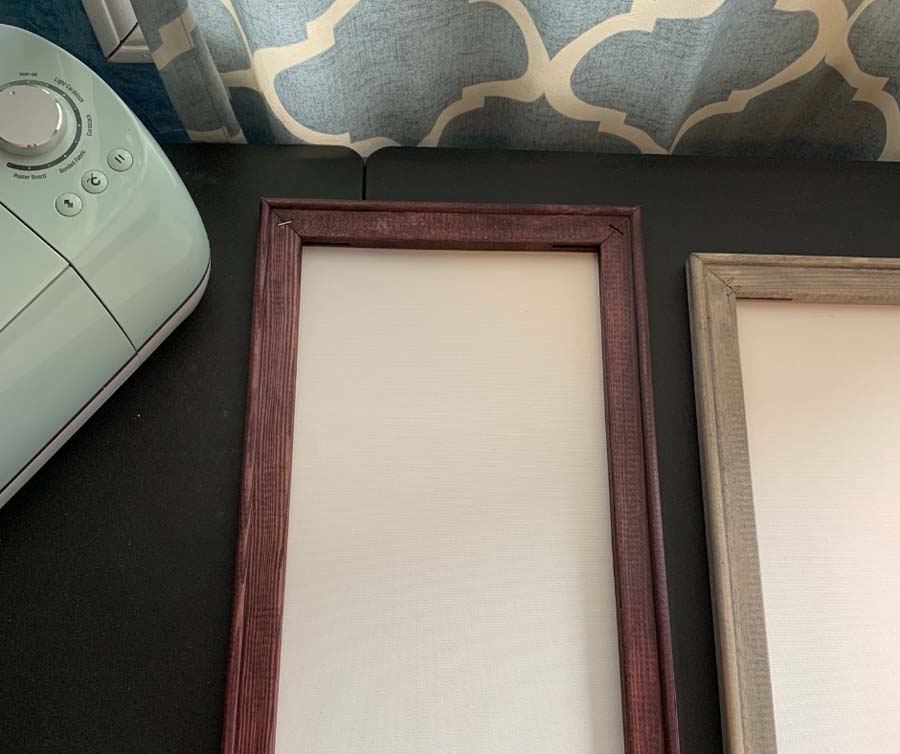
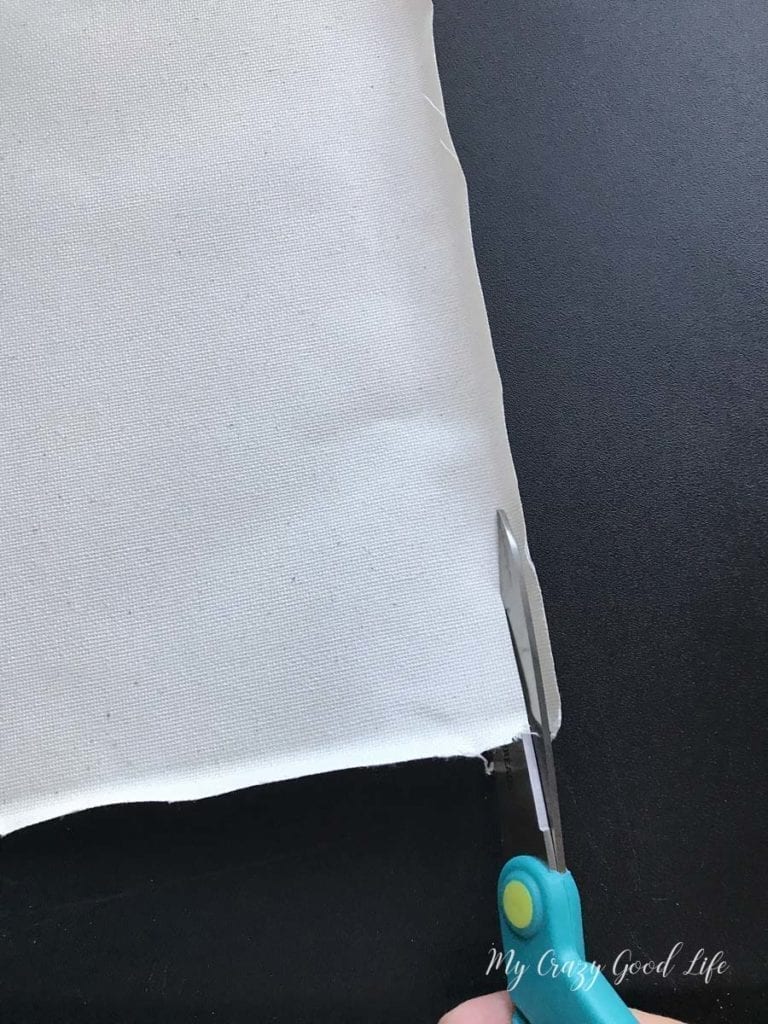
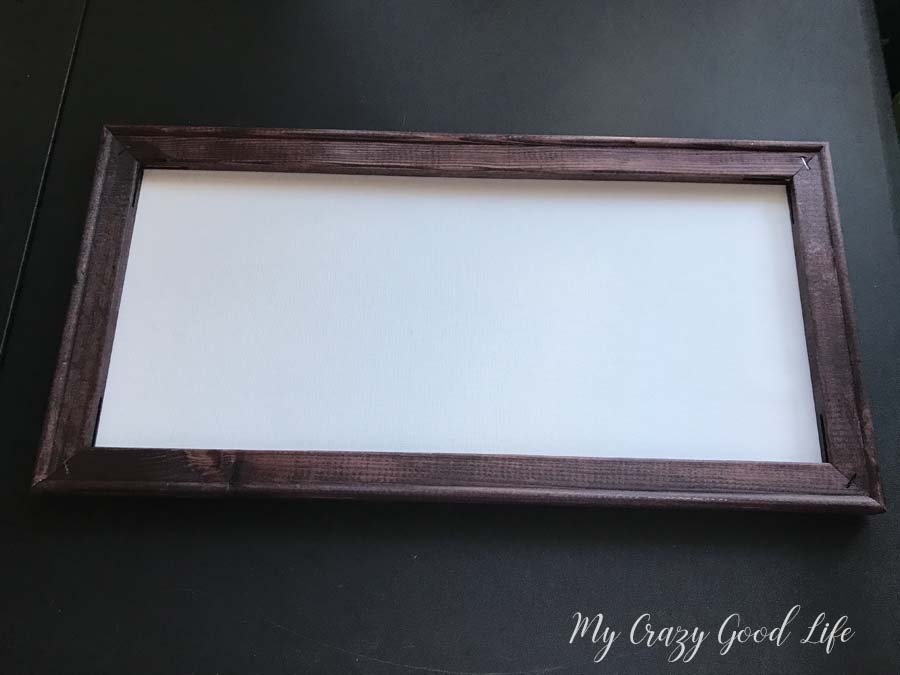
4. Your frame is ready for stain now! The canvas piece will need to be trimmed.
I usually cut around the creases where you can see the canvas was wrapped around the frame. You will only need enough canvas to staple to the back of the sign so feel free to use a pencil and mark the outer edge of the frame on the back side and just use those as guide lines if you are worried about making it too small.
5. Now that you have a stained frame and a trimmed down canvas you can do one of two things: you can reattach your canvas backing (my preferred method) or you can design your sign and wait to reattach until it’s complete.
If you are using 651 or permanent vinyl you’ll need to see those instructions below. You have an extra step or two and you won’t want to miss those!
Note: I reattached my canvas right away so that I know my design will be square when I turn my reverse canvas into a sign. It can be tricky to get the vinyl tight and still make it square if you add vinyl to the canvas and then try to center it in the frame while stapling the back.
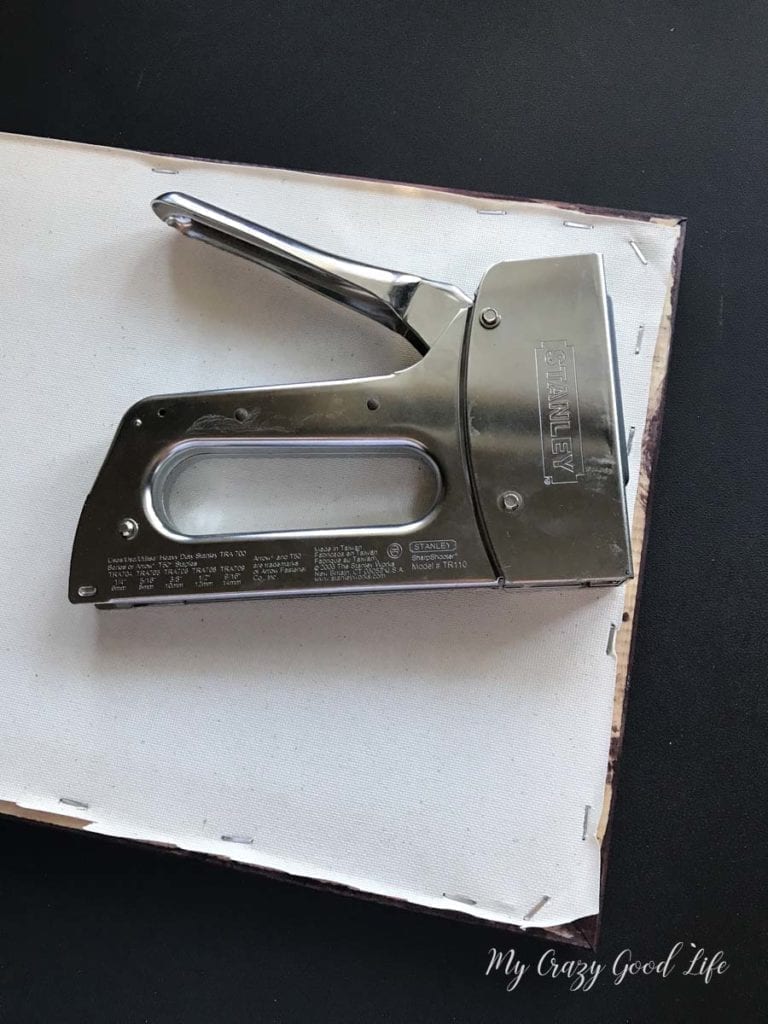
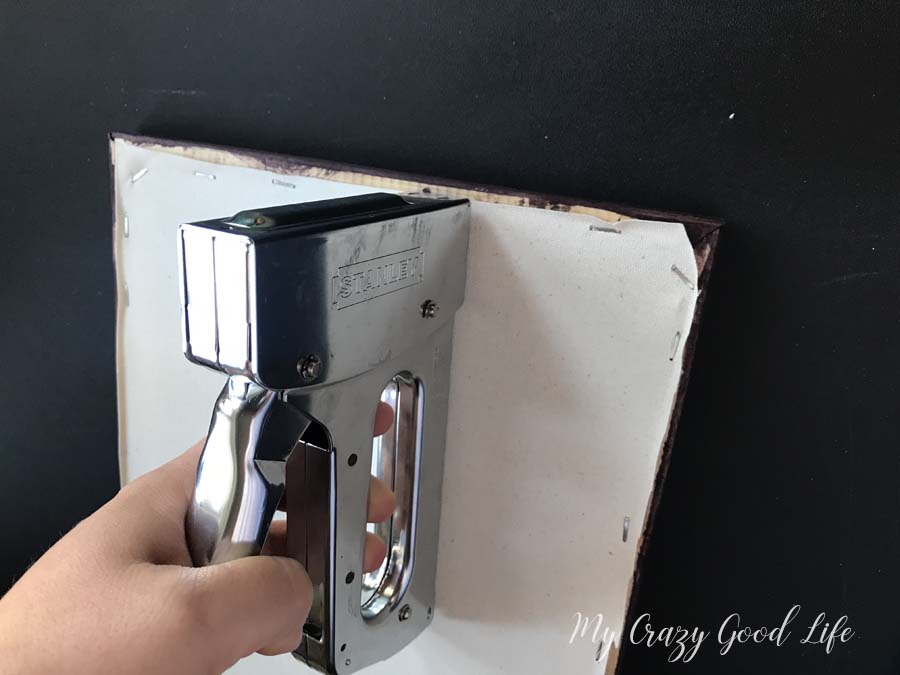
6. When I reattach my canvas I start with one corner then I move to the opposite corner because it gives the best stretch. You want to stretch the canvas reasonably tight so that it looks nice and taut in the frame.
Do the same thing with the remaining corners and then fill in the middle and edges, pull the canvas tight wherever you notice a line or pucker!
7. Now you are ready to add some vinyl and make yourself a reverse canvas sign! You could also use these reverse canvases to paint within the frame, add photos, or other embellishments, etc.
8. Once you are done making your reverse canvas sign you can add your hangers. Check out the info below on how to hang your reverse canvas sign!
How do you make a reverse canvas with vinyl?
Click here for detailed instructions for how to make a reverse canvas sign!
Amazon Shopping Links:
I prefer shopping with Amazon because of their Prime shipping options and variety of deals so here are some of my preferred supplies for this project that you can shop for directly from Amazon!
- Cricut Maker
- Cricut Explore Air 2
- Cricut EasyPress
- Cricut BrightPad
- Cricut Tools | Mats Pack
- Cricut Tools Big Pack 12×24 Mats
- Siser Heat Transfer Vinyl Bundle
- Teflon Sheets, Pack of 5
- Rectangle Back Stapled Canvas Variety Pack
- Square Back Stapled Canvas Variety Pack
- 1/2 Pint Minwax Stains
Cricut Shopping Links:
Here are some links from the Cricut site that will help if you are looking to shop for materials, machines, an EasyPress, and more!
- Premium Cricut Access
- Cricut Access Fonts
- Cricut Flash Sales
- Cricut Machines
- EasyPresses
- BrightPad
- All Cricut Vinyl
- Mats
What is a reverse canvas sign?
A reverse canvas sign is when you take a reverse canvas like we just made above and add vinyl to make a gorgeous wall hanging. Reverse canvas signs are great because you make them to match any style, theme, or holiday decor.
A reverse canvas sign makes an excellent gift as well! I’ve made wedding signs, guest book signs, and even funny quotes for friends and family using the reverse canvas method.
Everyone will love them (because hello, they look super fancy and custom) and before you know it friends and family will be asking you to make them other custom pieces for their homes.
If you are a budding Etsy entrepreneur you should try making reverse canvas signs, it’s an excellent way to share your creativity and make some money!
Do I use Permanent Vinyl or Heat Transfer Vinyl for my Reverse Canvas?
There are a couple different vinyl options when it comes to making a reverse canvas with vinyl. It’s going to come down to one thing: ease of use.
If you like investing a little more time and energy into a project you can use permanent vinyl like a 651 or a Cricut Permanent variety. This will add a few steps to the process of taking a reverse canvas and making it into a sign.
If you are going to use 651 or permanent vinyl you’ll need to seal your canvas with white paint or a clear coat because the vinyl will not adhere to the textured surface of your canvas. So make sure to do that before you reattach the canvas to the back of your frame.
Is it faster to use Heat Transfer Vinyl (HTV)?
In my case, time is money. I know that if I shop around and take my time when ordering I can get great deals on heat transfer vinyl or HTV. HTV makes life so much easier when it comes to making a reverse canvas sign.
With HTV, there’s no sealing of the canvas, no clear coat after the fact, and I know that I won’t have to worry about it peeling or drying in an odd way. Heat transfer vinyl can be cut on the Cricut just like your permanent vinyl and it’s a myth that it has to be much more expensive than your other vinyl options.
Shopping around online really helps and that’s why I choose to use HTV and save myself the hassle of painting or sealing the canvas backing.
How do you hang a reverse canvas?
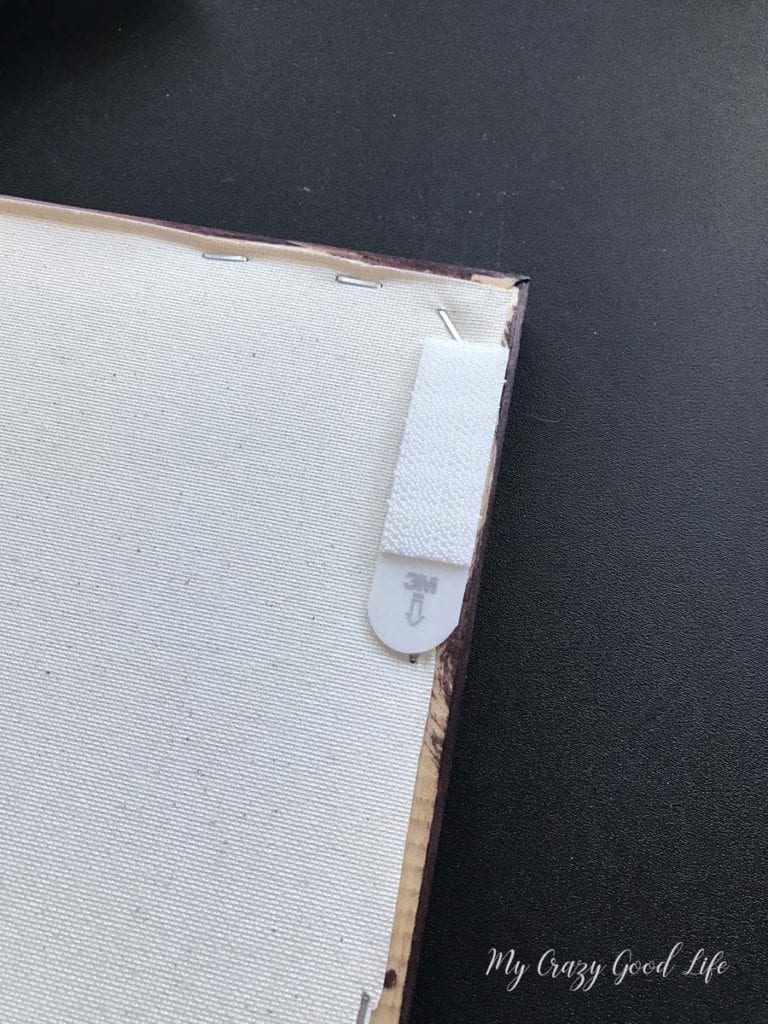
Hanging a reverse canvas is really easy! It might seem odd because of the canvas backing but it’s truly simple.
I use one of two options to hang a reverse canvas. I use Command Picture Hanging Strips or I use self leveling saw-tooth hangers that push into the frame. In either case it’s as easy as peel and stick.
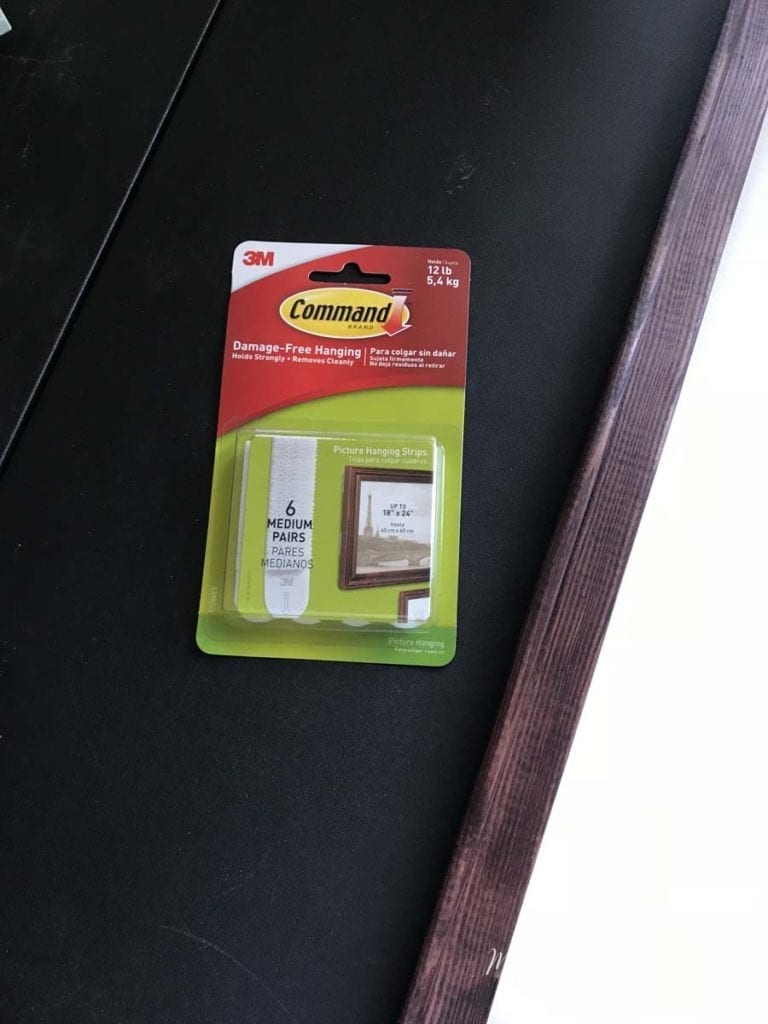
If you are trying to decide which method to use here are some things to consider. Command Strips are going to hold the signs up just fine. Even the really large reverse canvas signs are not heavy at all!
They do take a bit more work to level ahead of time before you stick them to the wall. With a saw tooth hanger you won’t have to worry so much about that. The downside of the self leveling saw-tooth hangers is that you have to put a nail hole in the wall.
Either option will work really well and give you a great finished look for your reverse canvas sign.


What temp do you set your heat press on for HTV on canvas?
I always struggle when it comes to hanging any frame period so I cheat!!! My husband refuses to let me put holes in the walls, he thinks he has to do it so when I do ask him to do it, it may be 5 years down the road before a picture gets hung. So I just use a thumbtack and it works beautifully (:
When it’s a plaster or any soft wall a dab of toothpaste will neatly cover a hole with your finger. Then you can cover the that hole with your paint and you are neatly done.
I’d like to know the answer to this as well. What temperature do you use?
Hey there! The temperature is different depending on the vinyl you’re using–check the manufacturer’s notes for the temp.
If I want to do the method where I use a permanent vinyl and paint, which paint do I use? Also can I use a coloured paint instead of clear? Sorry this is all new to me 😊
Thanks in advance
I suppose you could try to paint the canvas a color if you wanted! I’ve never done it that way so I can’t say for sure what the results will be. Typically I’d be using something more like a clear coat and not actually paint. The point of the process is to make the canvas smooth enough for regular adhesive vinyl so if you find a paint that will do that, you can probably achieve satisfactory results!
Great tutorial. Thank you for explaining all the steps
Can I use 813 and paint on it?
I haven’t done it, but I don’t see why not!
Thank you so much for sharing the step by step directions!
Thank you for your tutorial. I wanted to know when you reattach the canvas to the frame does the smooth side against the frame or the rough side. If I am using htv is there a better side to adhere the vinyl too? Thanks
I like the smooth side to be in the front of my canvas. And I like HTV, I don’t think there is a better side :)
I am so happy I came across this tutorial,. I can’t wait to try it
Can you use foil htv?
I haven’t tried it yet, but I don’t see why it wouldn’t work!
A very nice tutorial, and you have explained it very well. I am wondering if I could just use the canvas the way it is? any reason I can’t? Thanks.
no reason you can’t!
@Nichole a tip for hanging to avoid multiple holes before you get it just right. Take a piece of painters tape and put across the back of what you’re trying to hang, mark where the hangers are, peel off tape and put it on the wall and add nails to spots your marked…easy peasy error proof hanging.