

This site contains affiliate links. Please see Policies for more information.
This is a sponsored conversation written by me on behalf of Cricut. The opinions and text are all mine.
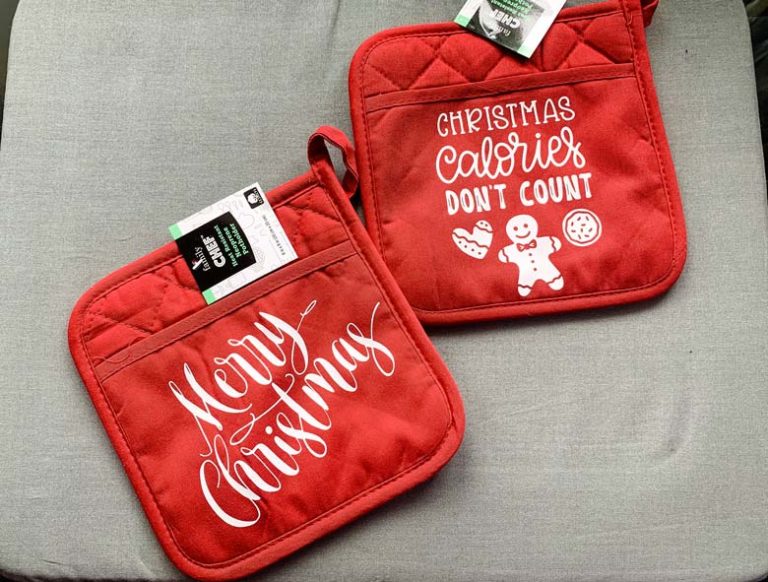
Making DIY gifts is one of my favorite things about using the Cricut Maker! I love picking out fun sayings and images for my friends and making projects with them.
These gifts always have a personal feel and as someone who loves giving gifts, it makes me happy.
Looking for more to love about the Cricut Maker? I’ve got five reasons why I love my Maker for your right here, as well as a fun and easy DIY!
Cricut Maker cuts over 300 materials
Seriously. Over 300. In addition to the basics like vinyl and cardstock, the Maker can easily cut canvas, denim, faux leather and suede, corrugated paper, craft foam, and seriously so much more.
Easy to choose materials
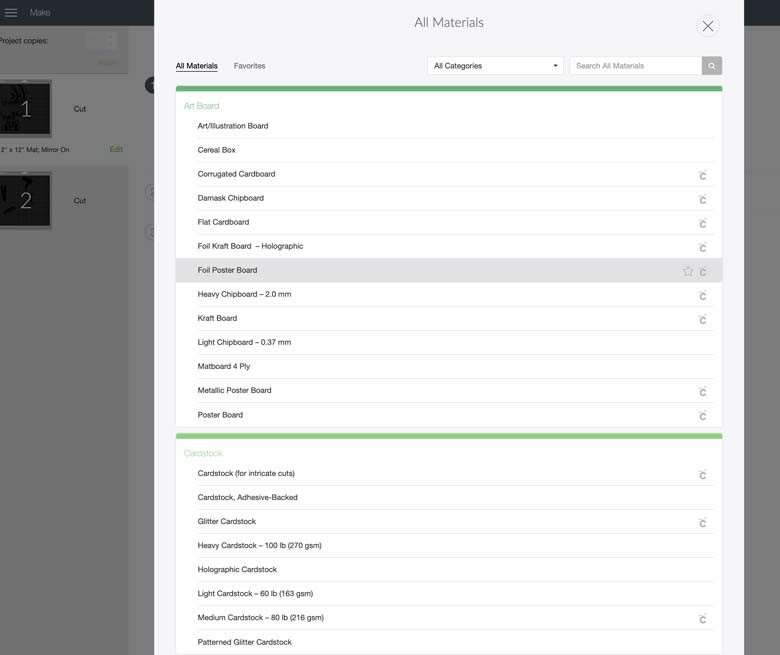
I really love that instead of manually setting a pressure or depth, I can easily choose my materials from a dropdown list.
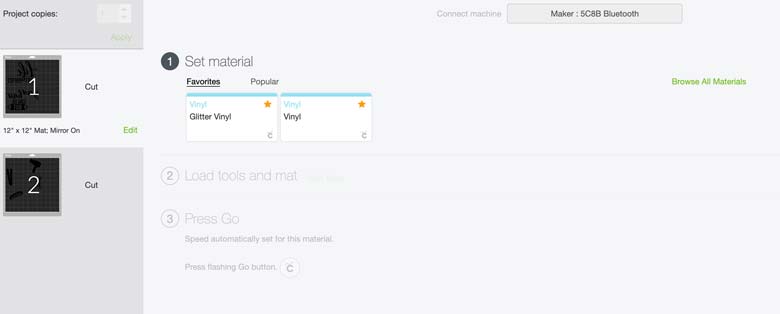
And to make things even better, you can save your most used materials so you don’t have to scroll through the list every time. #glitterforlife
Nice deep storage area
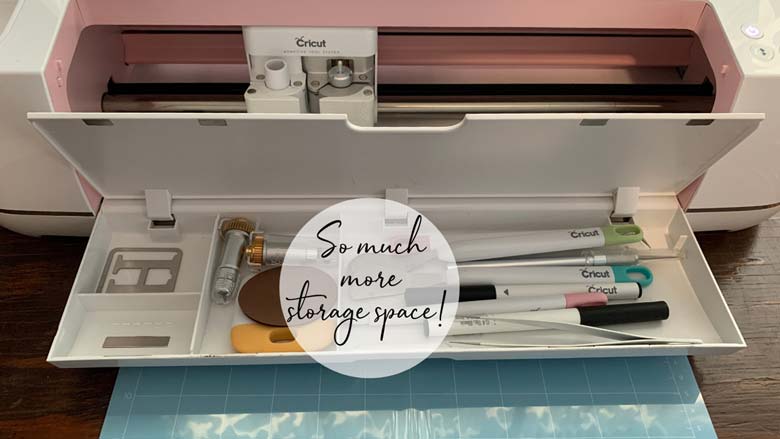
The storage area on the other machines were awesome, but the Maker bumps it up a notch. There are four different compartments in the fold down compartment, as well as the ones on the top of the machine.
The best accessories

I feel like Cricut is always coming out with something new and fun to play with. Recently, I’ve been loving the Infusible Ink and how easy it is to use with my Maker!
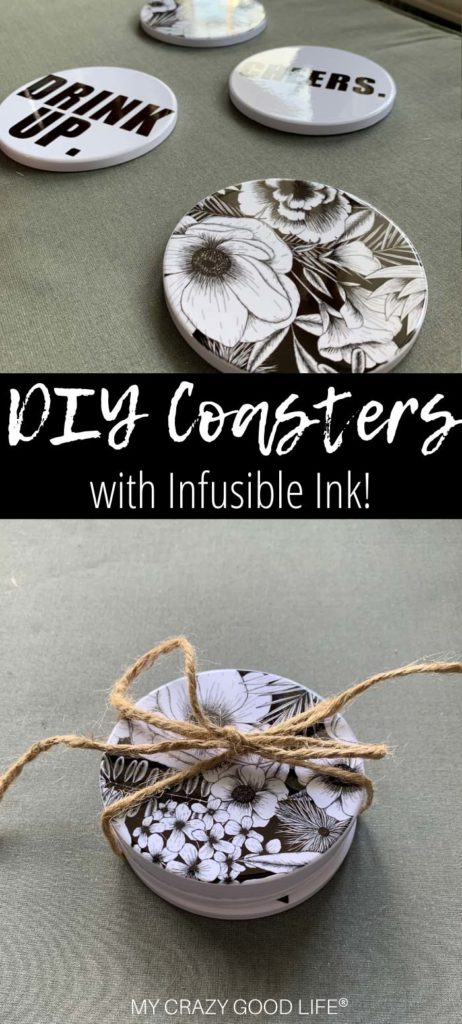
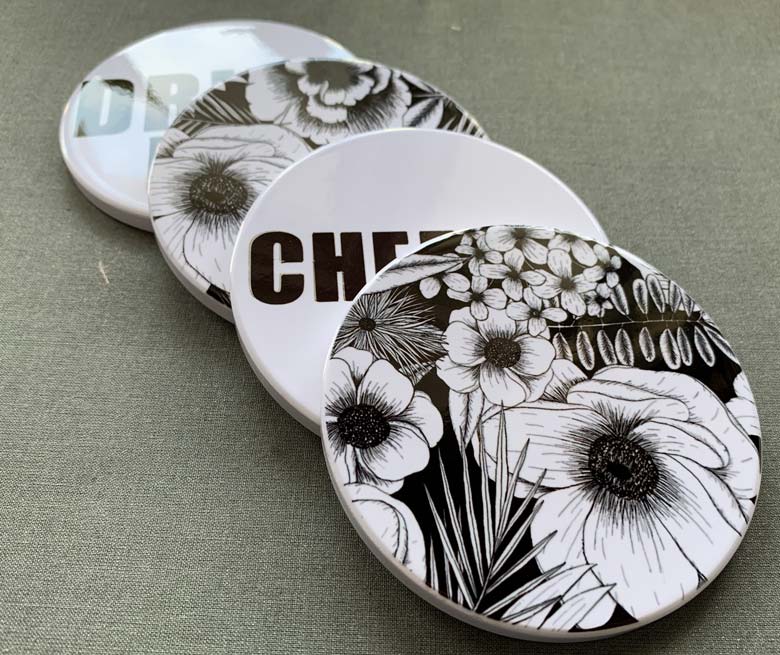
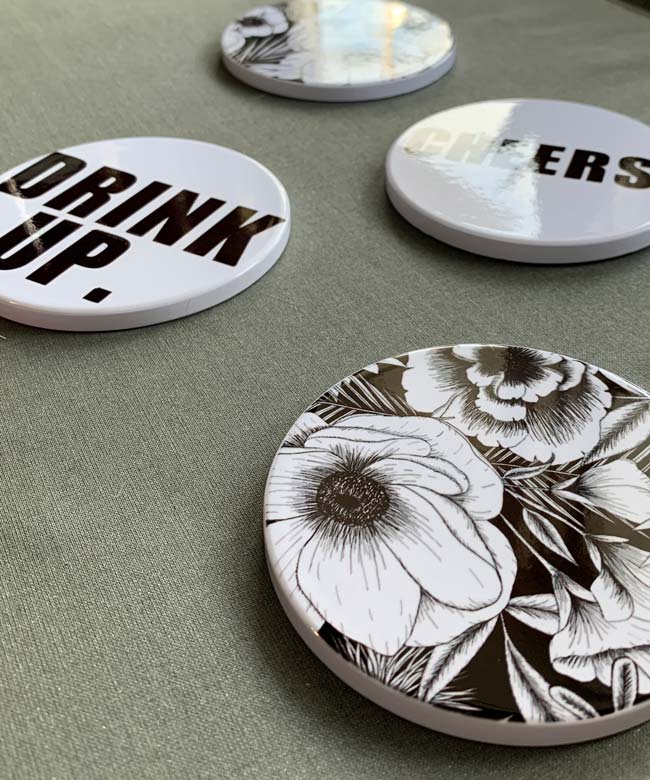
Cricut has even made coaster blanks that you can use with the Infusible Ink, and I might be going a little overboard making these DIY Coasters as gifts this year.
How to Make Infusible Ink Coasters
I’m having so much fun with my Maker as well as this new Infusible Ink! Coasters are my new favorite craft, and I’m showing you how to make them today.
1.First you’re going to want to choose which Infusible Ink to use. Cricut.com has a ton to choose from!
2. Create a design on Design Space, or even just use text! I relied on the pattern from the ink (I cut it in a circle to match the size of the coaster) along with simple text to make these coasters.
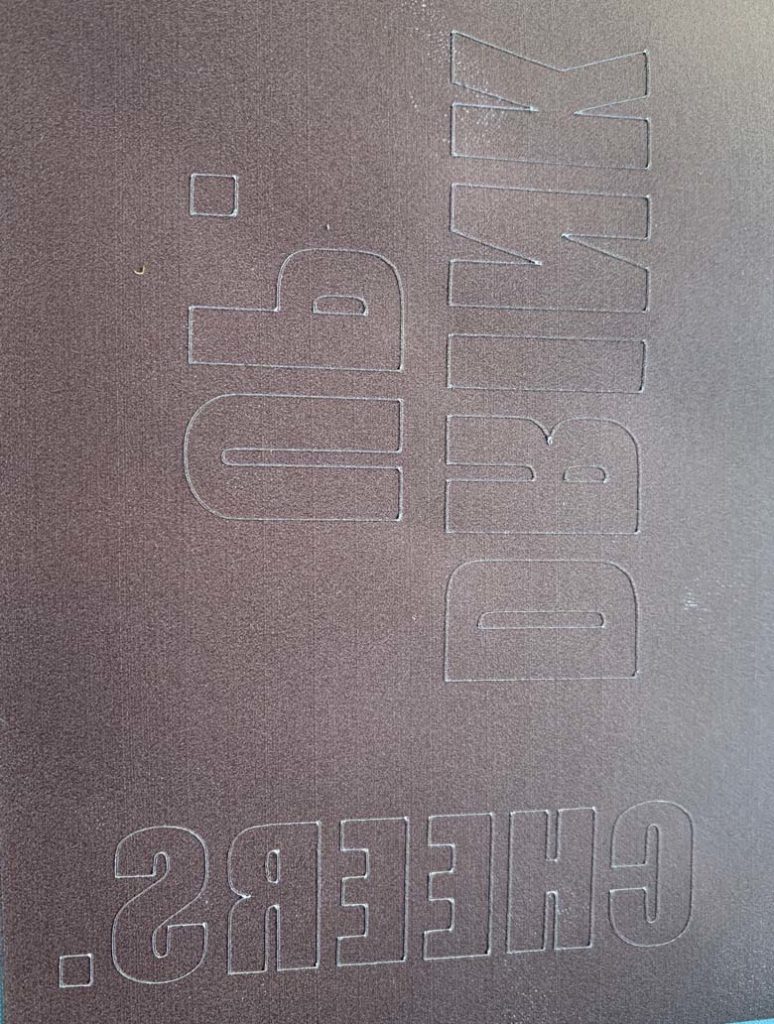
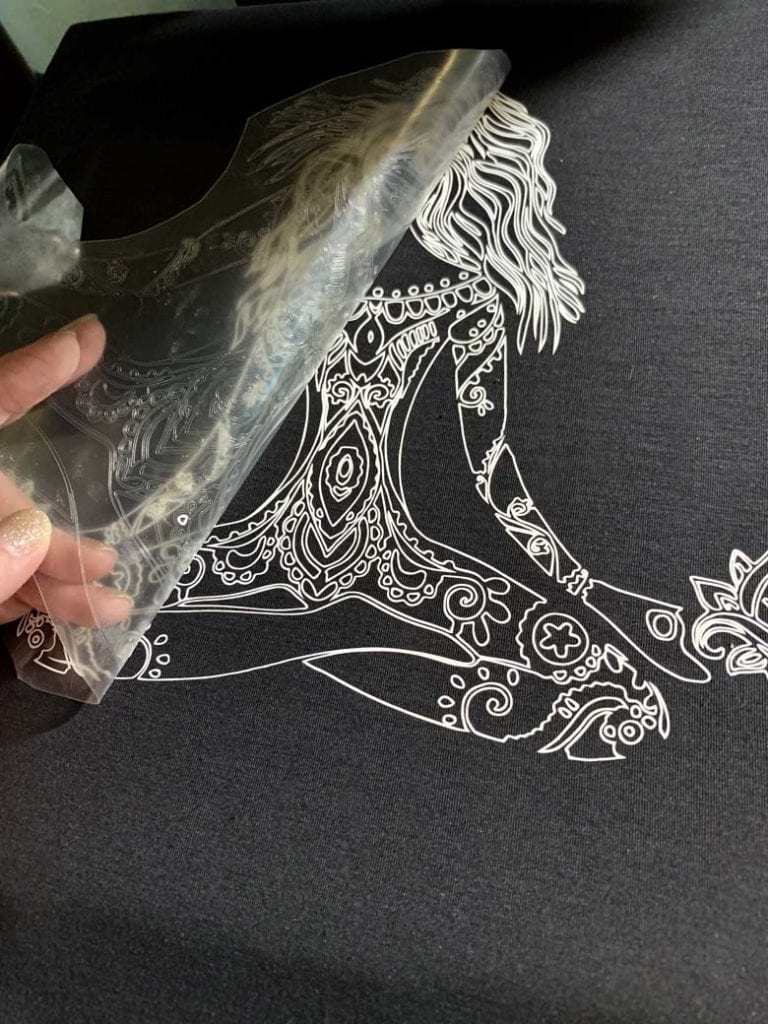
3. This is what your Infusible Ink will look like after it’s cut. Go ahead and weed (remove excess materials) the ink.
4. Wipe down your coasters and make sure they’re free of debris, clean, and dry. If you live in a humid climate or are worried about moisture on the coasters, go ahead and pre-press them using a piece of butcher paper between the press and the coaster (for 15 seconds at 400 degrees).
Allow the coasters to cool completely if you’ve pre-pressed them so that your design doesn’t stick before you mean it to.
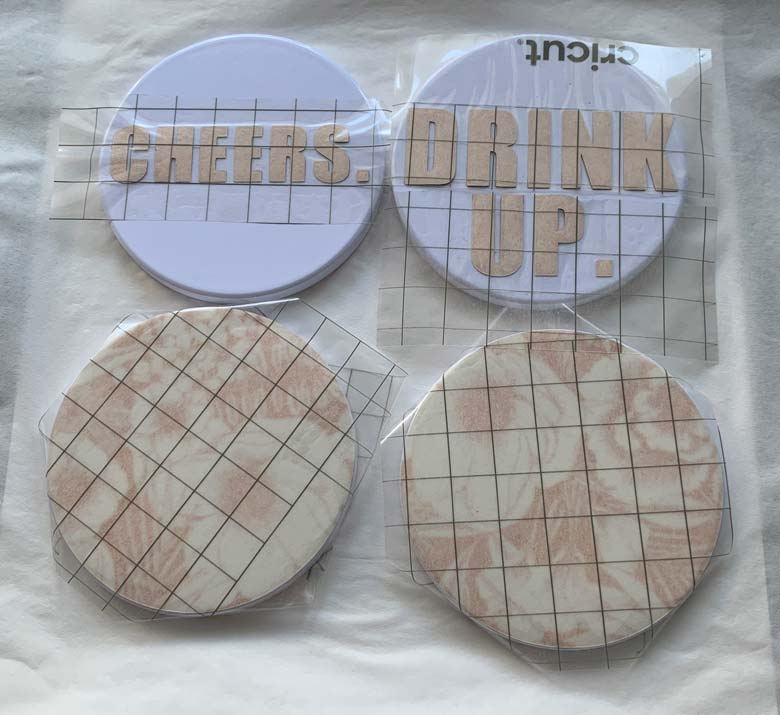
When the coasters are cool and dry, attach your Infusible Ink design face down with the white or shiny side facing up. Cover each coaster with a piece of butcher paper and then cover that with a piece of white card stock.
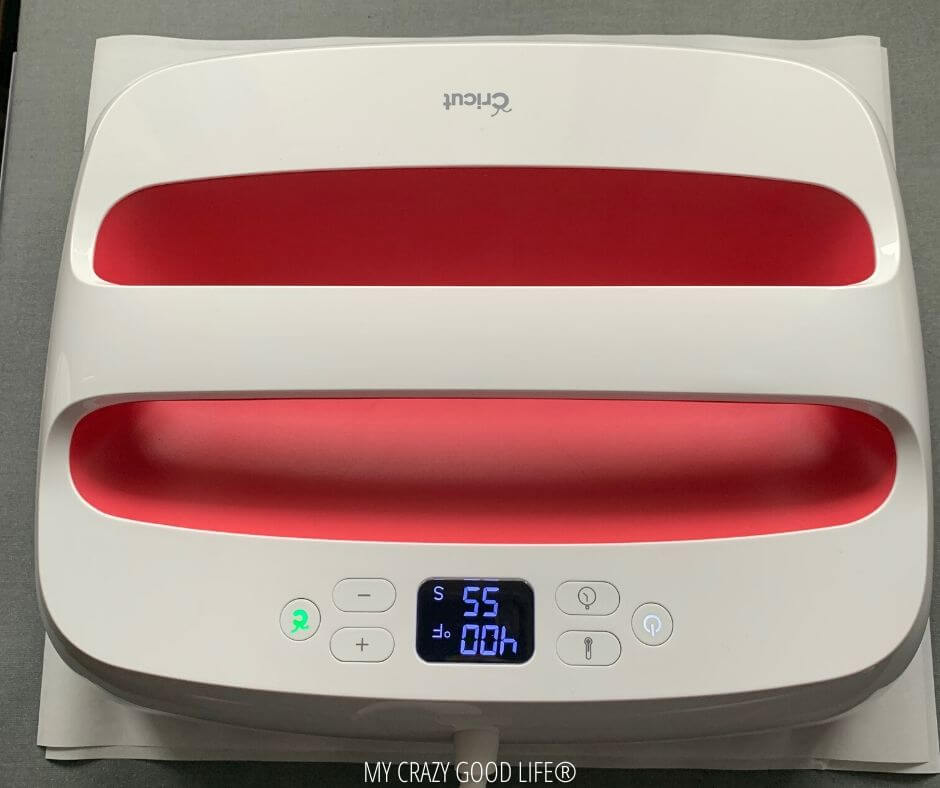
5. Press your design for 60 seconds at 400 degrees with your Easy Press 2. Do not move the press–don’t wiggle it, don’t slide it, don’t move it.
6. When the press beeps, lift it straight up. Allow the coasters to cool before touching them–I don’t even touch the paper. Everything is very hot and until cooled, you could still shift the design a little.
Need some Infusible Ink Tips?
This isn’t the first time I’ve made these DIY gift coasters! I’ve added a ton of helpful tips to my Infusible Ink post. I hope you find them helpful!


I love these so much, I can’t believe you made them! They would make such great gifts too, I’d love my own Cricut machine, I don’t think I’d ever stop getting crafty xx
You shared exactly what I needed, thanks a lot. You rock!