

This site contains affiliate links. Please see Policies for more information.
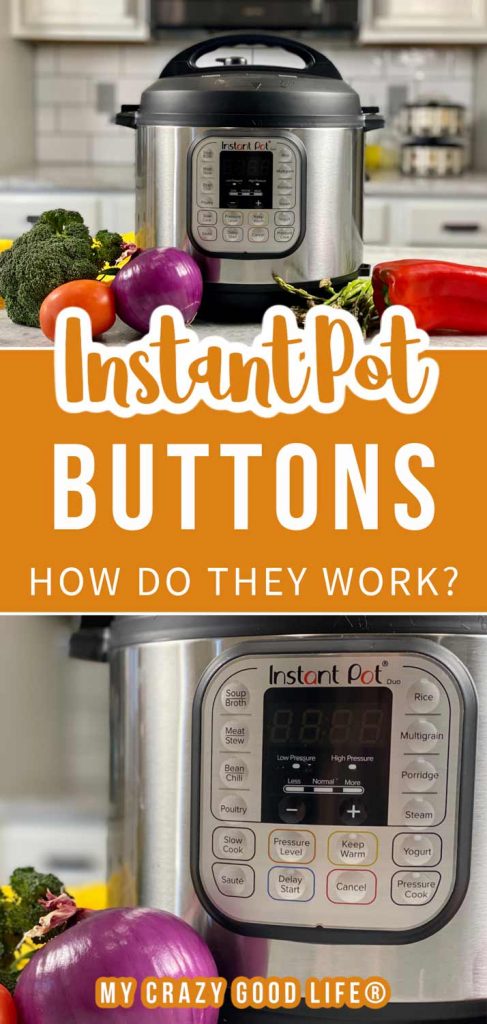
All of the Instant Pot models (and even different versions of the same models) have different buttons, presets, and programs. This is a breakdown of all of the regular buttons and Instant Pot presets that are on your electric pressure cooker.
The Instant Pot is the most popular electric pressure cooker on the market, and boy do I love mine–I even wrote an Official Instant Pot book! The Instant Pot is safe, efficient, and very user-friendly once you get the hang of it.
What are all the Instant Pot preset buttons?
Here’s a quick list of the 16 smart cooking programs that are built into the Ultra model which is the 10-in-1 pressure cooker that Instant Pot sells. It’s the most advanced cooker to date and it is the model with the most presets.
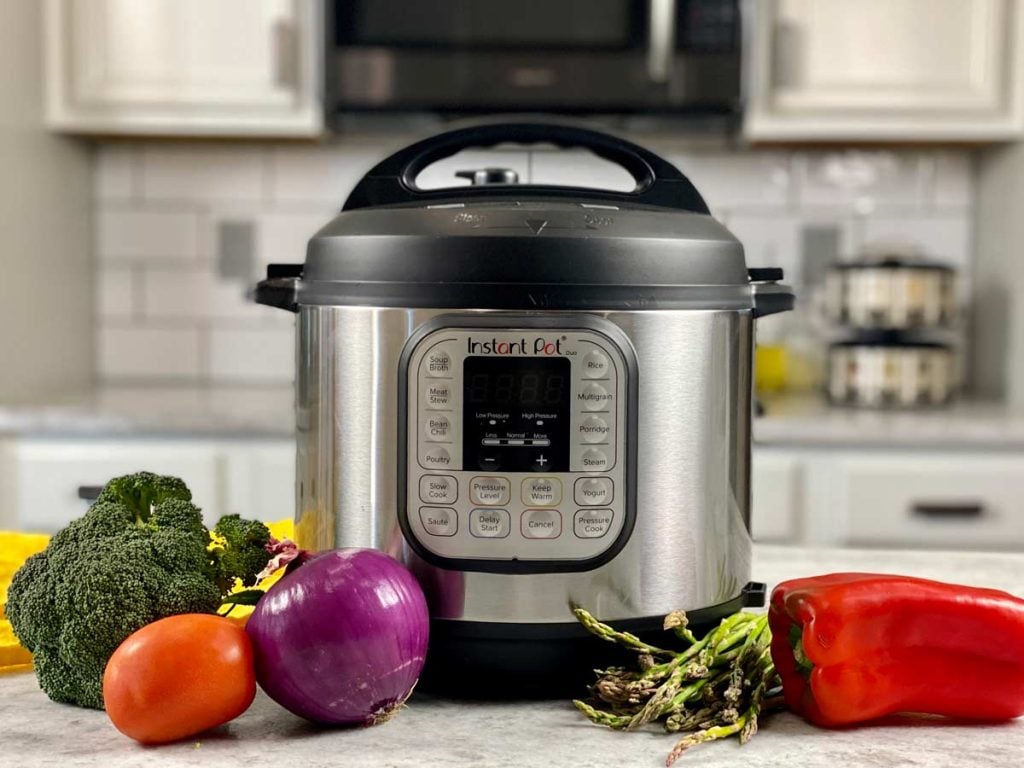
You may not have the same pot that I referenced above, but you’ll still be able to read on and see how to use the presets that your pot has.
- Pressure Cook
- Soup/Broth
- Meat/Stew
- Bean/Chili
- Steam
- Slow Cook
- Sauté
- Warm
- Rice
- Porridge
- Multigrain
- Cake
- Egg
- Sterilize
- Yogurt
- Ultra
What are the Instant Pot buttons for?
Instant Pots are designed to be smart pressure cookers. They’re quite different than the old pressure cooker you remember in your grandmother’s kitchen–these are high quality pieces of technology
Pressure Cook Button
This is the most common setting, and is sometimes called the Manual button. Using this button requires you to know how long and at what pressure you want to cook your food for. You can set it for anywhere from 0 (yes, zero!) minutes to 6 hours with high or low pressure.
The Pressure Cook setting is good for following Instant Pot recipes that give you a time and pressure setting. It’s easy, efficient, and made for everyday cooking–it’s the button I use most.
Pressure cook was also at one time the Manual button–so if you see Manual on your pot, just know it’s the same.
Recipes for the Pressure Cook button:
Soup/Broth Button
This button is used for cooking soup and broth. You can choose High/Low or Less/Normal/More depending on your pot, and in most pots you can set it for between 0 minutes and 6 hours of run time.
For soup without meat, select Less. For soup with meat, select Normal. For making homemade bone broth, select More.
Recipes for the Soup button:
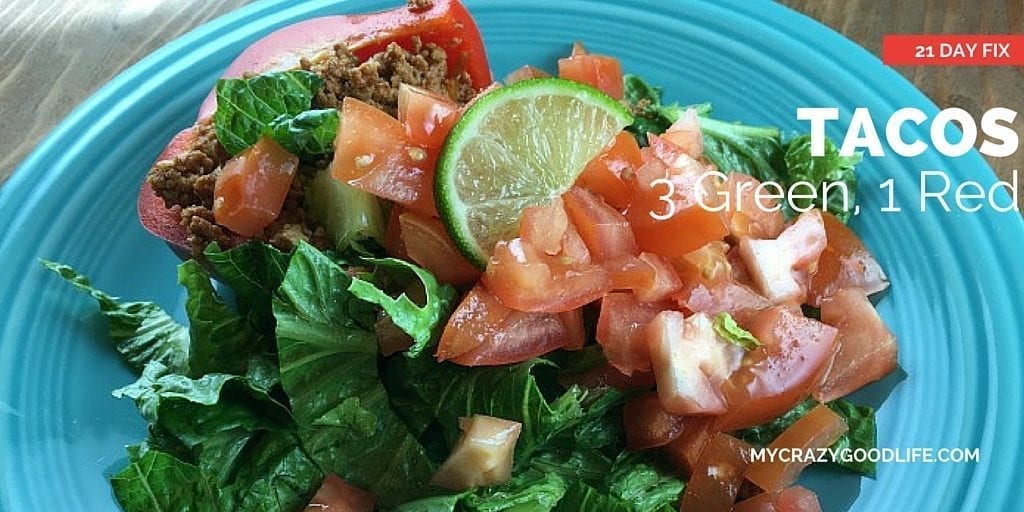
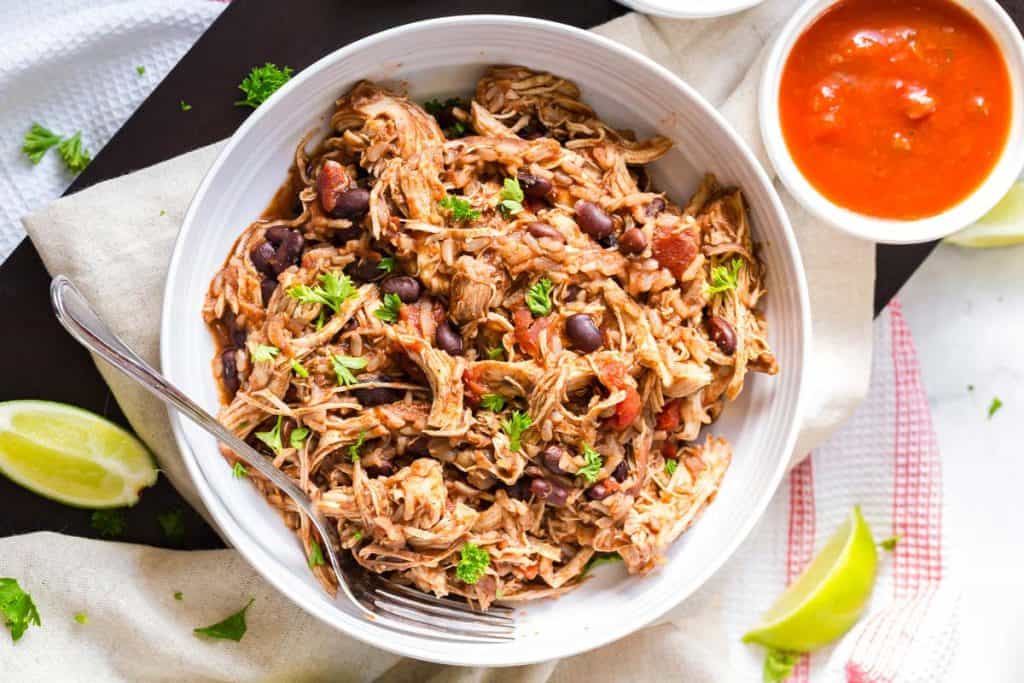
Meat/Stew Button
This Instant Pot preset is designed to cook meat perfectly. For soft meat, choose Less. For very soft texture, choose Normal, and for fall off the bone meat, choose More.
Allow the meat to rest for 5-30 minutes, depending on the size of the meat your cooking.
Recipes for the Meat/Stew Preset:
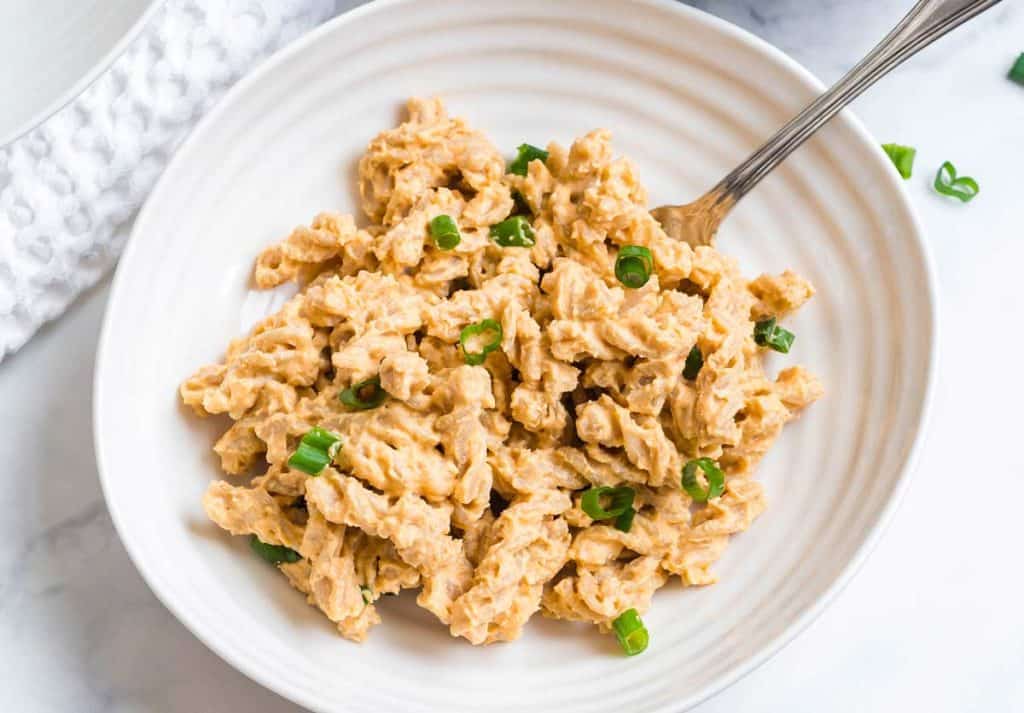
Bean/Chili Button
If you like to make dry beans, the Instant Pot is a game changer. No soaking required, you can use the bean setting to cook them Less/Normal/More depending on the texture you’d like. Always use a Natural Release when cooking beans.
Recipes for the Bean/Chili Preset:
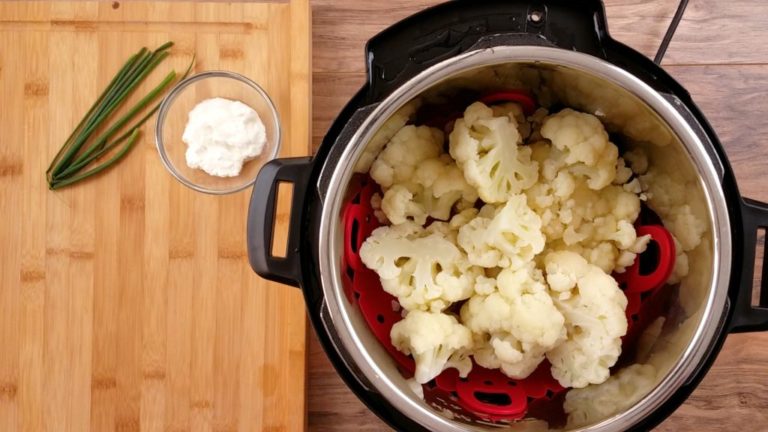
Steam Button
Use this to make fresh vegetables in your steamer basket or on your trivet. It can be set from anywhere between 0 minutes and 4 hours and you can choose to use low pressure, high pressure, or no pressure at all!
I love that this preset lets you turn off the pressure setting so you can just steam your veggies like you would on the stove but they’re all inside the Instant Pot. No mess, no watching over the stove, and no heating up the house!
Recipes for the Steam pre set:
Slow Cook Button
The slow cook setting is not a pressurized cooking option. You can choose between 2 hours and 20 hours, then choose the temperature. You’ll have low, medium, and high heat to choose from.
This isn’t my favorite cooking method because the Instant Pot is only heated from the bottom, not around the outsides like a traditional slow cooker.
Sauté Button
Sauté is another non pressurized cooking program on the Instant Pot, and I use it almost every time I turn my pot on. The sauté button turns on the high heat on the bottom of your Instant Pot and allows you to brown meat or cook veggies before pressure cooking. It’s an automatic 30 minute preset, but you can turn it off with the cancel button whenever you are finished.
Warm Button
The Warm or Keep Warm button turns your Instant Pot on low and allows you to choose between 10 minutes to 99 hours and 50 minutes of cook time.
It’s a non-pressurized cooking preset and you can choose the heat, low, medium, or high on the Ultra model. Warm is nice for reheating things or for keeping things that you’ve just cooked warm until it’s time to eat.
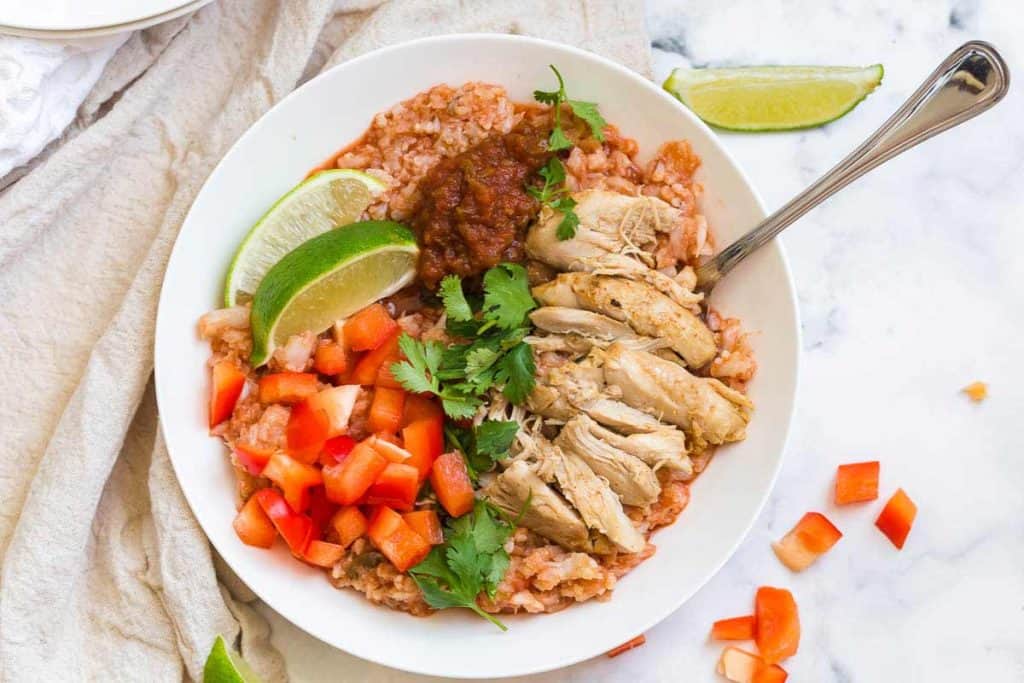
Rice Button
The rice button is an automatic setting, and it’s pretty cool. The Instant Pot automatically detects the volume in the pot and adjusts the cooking pressure and time accordingly. Instant Pot has said that this preset button is supposed to be used with white rice. Looking for more information about cooking white rice in the Instant Pot?
If you are wanting to cook brown rice in the Instant Pot you should check out this post about how to cook brown rice in the Instant Pot. Brown rice takes a bit longer but between rinsing, coming to pressure, cooking, and cooling, it takes about 35 minutes total.
Porridge Button
The porridge button is used to cook oatmeal. You can set it from 0 minutes to 4 hours on Less/Normal/More, depending on the type of oatmeal you are cooking. Less is good for steel cut or rolled oats, normal is for white rice porridge, and More is for Rice Porridge with various grains.
Recipes that you can use with the Porridge preset:
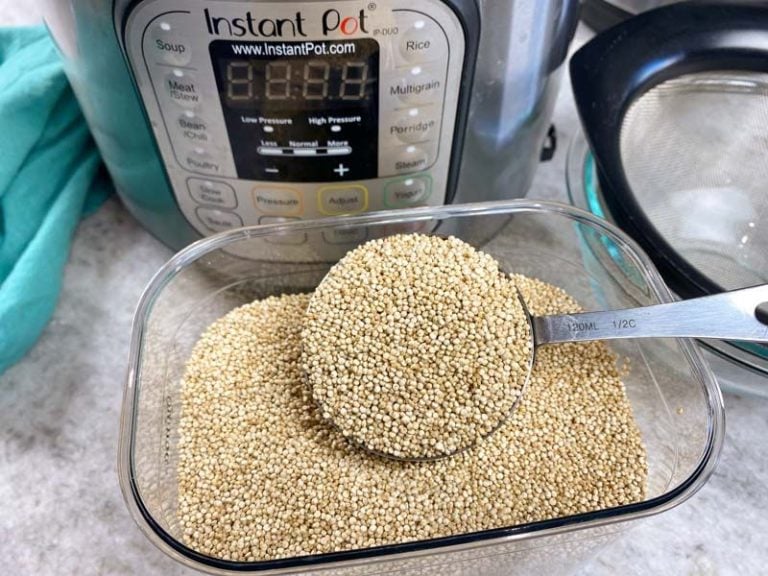
Multigrain Button
Multigrain button on the pot is for cooking things like quinoa, brown rice, ancient grains, and more. It’s easy to use and your Instant Pot manual will give you a breakdown of the water needed for each type of grain.
The pressure can be set to low or high and you’ll be able to choose from 0 minutes to 4 hours of cooking time.
Cake Button
The cake setting is available on the Lux, Duo Plus, Ultra, and Viva models. It’s designed to create light, fluffy, perfectly baked cakes right there in your Instant Pot.
The time can be programmed from 0 minutes to 4 hours and you can choose between low pressure and high pressure, you can also choose to use no pressure at all on the Ultra model!
Recipes to use with Cake preset:
Egg Button
The egg button on the Instant Pot is designed to cook hard boiled eggs. You can vary the time between 0 minutes and 30 minutes to get them just the way you like them. I use this recipe for perfect hard boiled eggs in the Instant Pot.
Sterilize Button
The sterilize button on the Instant Pot is for sterilizing dairy as well as equipment for water canning. It’s also nice if you want to control the temperature and settings for sterilizing other kitchen items!
You can choose to use no pressure, low or high pressure, and you get to pick the time setting between 0 minutes and 4 hours.
Yogurt Button
The yogurt button is designed to help you make yogurt at home. It’s a pretty cool process actually. I use this recipe to make yogurt at home.
This is another of the non-pressurized Instant Pot presets so you’ll just be using the heat and timer essentially. It can go from 30 minutes to 99 hours and 50 minutes on whichever temperature setting you choose.
Most pots are preset with 8 hours at a low temperature to give you the perfect homemade yogurt every time!
Ultra Button
Ultra is a fairly new cooking preset on the Instant Pot presets list and it’s exclusive to the Ultra model. With this preset you’ll be able to control every bit of the cooking parameters. You can adjust every setting to get the ultimate custom cooking experience.
What’s the Poultry Button?
The Instant Pot has evolved over time. It will default to 15 minutes at high pressure. You can adjust the cooking time to more or less if you’d like. This is one of those cooking functions that you can adjust for the perfect time depending on what type of meat you have in the pot.
Wait–I have more Instant Pot buttons!
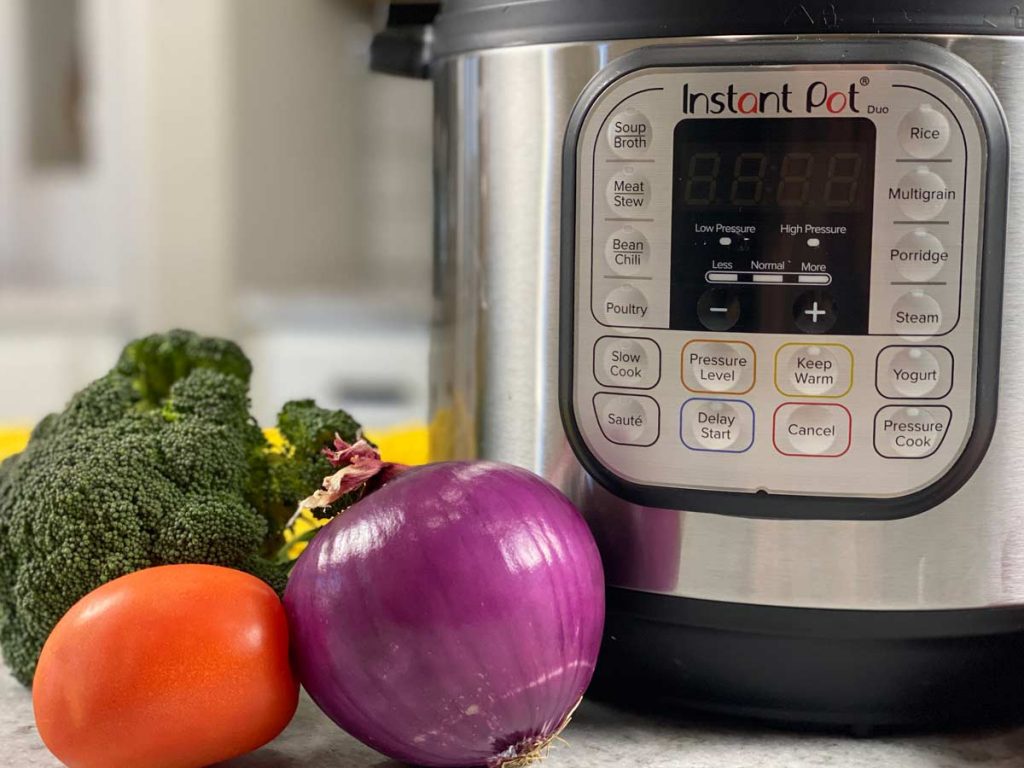
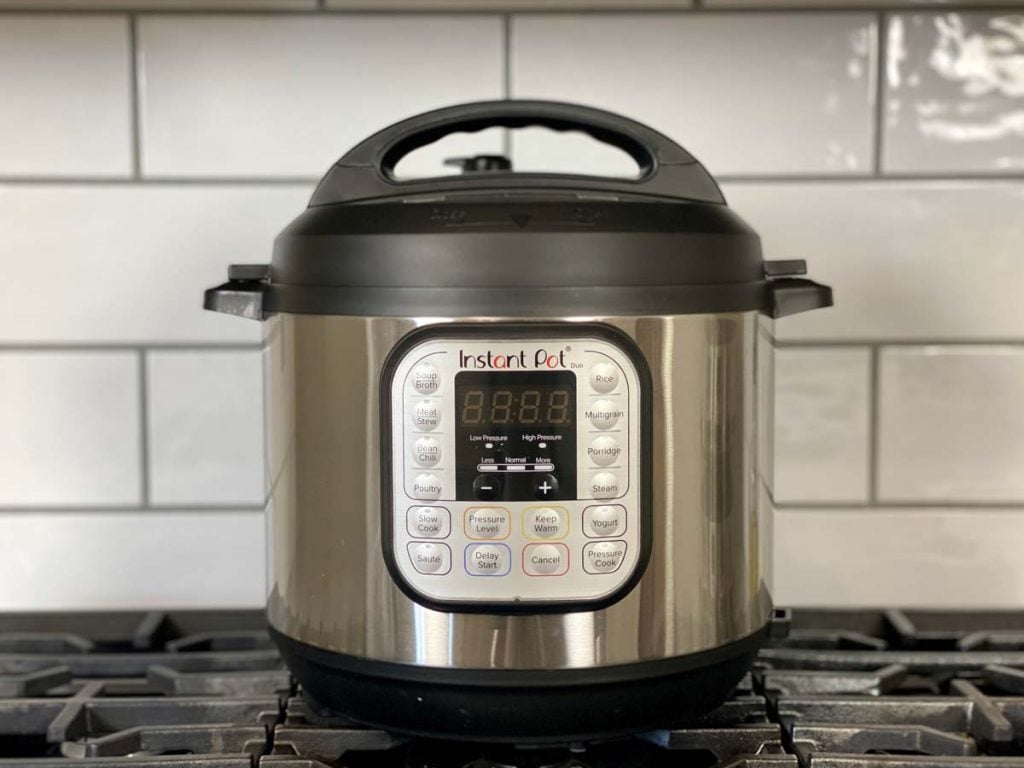
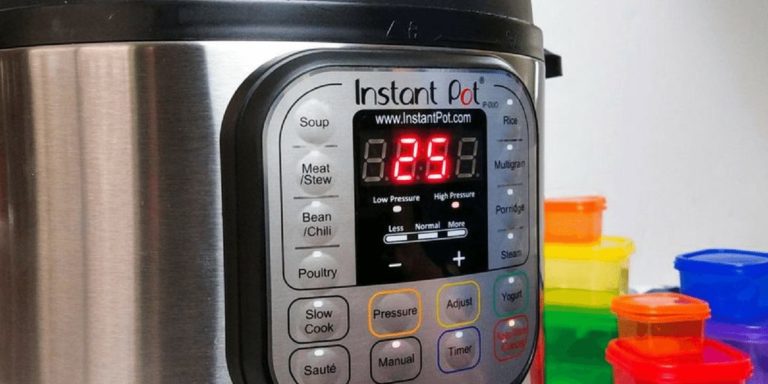
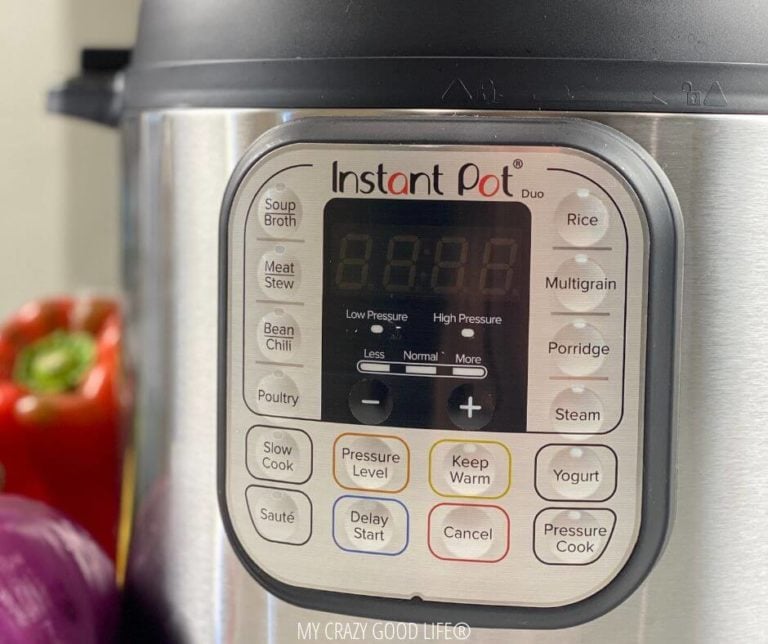
If your Instant Pot is like mine (an IP-DUO model) it also has buttons that say Pressure Level, Delay Start, and Keep Warm. They all do exactly what they say they do.
The Pressure Level button will adjust the pressure on your pot between low and high. The lights will indicate which level it is currently set for.
The Delay Start button allows you to set a time and your Instant Pot will count down from that before turning on and starting to heat/pressurize. This is great if you want to let it start cooking something and you aren’t home (but know that some foods aren’t ok to be left out before cooking).
Keep Warm button is a setting that you can choose to turn on or off with each program. If the light is lit up, your pot will keep a low heat even after the cooking time is done. This is nice if you are doing a natural pressure release because it keeps the food from cooling down too much during that time.


Did you love this recipe?
Make sure to comment below so we can chat about it!