This site contains affiliate links. Please see Policies for more information.
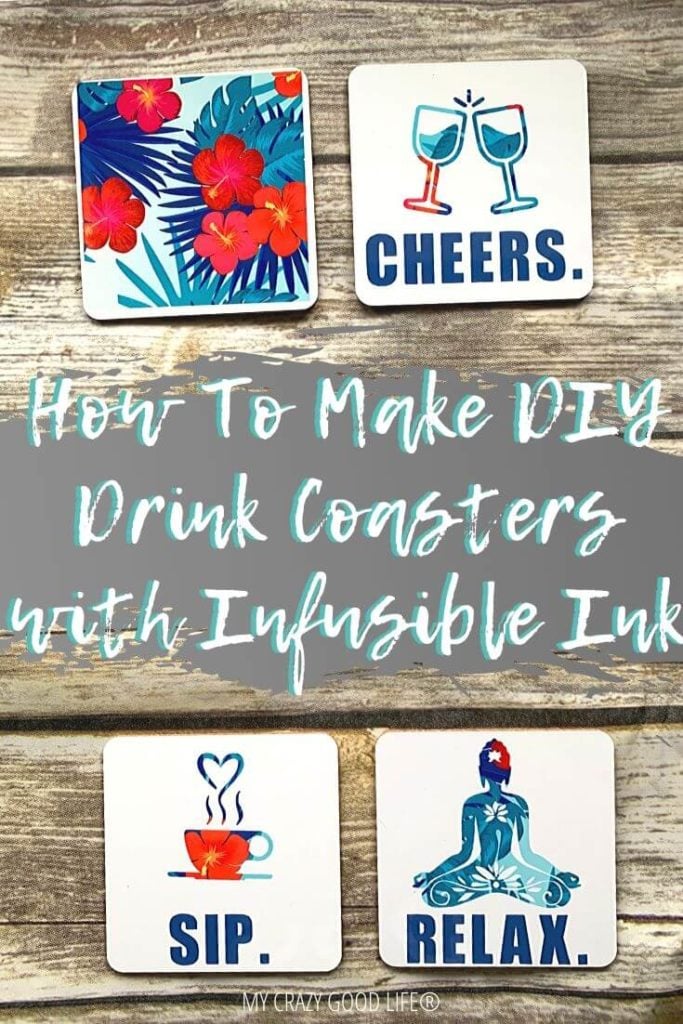
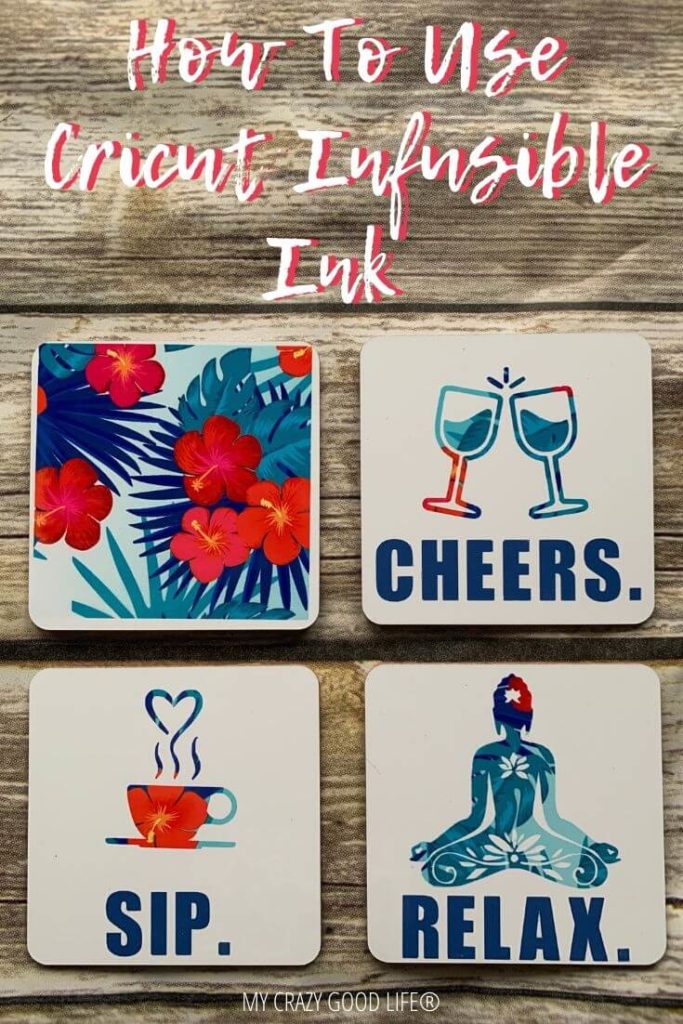
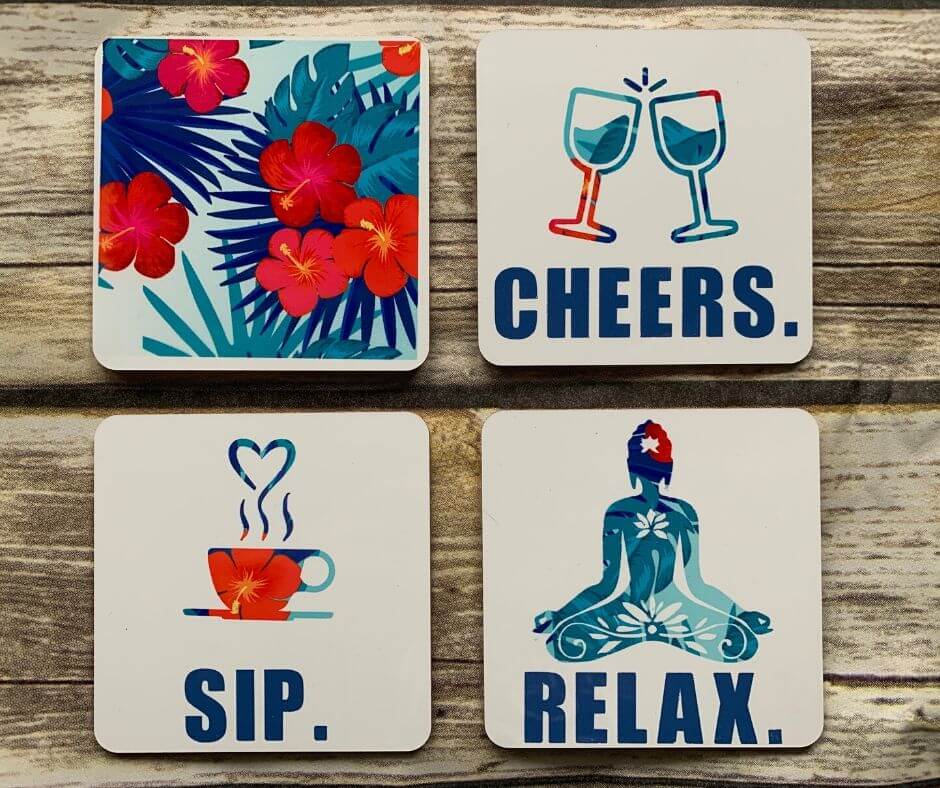
I’m going to show you how to use Cricut infusible ink to make these gorgeous drink coasters! They make a great DIY gift for friends, family, and everyone on your list.
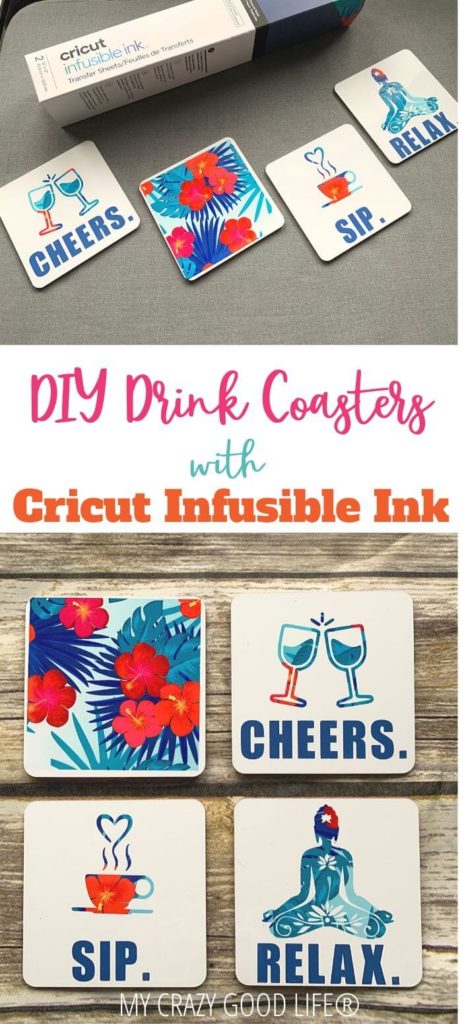
What is Cricut infusible ink?
Infusible ink is a new medium that Cricut released. It’s a way to permanently infuse vibrant designs onto compatible blanks for projects that last as long as the materials they’re attached too!
Making projects with a permanent ink is fun and easy. The material is designed like card stock so it can be cut on the Cricut Maker or other cutting machines. Then you just flip it over and use your Easy Press 2 to heat the design up to 400 degrees F.
Before you know it the ink has been “infused” into the coasters, shirts, tote bags, shoes, etc. Since the design is made with ink and not vinyl you can use the items right away, there’s no dry time, and they last forever. No fear of washing the design away or vinyl peeling off!
Can I use any kind of blank for infusible ink?
As of now you can use the Cricut brand blanks only. The process is fairly new so perhaps in the future there will be a wider variety of options, more brands, etc.
If you use a blank for your project that is not Cricut brand the ink may not properly adhere or last. If you are going to try and use material that is not Cricut brand I’d suggest something with a high polyester percentage. 100% would be best but at least a 60% polyester blend for best results.
Do I have to use the Cricut Easy Press 2 for Infusible Ink projects?
You do not have to use the Cricut EasyPress 2 for all of your projects with infusible ink. You need a press that can get up to 400 degrees. If you have the original EasyPress you may be able to make it work it might just take longer than the 60 seconds required to infuse the ink onto your blanks.
Another thing to keep in mind is that you want something steady and large enough that you don’t have to repress. Infusible ink can only be pressed once. So make sure you are working with a surface that is large enough to accommodate your entire project in one pressing.
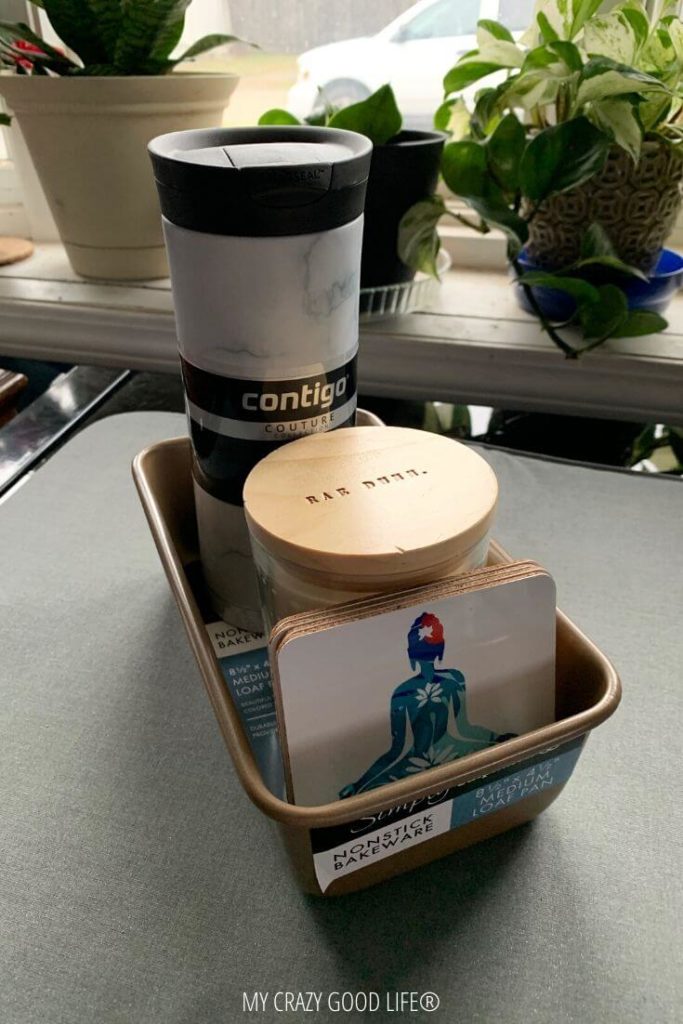
Where can I buy Cricut blanks and ink transfers or pens?
As of now most of the items can be purchased online at various retailers and through Cricut, if you want to shop in stores you can visit Michael’s Stores for supplies.
They sell the coasters sets, infusible ink pens and markers, Cricut machines, heat presses, laser copy paper, and other blanks for seamlessly smooth designs with vibrant colors.
Initially the infusible ink line was exclusive to Michael’s Stores but it’s been out for some time now and can also be purchased online via Cricut and some items pop up on Amazon as well. Buying your base material and infusible ink products from a reputable source will make sure they are fresh, authentic, and provide the best results!
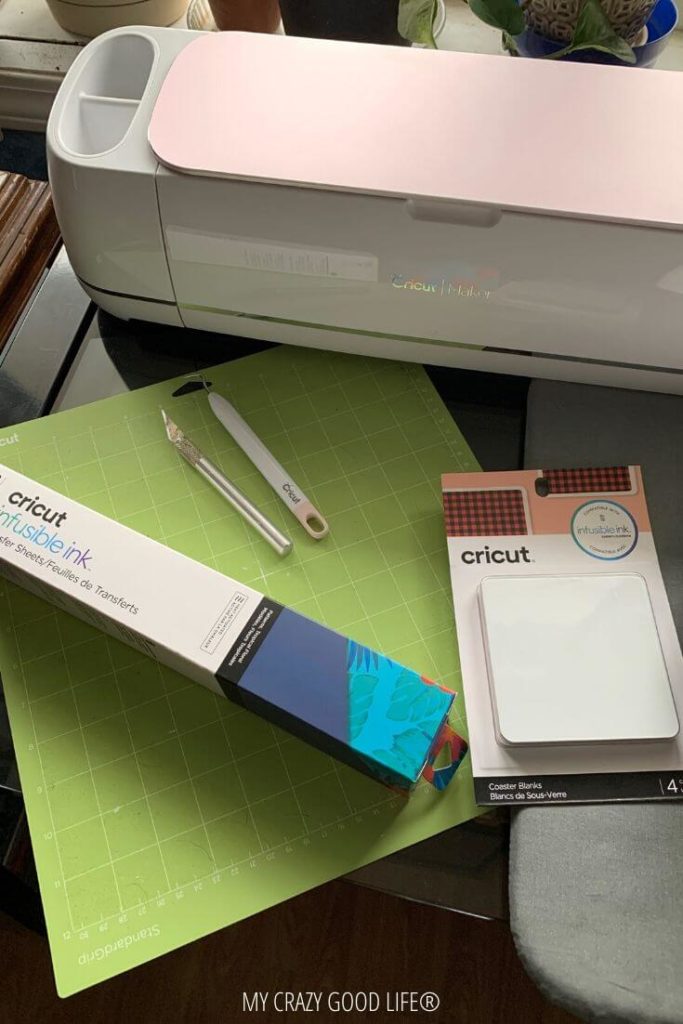
How To Use Cricut Infusible Ink:
Let’s take a look at how the infusible ink works! I’m working with the transfer sheets, one tropical design and one solid color sheet for this project of adorable DIY drink coasters.
The first thing I like to do is make my designs in Design Space. If you need a Design Space tutorial I have one of those for you. I’m making some cute sayings for my coasters using the font Impact in all capitals. For the one coaster I’ll be doing a solid square because the designs are so vibrant and beautiful I want you to be able to see how gorgeous they are when finished.
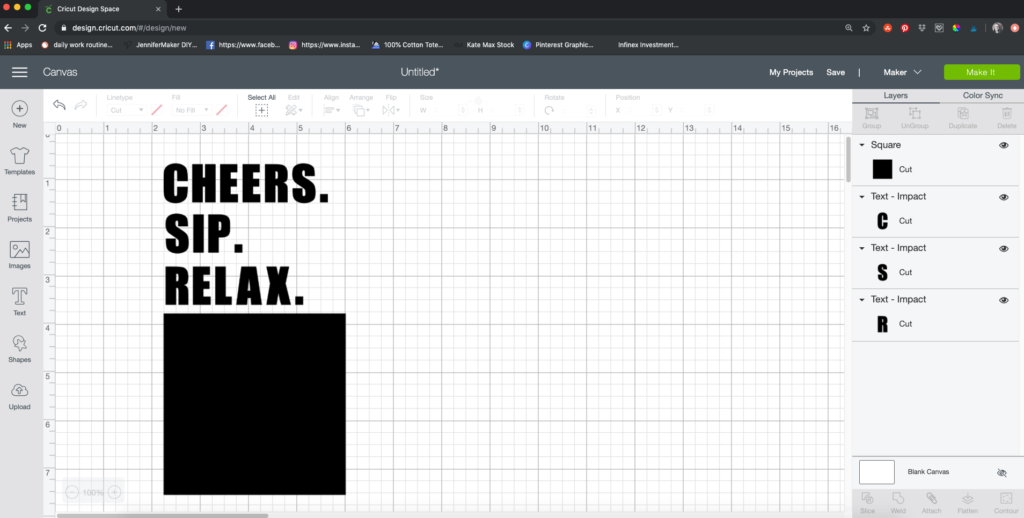
For each coaster I’m also adding a little clipart design, you can use whatever images you like from Cricut Access, Google, Etsy, etc. Just make sure you have permission for your designs if you are selling finished projects!
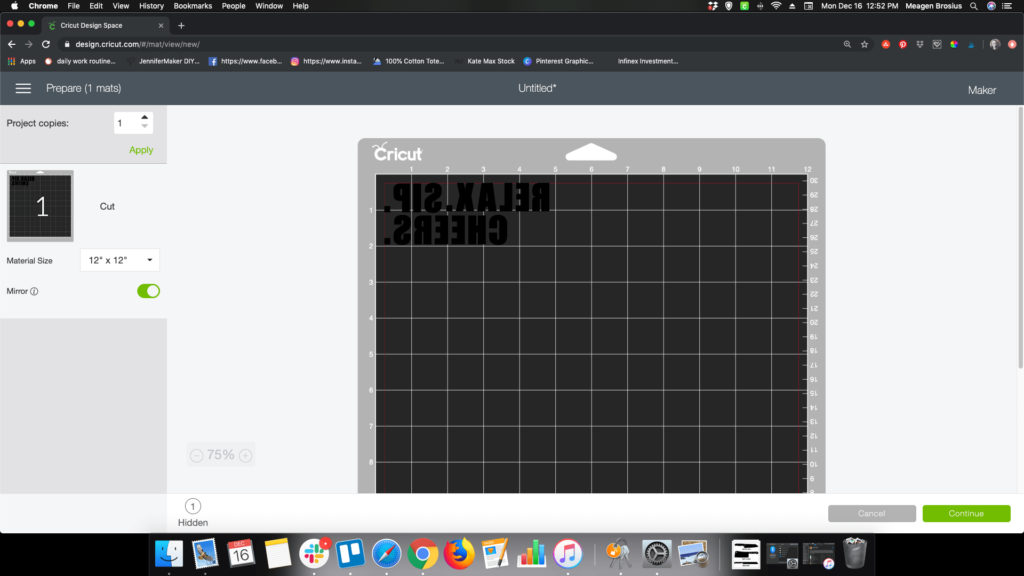
The square coasters are 3.75 inches so you can size your designs appropriately and then go to cut. Whenever you are working with Cricut infusible ink you need to mirror your designs.
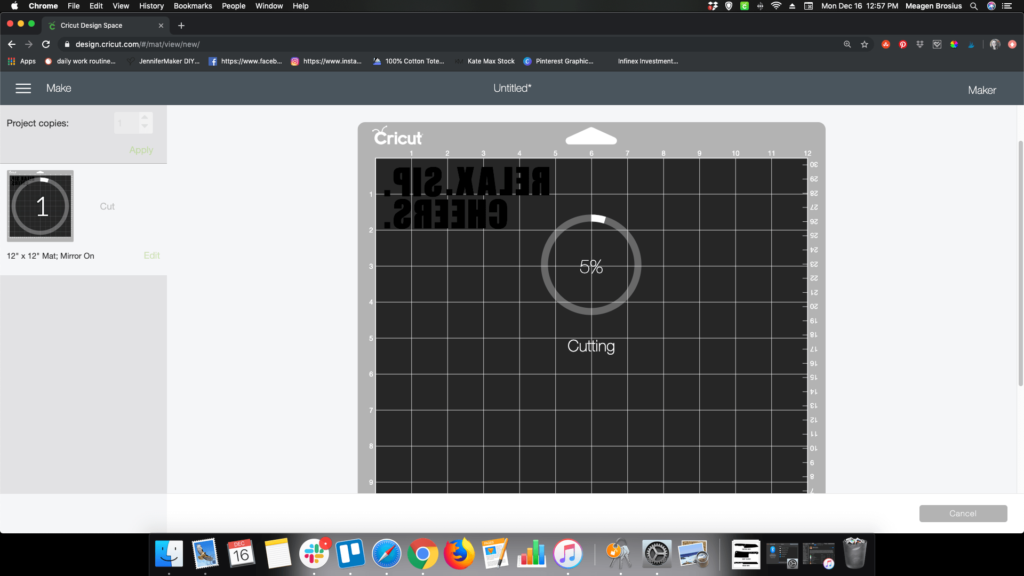
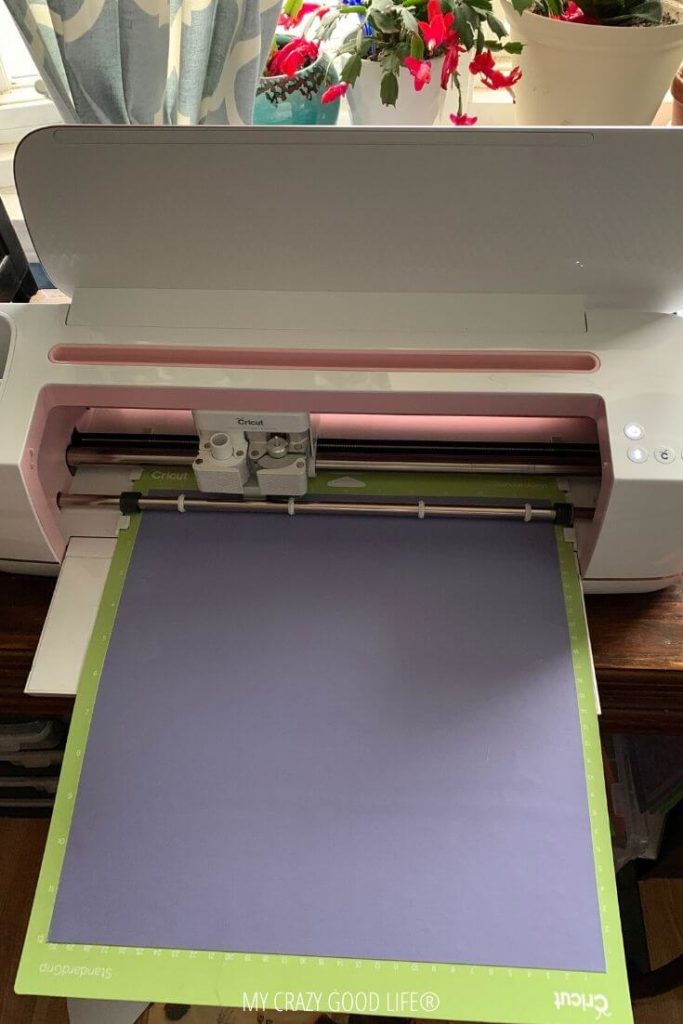
Cut the designs and then weed them like you would any other project. Remove excess material that is not part of the finished design. The designs should be cut with the colored side facing up. Do you over handle the sheets and make sure your hands are clean and dry. Place them down gently and use a gentle scrap with your scraper to attach them to the mat.
Make sure your blanks have been wiped down with a clean, lint free cloth. You can also pre-press your drink coasters with a piece of butcher paper over them for 15 seconds at 400 degrees to make sure that all the potential moisture is evaporated.
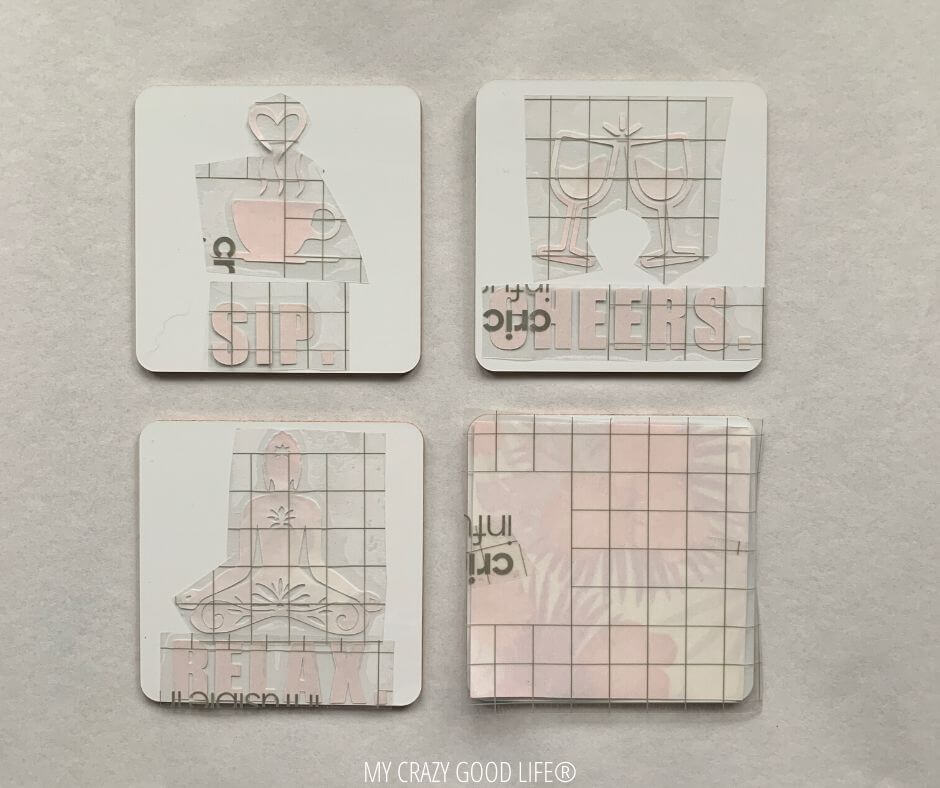
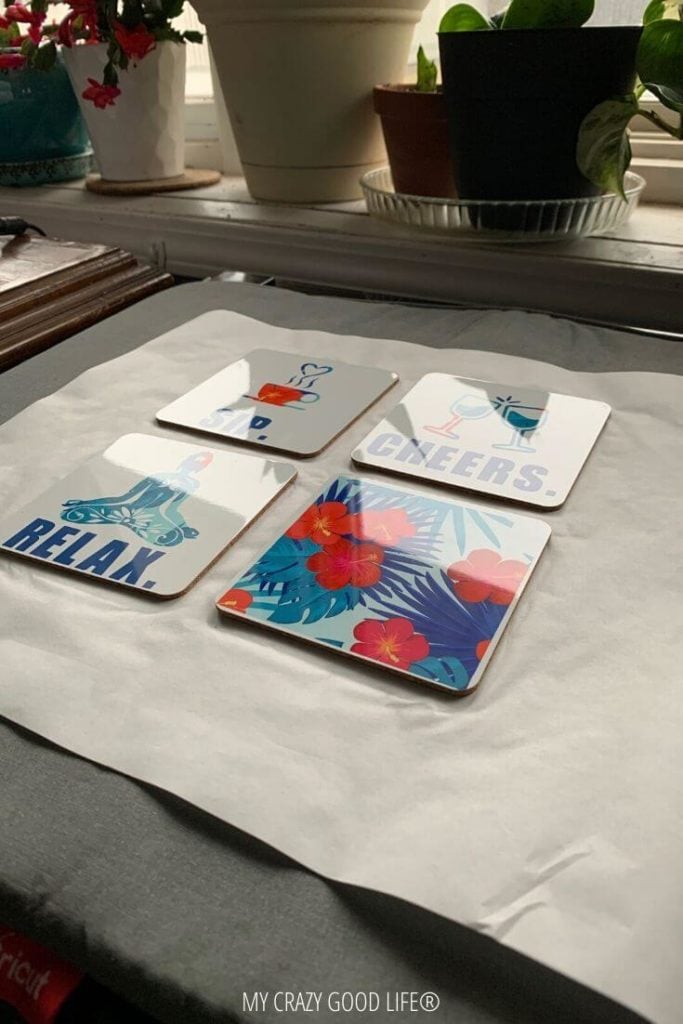
Leave them to cool completely before attaching your designs face down, white / shiny side facing up. Cover them with a piece of butcher paper and then a sheet of white card stock.
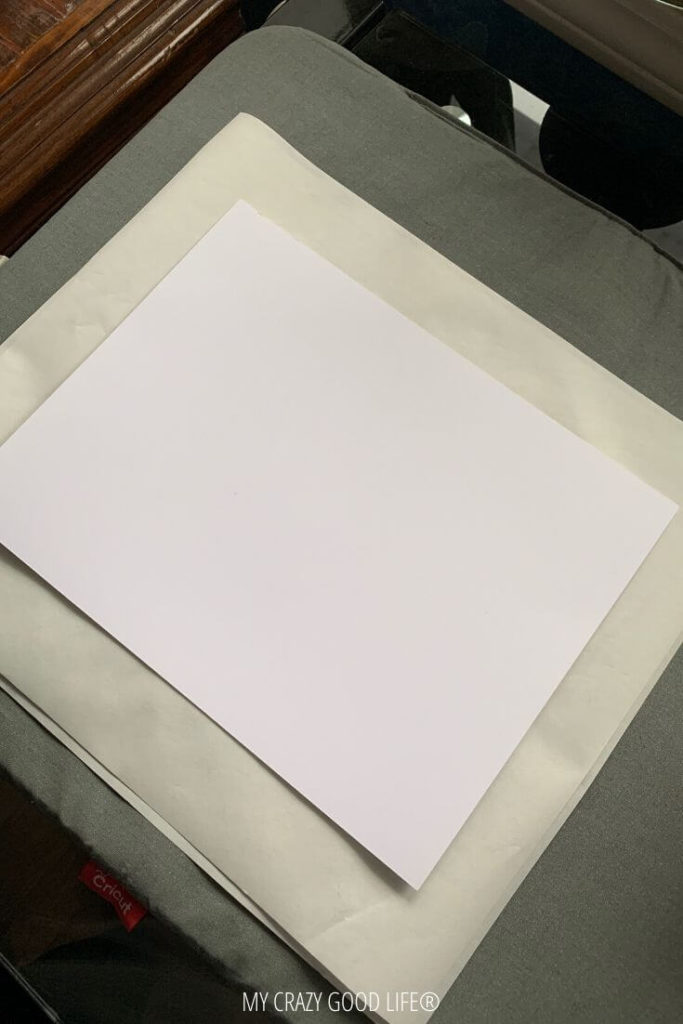
Carefully place your preheated EasyPress 2 on top of the stack of materials and do not move it for 60 seconds. You do not need to press down but it’s important you do not wiggle it around or slide it around, this can cause the edges to blur or bleed.
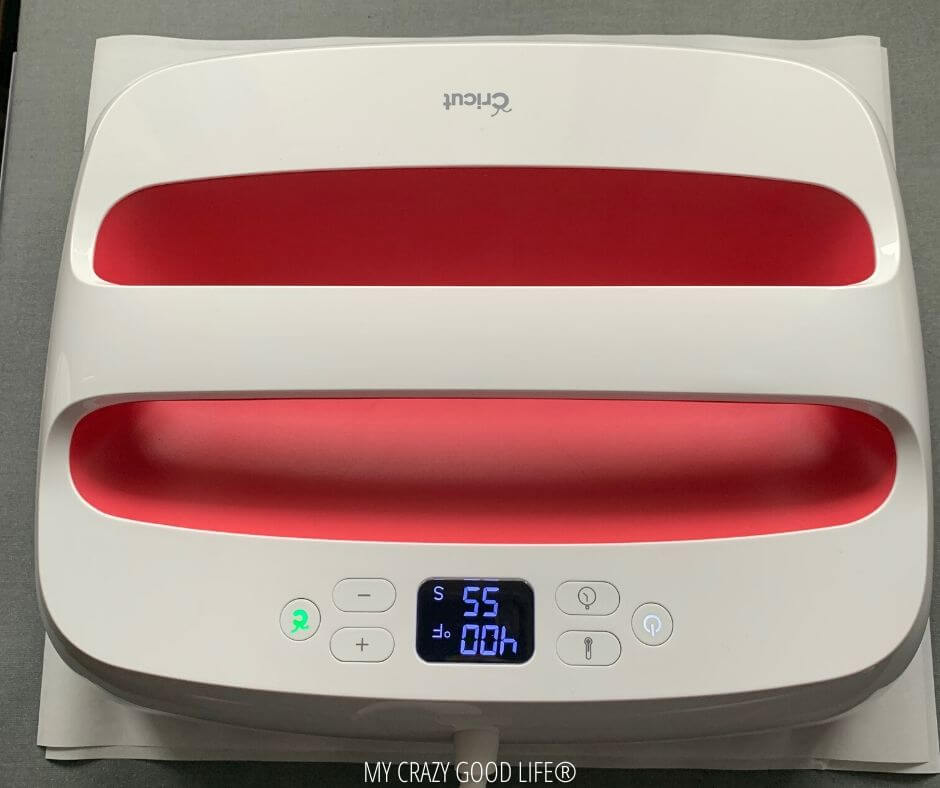
Once the EasyPress beeps you can remove it by lifting it straight up without disturbing your materials.
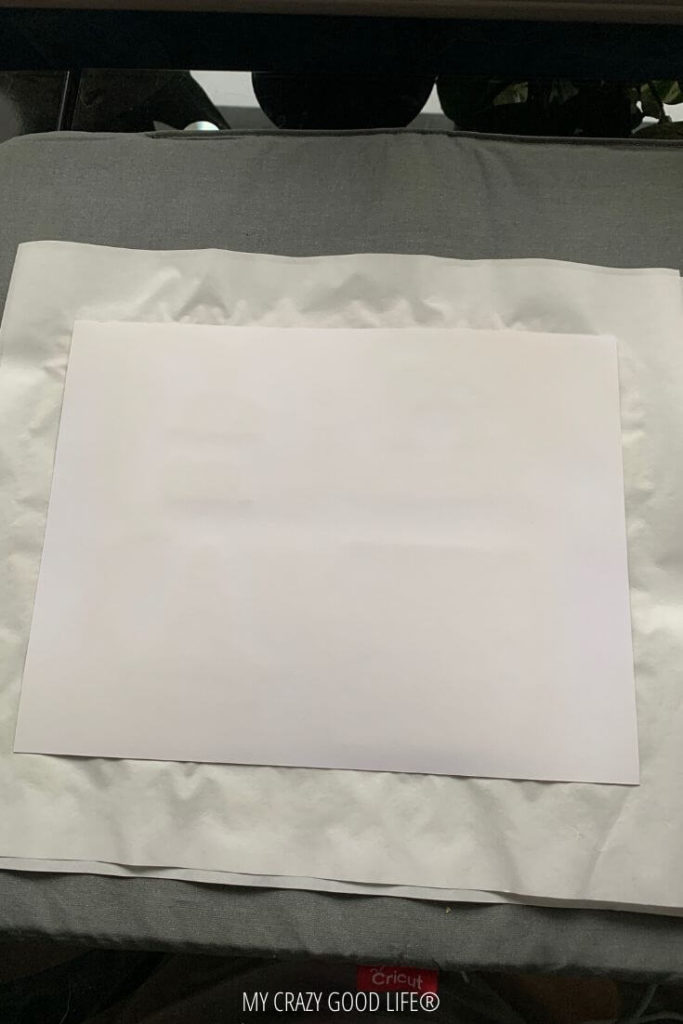
Allow them to cool completely before touching them. The drink coasters and any materials touching them will be very hot. The burn warning on the packaging is not a joke!
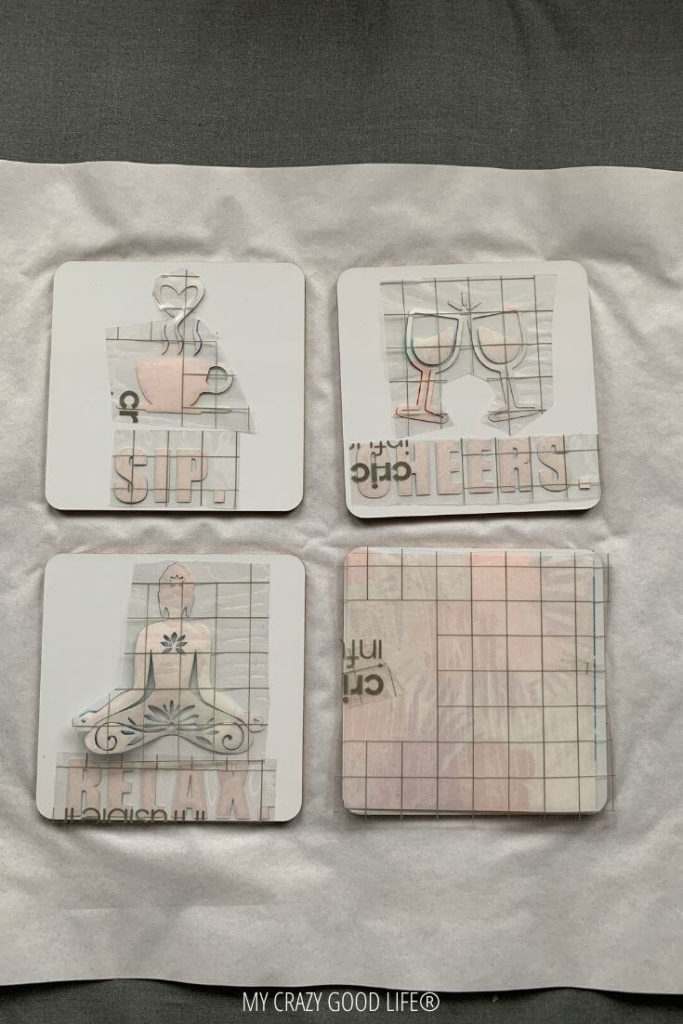
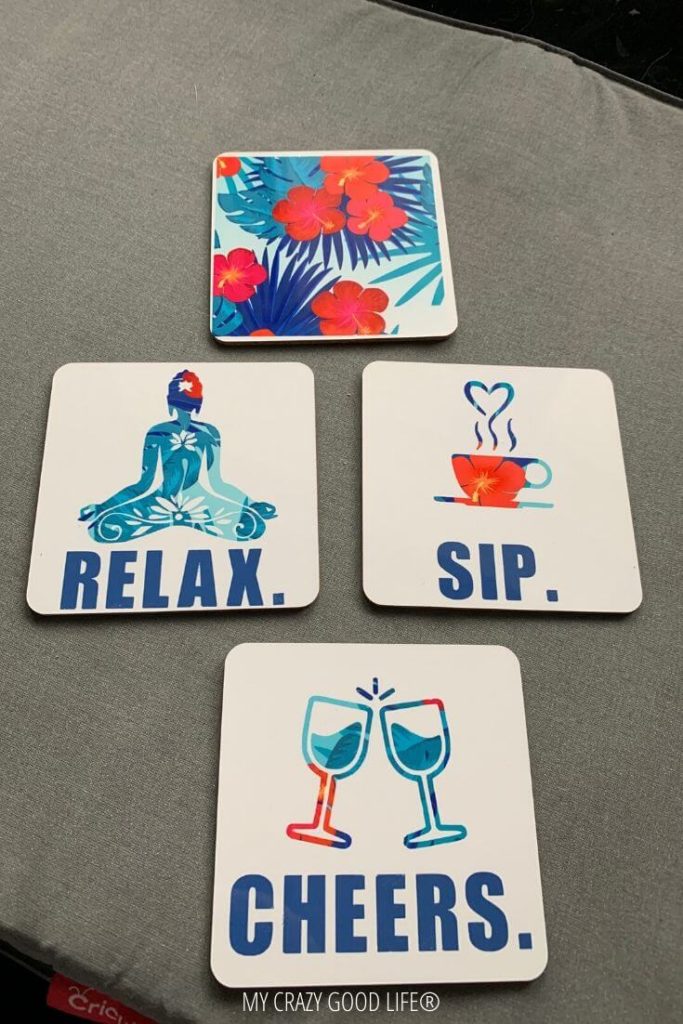
Remove all of the backing and materials from your gorgeous DIY drink coasters and revel in the beauty of your finished project. It’s that simple. They are now ready to be used, gifted, wiped down, etc. They are completely dry, entirely cured, and permenanty. There’s no need to seal them, coat them with anything or wait to get them wet!
Tips for flawless application of Cricut infusible ink:
- I would recommend getting some of the Cricut heat resistant tape to hold your designs in place a little more securely. I didn’t have any and you can see the one got a little bit askew.
- Don’t worry about the colors not seeming as bright on the paper when you pull it from the box. It will be SUPER VIBRANT once it is pressed, that’s just the way it looks on the roll.
- Infusible ink does not last forever, the materials have a shelf life of about 1 year. So make sure you don’t stock up in the traditional way that you might with other materials. Just buy what you will use.
- Use the Cricut branded blanks. It seems odd because we’re so used to being able to get cheaper supplies from somewhere else but to get the best, most vibrant, permanent results you should use the Cricut branded supplies.
- You can press down a little bit on the EasyPress as long as you can do it without moving the press itself. The edges will be more crisp with a little bit of steady pressure.
- Make sure to press for the full 60 seconds, using an EasyPress mat will protect your surfaces from such a high heat for so long, but the temperature and time is necessary to fully infuse the ink!
- Use tweezers to remove the excess from your designs and do your weeding. It’s a card stock like material and the pick that we use for most things won’t work great to remove small pieces.
- Cut your designs away from the larger sheet to weed them so you aren’t handling the ink sheets too much. This will also help you save more of your ink for future projects.
Looking for links to purchase Cricut machines or project supplies?
Here are the links you will need to shop for Cricut machines and project supplies!
- Cricut Machines
- EasyPresses
- BrightPad
- All Cricut Vinyl
- Mats
- Premium Cricut Access
- Cricut Access Fonts
- Cricut Flash Sales
Interested in doing more Cricut projects?
I have a lot of Cricut tutorials here for you to check out. They are simple, easy to do projects. I also have some instructional posts to help you learn how to use the features of your Cricut and the Design Space program.
- Free Cricut Downloads
- Cricut Design Space Tutorial
- How to Center Text on a Cricut Project
- What Is A Reverse Canvas
- Which Vinyl To Use
- Main Street Electrical Parade Shirt
- How to Make Cricut Paper Flowers
- Cricut Text in Shape Tutorial
- How to Slice in Cricut | How to Slice in Design Space
- Gorgeous DIY Yoga Shirt + Free Zen AF SVG!









Did you love this recipe?
Make sure to comment below so we can chat about it!