This site contains affiliate links. Please see Policies for more information.
Have you seen the gorgeous reverse canvas signs that are all over the internet and the crafting world? Wondering how you can make a reverse canvas sign at home? Learning how to make a reverse canvas sign is quick and easy. Here’s a photo tutorial that covers all the steps from start to finish!
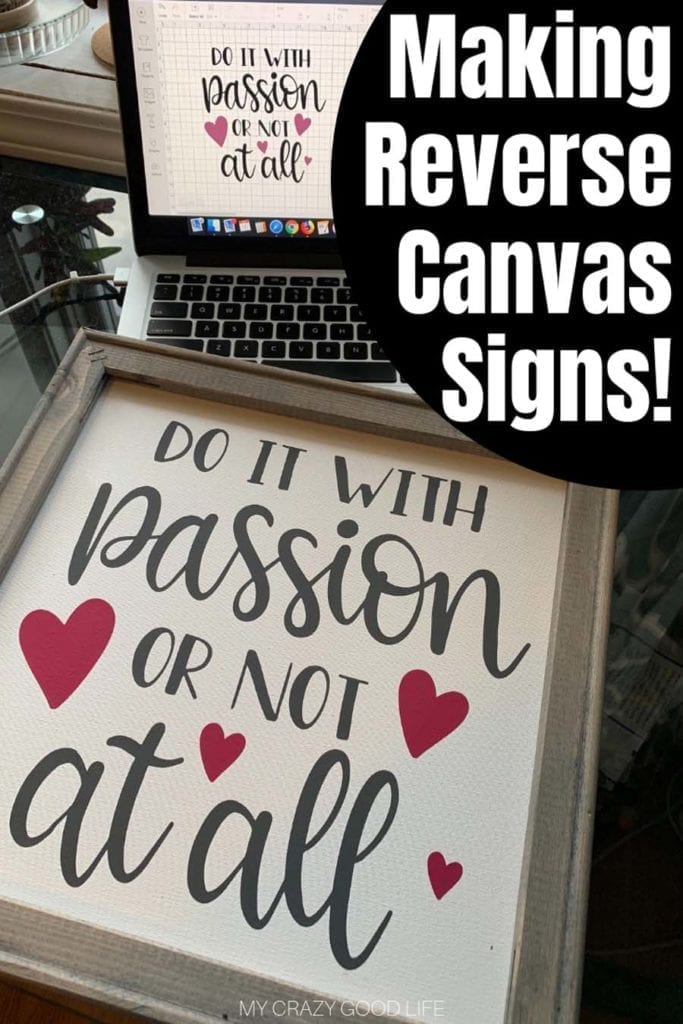
First you’ll need to make a reverse canvas.
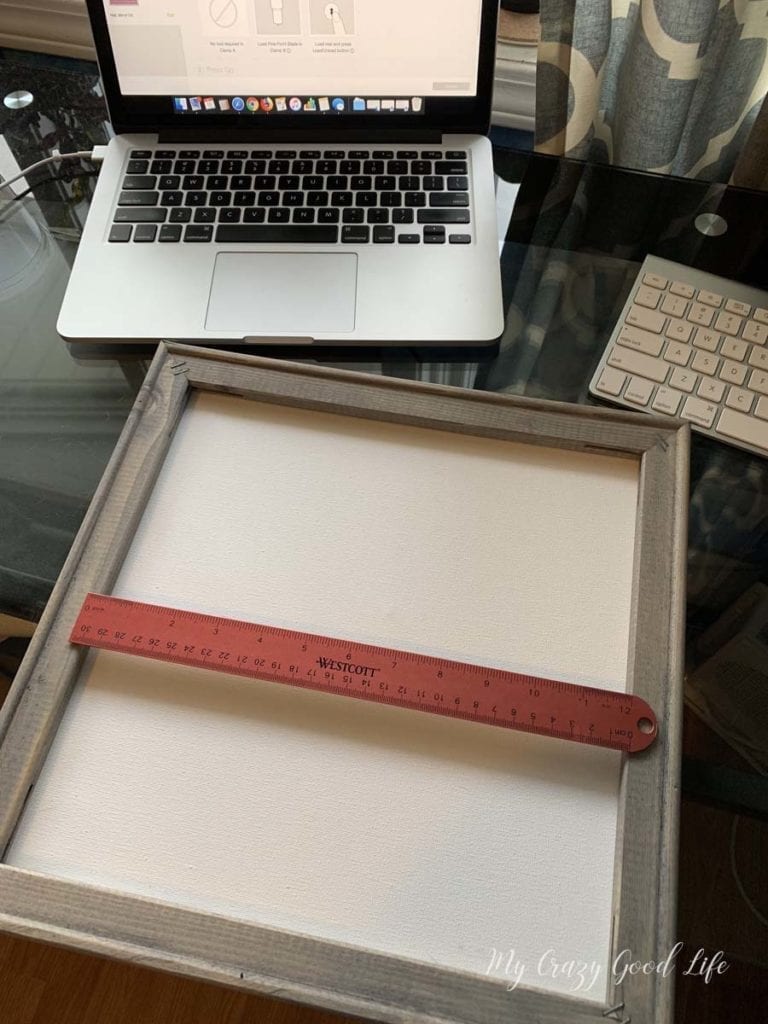
Products used to make a Reverse Canvas Sign:
Amazon Shopping Links:
I love shopping on Amazon because I can have most of my supplies delivered in two days. Here are some links to products that I used for this project that you can shop for online:
- Cricut Tools | Mats Pack
- Cricut Tools Big Pack 12×24 Mats
- Siser Heat Transfer Vinyl Bundle
- Teflon Sheets, Pack of 5
- Rectangle Back Stapled Canvas Variety Pack
- Square Back Stapled Canvas Variety Pack
- Cricut Maker
- Cricut Explore Air 2
- Cricut EasyPress
- Cricut BrightPad
Cricut.com Shopping Links:
- Cricut Machines
- EasyPresses
- BrightPad
- All Cricut Vinyl
- Mats
- Premium Cricut Access
- Cricut Access Fonts
- Cricut Flash Sales
Next up you’ll need to decide on or create a design.
Love SVG has tons of amazing designs that you can use to make your very own reverse canvas sign. Just choose one that suits your fancy and upload it to Design Space for Cricut.
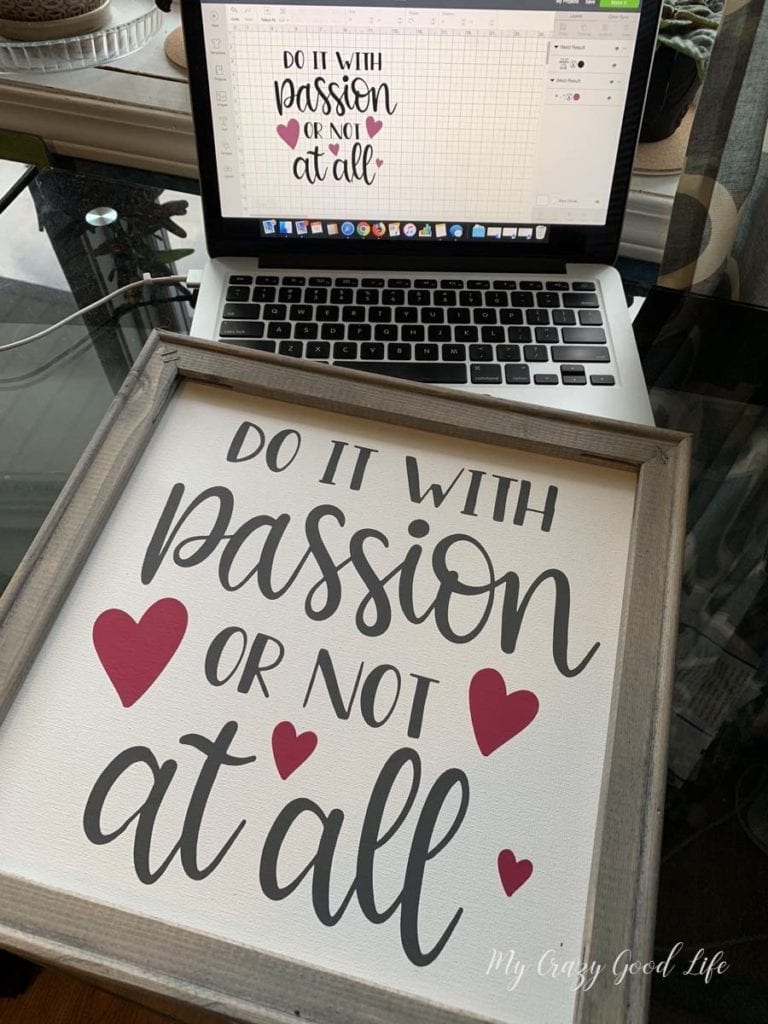
Once you have your design uploaded you’ll need to size it to fit. I usually double check and re-measure my canvas to be sure. My design this time was a little more than 10 x 10 inches.
Next we need to click “make it” and be sure to turn on mirror since we are using heat transfer vinyl which is cut in reverse!
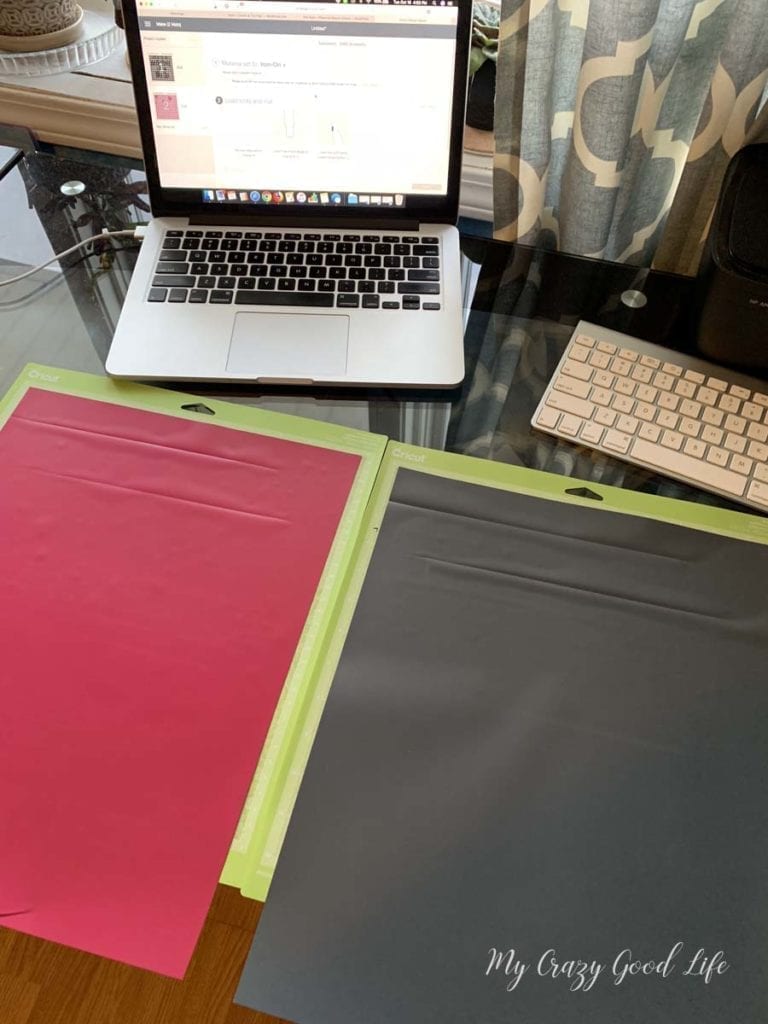
Prep your mats and cut your design.
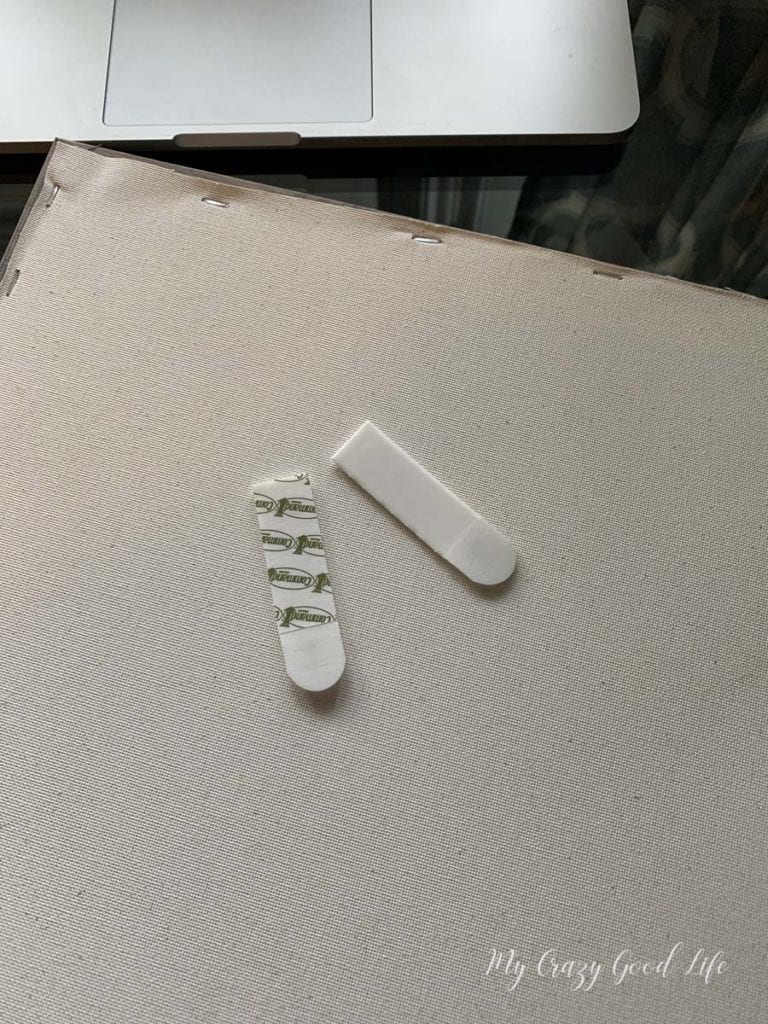
Now we are ready to attach our hardware for hanging the sign while the design is cutting!
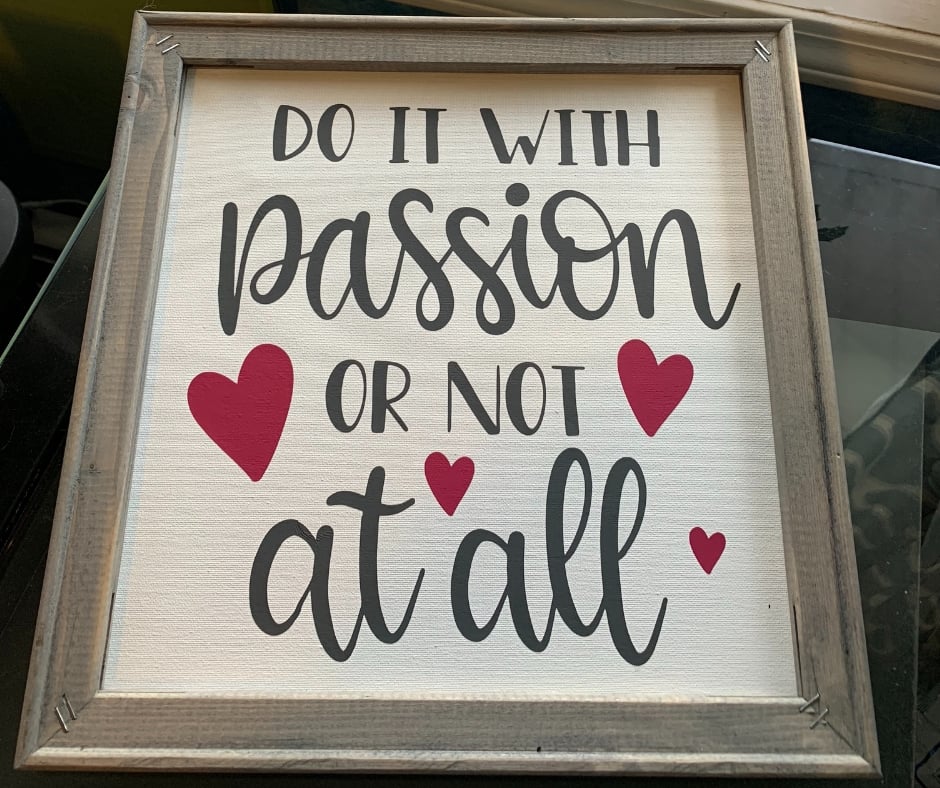
Finally we can iron on the vinyl! I’m doing my quote portion first and adding in the hearts afterwards.
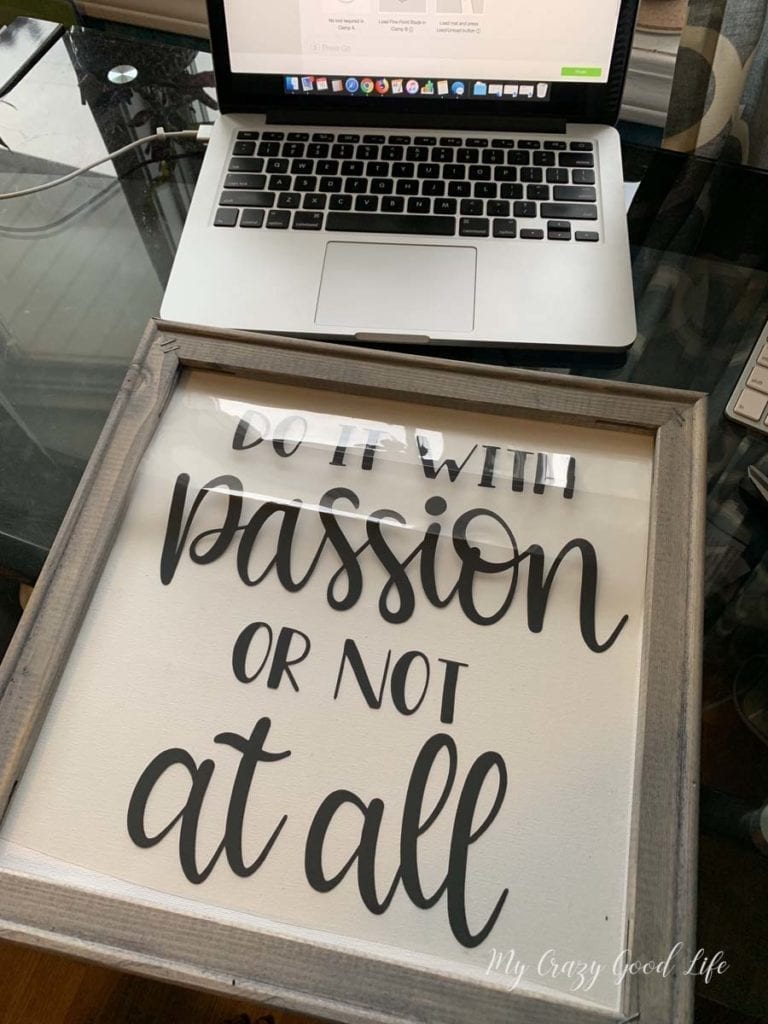
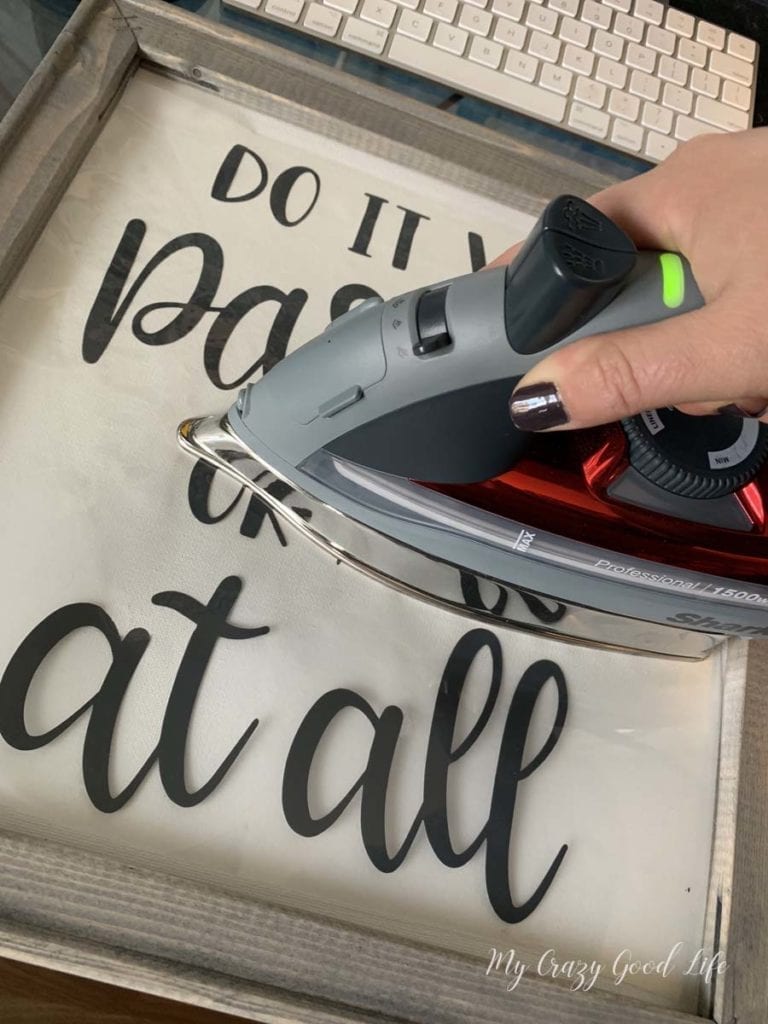
The temperature of your iron is completely dependent on the vinyl you’re using. Check the manufacturer’s notes for the optimal temperature of your vinyl.
I always iron on once to remove the backing on the HTV and then a second time with a teflon sheet or a piece of parchment paper.
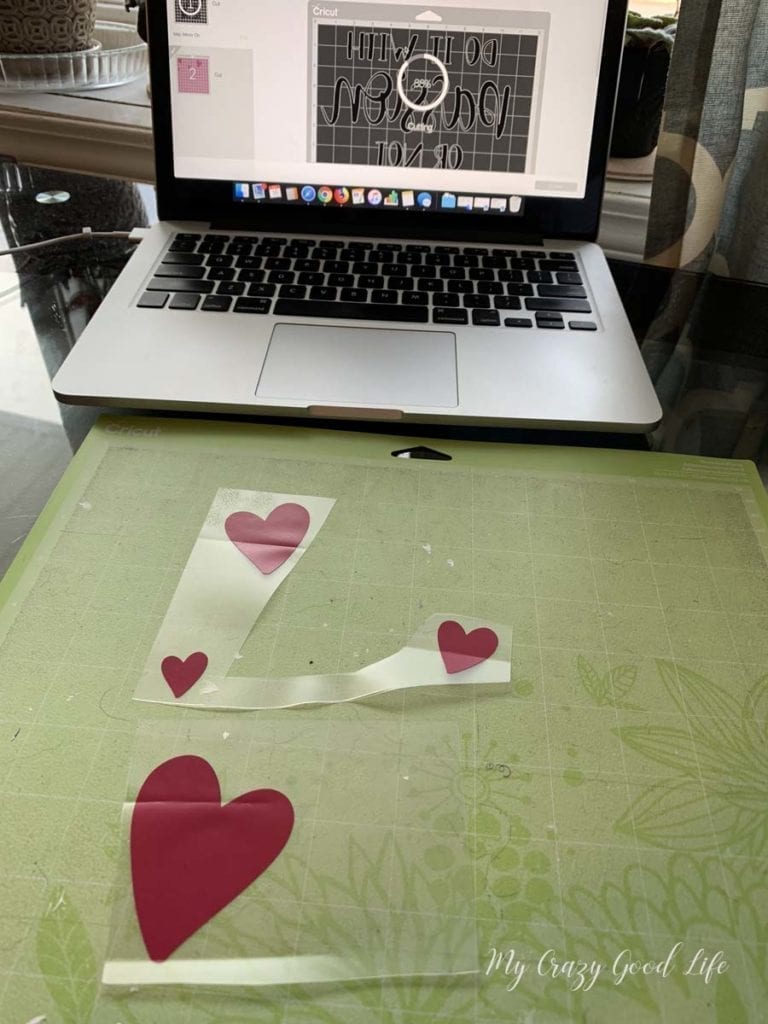
Now we’ll add in the pop of color with our hearts!
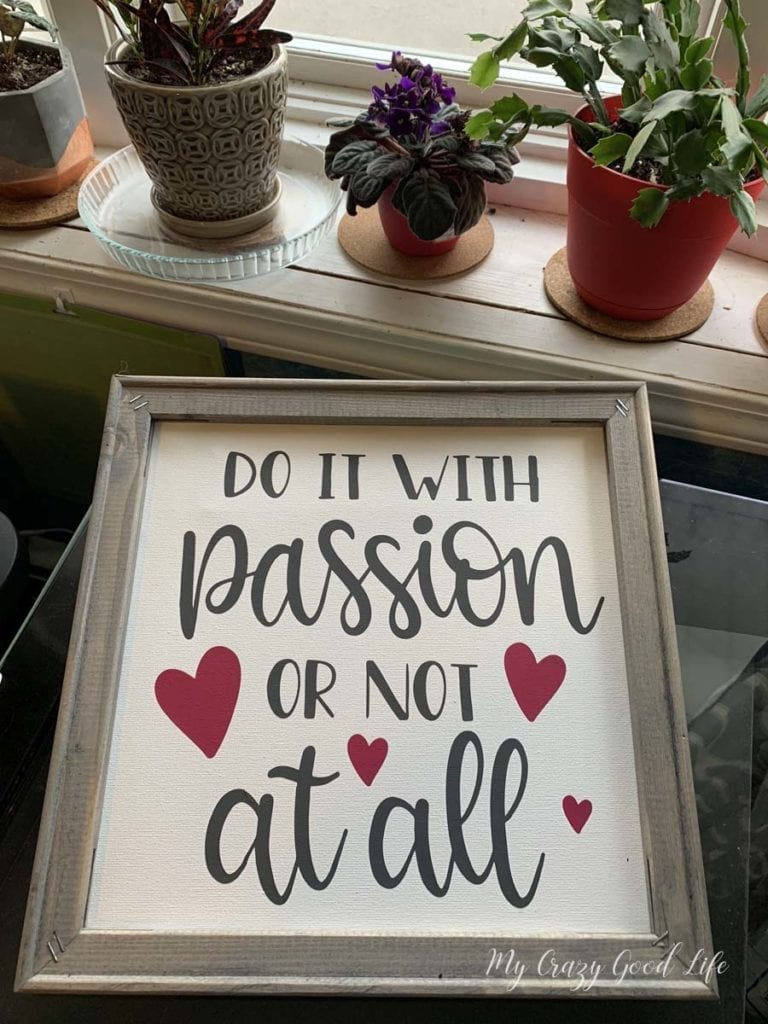
Finally we have our finished design…looking great and perfect for gifting!
Can I make a reverse canvas sign with regular vinyl?
You can! But you’ll need to prep your canvas first. You’ll either need to paint or seal it to make it a smooth surface because regular vinyl won’t adhere to the textured surface of the canvas.
So, you can paint it white or clear coat it and then you can create your quote or design and cut it on regular vinyl like 631 or 651!
Is it hard to make reverse canvas signs?
Nope not at all! They’re actually really fun to make and design. They are a great gift idea and they look nice with any decor. You can match the colors and stains to almost any type of style.
More great Cricut tutorials
- DIY Plant Hanger
- Main Street Electrical Parade Shirt
- How to Make Cricut Paper Flowers
- How to Slice in Cricut
- Cricut Text in Shape Tutorial
Are reverse canvas signs expensive to make?
Not really. If you are a bargain shopper like me you can get heat transfer vinyl for a relatively low cost online. The canvas frames regularly go on sale both online and in stores like Michaels, Joanna, and Hobby Lobby.
I would estimate that they’re typically less than $10 in materials and because they’re so quick to make it’s not a costly investment of time either!
How do I hang a reverse canvas sign?
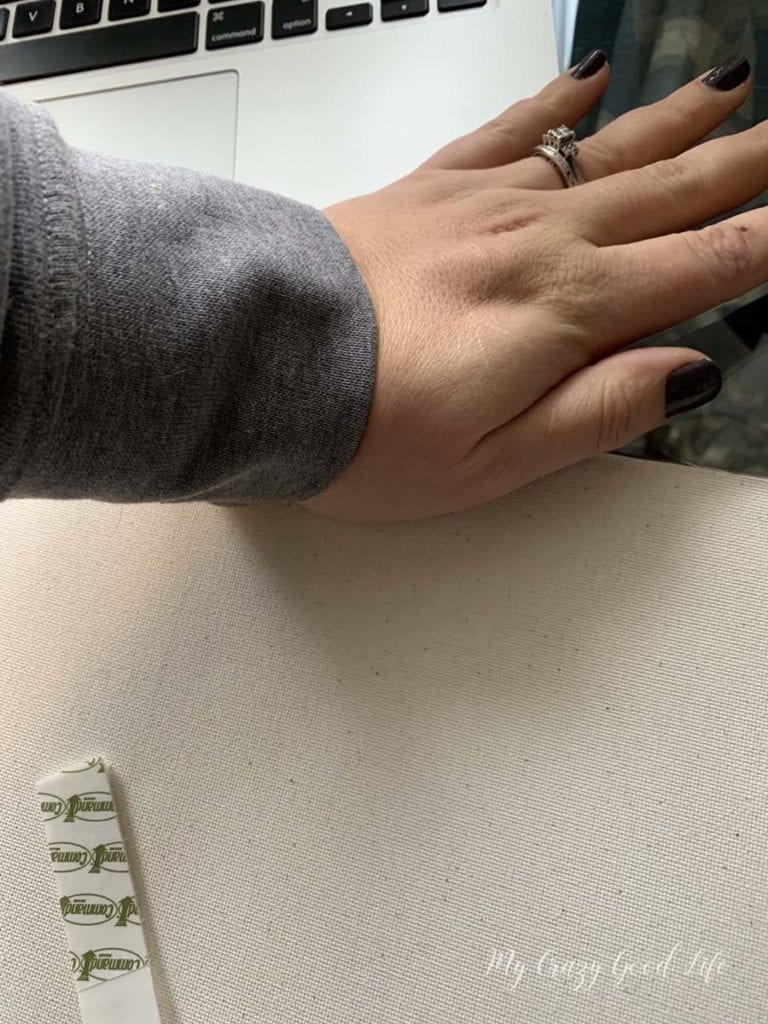
It’s really easy, I use command strips. They can hold up to 12 pounds which is more than enough for these light signs. Plus they are non-damaging so you can use them in apartments, on drywall, and even on wallpaper without ruining your walls.













Thank you for such great instructions.
HI! What heat do you set your iron to? Thanks!
I follow the directions on the manufacturer’s packing, since each brand is a little different!
I’ve recently seen the “reverse canvas”. Can’t wait to try. A while back I stopped @ Michael’s & checked out their clearance. Found 5pk of 16X20 canvas…. $5! The top 2 had a 1/4″ cut in it. My 1st thought was “Seriously? Oh, I can cover that up super easy”. I have painted 1 in ombre & added a rope heart & flowers. Sold it for $20. Another I painted & added a frame with Velcro. There’s also lace. It’s a keeper! Wish I could add pictures to share.
I loved your project so much i included it in my 5 Free Cricut Projects Post..
Love your blog and all your inspiration
Claire
I’ve been making these & for some reason randomly my HTV won’t adhere to the canvas.. Do you have any tips? You said you use a piece of parchment paper, do to what?
Thanks so much!
Hmmm… that’s strange. The parchment paper is in lieu of teflon. If you want to press with that, it’ll protect the vinyl from too much heat and uneven heat.
Ugh! I couldn’t figure it out. But thank you so much! I’ll keep trying to work on it. Maybe my iron isn’t hot enough.
Thank you!
Google and search the temp for the vinyl you’re using, and also make sure you’re pressing down hard on the iron!
How do I center an image on an 8.5 x 11” burlap sheet?
FinHey there! This will help: https://mycrazygoodlife.com/how-to-center-text-on-a-cricut-project/
I love the things you put on Facebook,they are all are Beautiful
What kind of paint do you use on the canvas before using regular vinyl?
Hi there! You can use a couple of layers of white craft paint. Be sure to get it nice and even/flat so you vinyl sicks well! :)
Thank you for such detailed instructions. What makes this technique “reverse” as opposed to just making a regular canvas?
I’m not sure why it’s called a reverse canvas :-/
I would like to paint my canvas-just to not have a white background. What type of vinyl should I use?
I’d use permanent vinyl :)
I love this buy confused on where you added the wood step…
Looks great 😊 Do you mind sharing what stain you used for the frame?
We use this one often: https://www.walmart.com/ip/Rust-Oleum-Weathered-Gray-Stain-Polyurethane-Quart-Wood-Finish/564525550 I also looks great if you paint the frame white first and then add the stain on top :)