This site contains affiliate links. Please see Policies for more information.
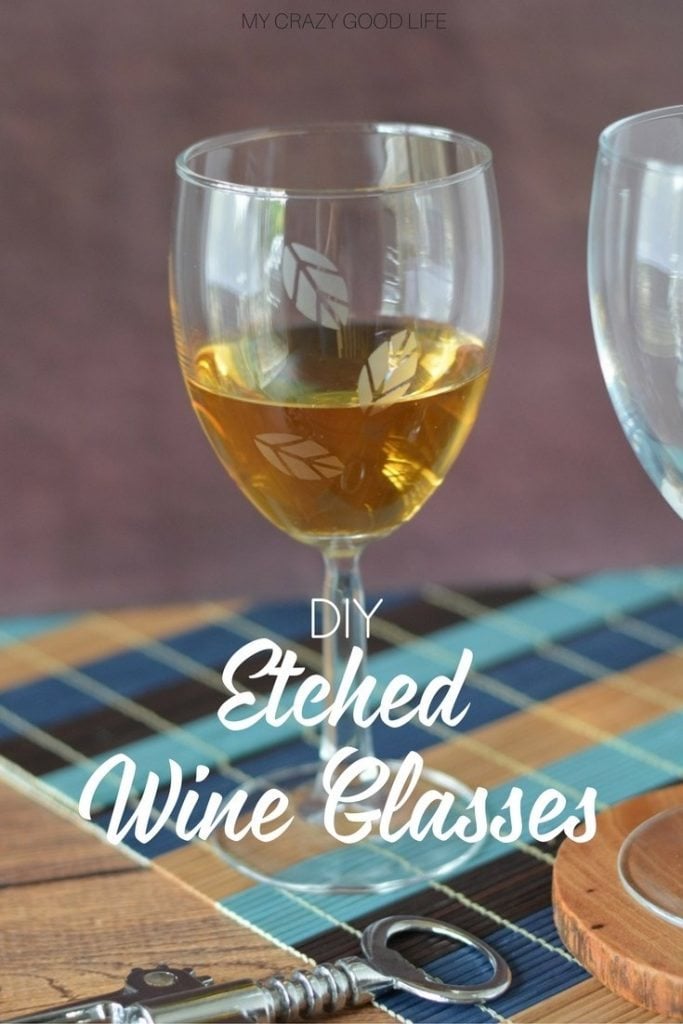
We have a lot of plain looking glasses in our house. Of course you know that we have margarita glasses, we also have wine glasses. Until now most of them were just plain, clear, boring glass. Now that I’ve discovered this quick and easy etched wine glasses tutorial we may never have another plain glass in the house again–I’m etching all the things!
If you enjoy customized glasses or crafting, you have to give this etched wine glasses tutorial a go. I can think of so many people who would love to have some customized wine glasses for a gift! This project is an easy one, you can make a bunch of these glasses all at once and easily add them to a gift basket for Christmas or as a hostess present for Thanksgiving. Heck I’m even making a list of people would love some etched wine glasses for their birthday!
Make some etched wine glasses for your next themed party or event! I have to admit that it doesn’t take much before I’m looking for an excuse to do some crafting. It’s a great project to do when the weather is not so great, or when you need some downtime to be calm and reflect. Crafting is cheaper than therapy and way more fun!
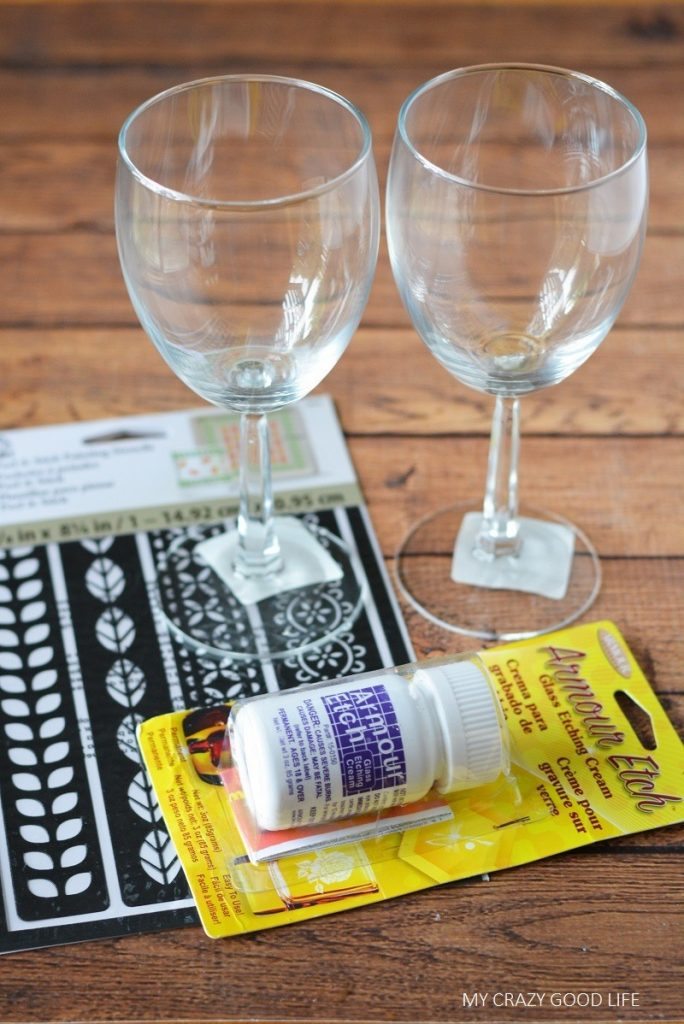
Materials Needed to Make Etched Wine Glasses:
- Wine Glasses
- Armour Etch
- Stencils (you want adhesive ones)
- I Used Plaid Folkart Peel & Stick Reusable Painting Stencils #30859
- Paint Brush
Directions for Making Etched Wine Glasses:
- Wash and dry wine glasses.
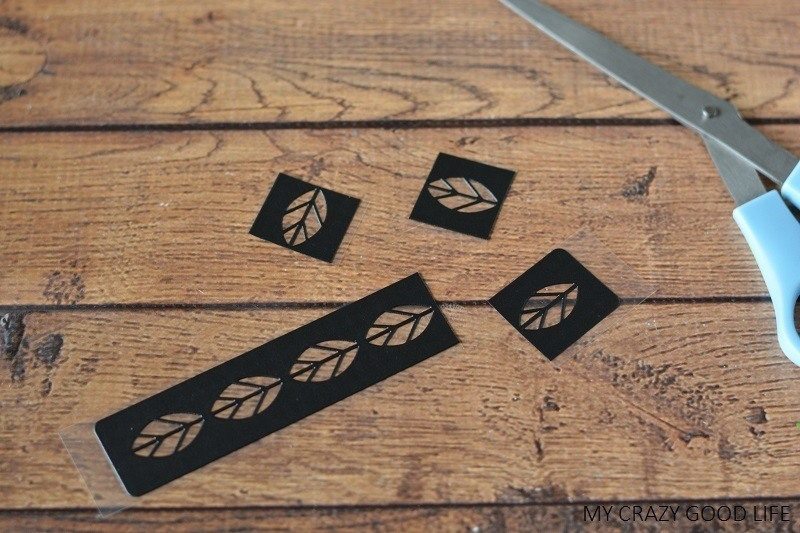
- I cut my leaf stencils apart with scissors because I wanted the leaf pattern to be random. If you cut the stencils, be sure to save the backing, as you can re-use most of the stencils and can store them on the backing.
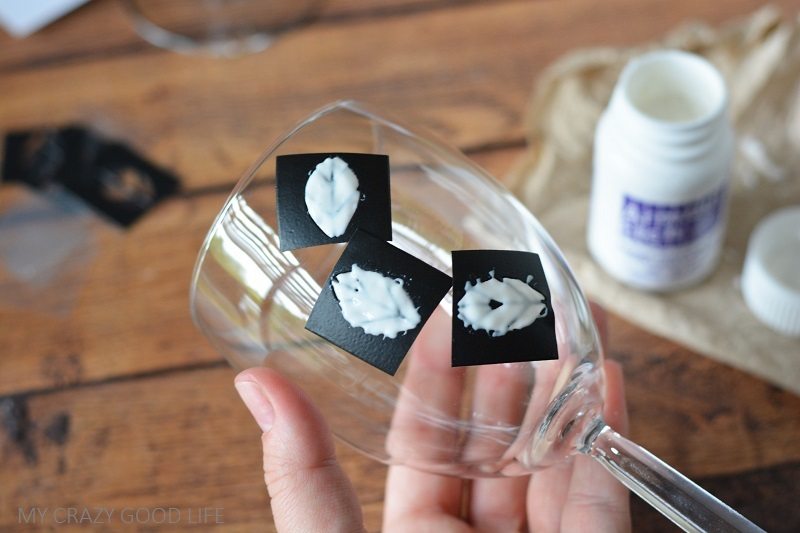
- Apply your stencils to the wine glasses and press firmly to adhere. Make sure you have all edges stuck on. If you look inside the glass, you will see any air bubbles on the edges that you may have missed.
- Apply the Armour Etch to the glasses, covering the stencil in a big blob. Leave on for 5 minutes.
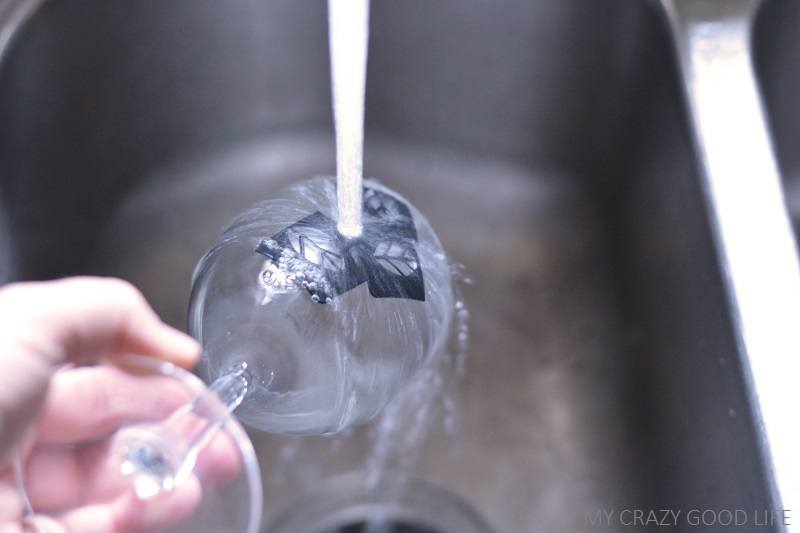
- Rinse with warm water, pointing away from your body and keeping water pressure low so it does not splash at you. Once the glasses are clean, carefully remove the stencils and place them onto the backing.
- Dry glasses and use! The design shows up best on dry glasses and will almost look like it’s rinsed away when wet. But don’t worry! Once it’s dry it comes back!











Did you love this recipe?
Make sure to comment below so we can chat about it!