This site contains affiliate links. Please see Policies for more information.
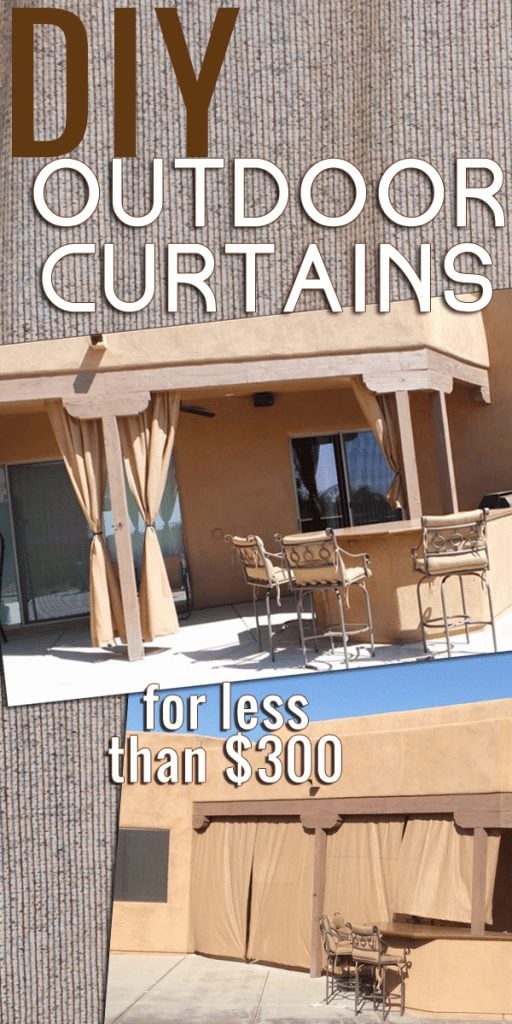
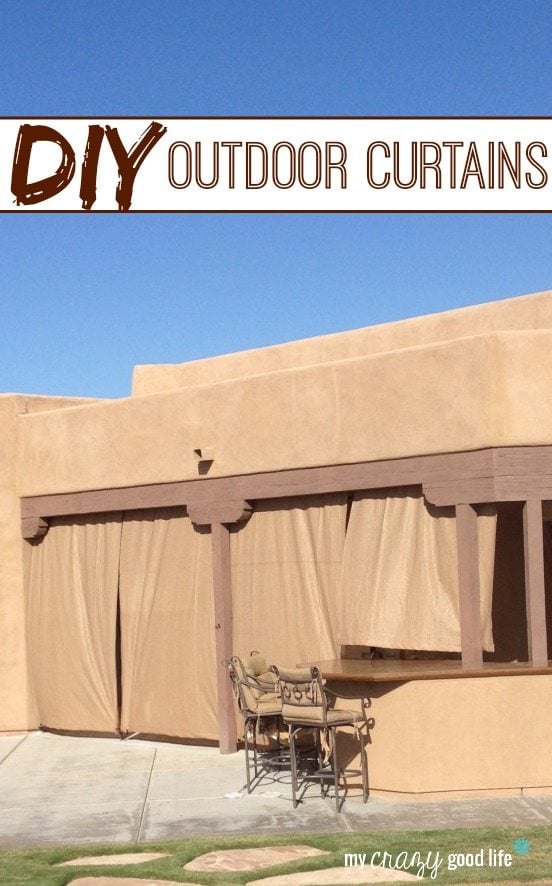
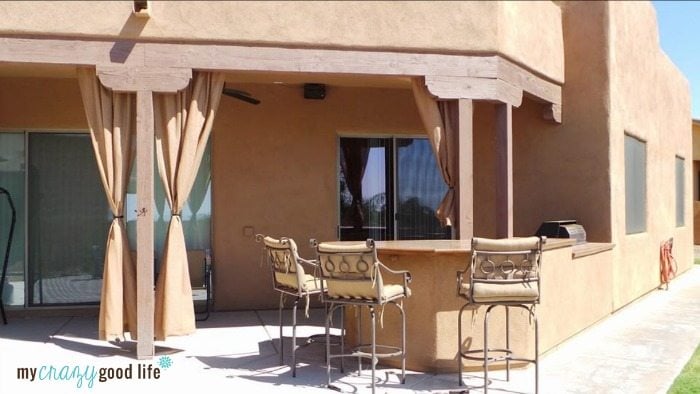
We recently made outdoor curtains for our back patio, and they have made such a difference in the amount of heat that comes into our west-facing home. Closing these right before the sun begins to set can keep our home cool and allow us to be out on the patio during that time (without roasting!). These DIY outdoor curtains were easier than I had thought, and I wanted to share with you how we did it!
Supply List:
Garden Fabric: comes in various size and colored rolls. We used 6x50ft. and bought the Easy Gardener brand from Home Depot
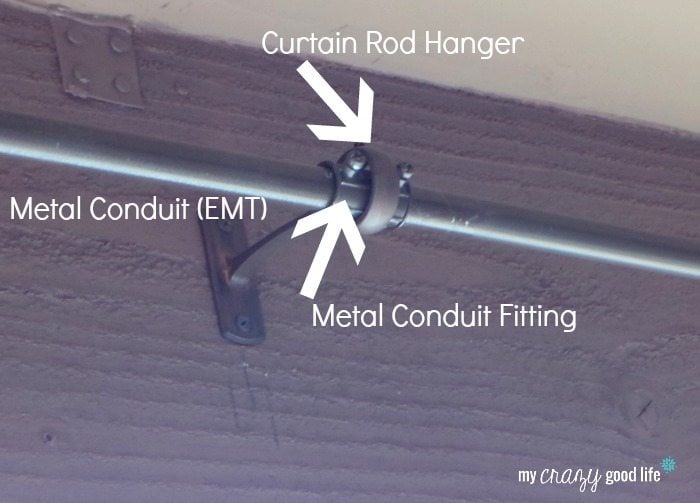
1/2 inch Metal Conduit (called EMT, usually comes in 10 foot sections)
Conduit Fittings: to stabilize the rods
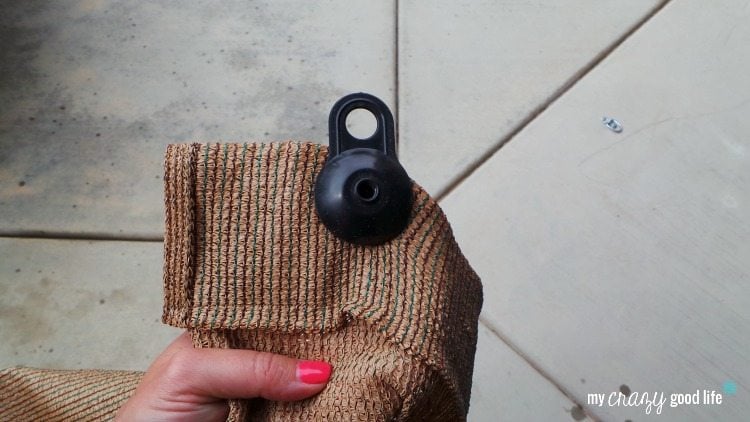
Large Plastic Grommets (metal ones can tear through the fabric)
How to make your outdoor curtains:
1. Cut your metal conduit. We have 12-foot wide openings between our wood beams, so we used 2 6-foot sections of conduit with a conduit fitting and rod in between to stabilize.
2. Spray paint the conduit and fittings.
3. Measure for curtains. How big is your opening?
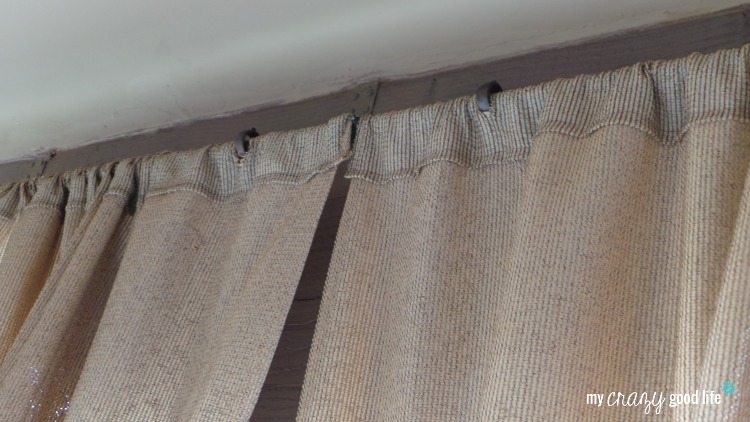
4. Hang the curtain rods. We used these closed curtain rod hangers to minimize the risk of the rod being jarred and popping out of the hanger–it’s windy where we live. You could use open hangers.
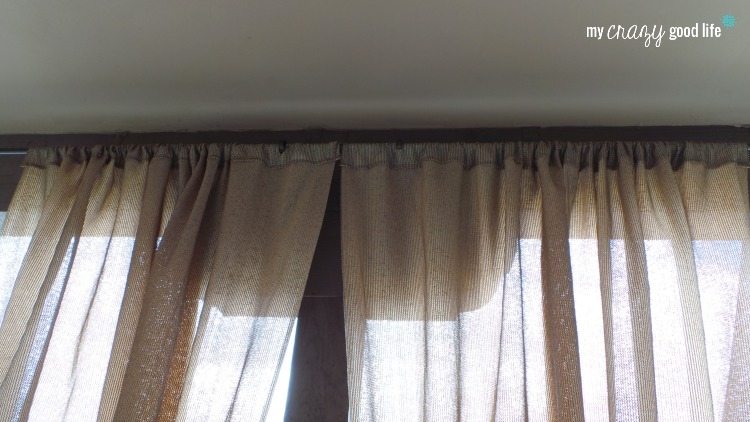
5. Cut the fabric. We cut our fabric to be 3-inches taller on top (to make the rod opening about 3-inches) and 9-inches longer on the bottom (to allow for fabric to be folded over and be strong enough for the plastic grommets). If we were to make these again we would make the top opening at least 5-inches so it’s easier to open and close the curtains.
6. Hem the fabric. Definitely the most time consuming part–especially for those of us who don’t sew! Use a thick hem on the bottom (we did 3-inches, folded over 3 times) so the plastic grommets have a strong bulk of fabric to connect to. Each of our panels are 6-feet wide.
7. Hang your curtains. We hung 2 curtain rod holders for every 6-foot wide section. When we hung our curtains, we cut slits in the fabric to allow the curtains to close all the way:
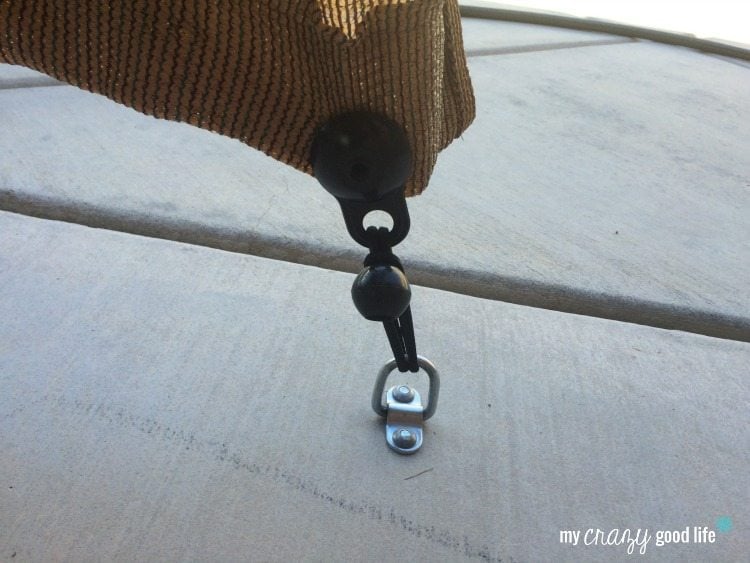
8. Place your concrete anchors. We drilled a hole in the concrete and then used hammerset nails secure the anchors into our patio.
9. Attach your plastic grommets, making sure they are secured through 2-3 layers of fabric.
10. Fasten your curtains. Use your bungee balls or another fastener to secure your curtains to the ground.
We love the bungee balls because when the curtains are open, they double as tie-backs.














Oh wow – those are brilliant. You should probably test them up north in Phoenix, too. You know – just to be sure :)
I love the look of curtains on a patio or porch – these are so pretty and functional. Thank you for sharing at Share It One More Time. Cathy
Thanks so much for sharing your DIY for Outdoor Curtains with Foodie Friends Friday party this weekend. It’s a great tutorial.
I’ve pinned and shared this weekend.
We look forward to seeing you again soon.
Joanne/WineLady Cooks
love this thanks
Do you have any problems with this material mildewing when it gets wet?
Jessie, it’s very dry in Tucson. That being said, we put these up during the middle of our monsoon season and have had no issues thus far. I’d assume if you don’t keep them pulled back and bunched than you’ll be ok!
I wish to express my appreciation to the writer for bailing me out of
this crisis. As a result of surfing throughout the world-wide-web and meeting views that
were not productive, I thought my life was well over. Being alive without the
approaches to the issues you have fixed by way of your article
content is a crucial case, and ones that would have in a wrong way damaged my
entire career if I hadn’t come across the website.
Your own mastery and kindness in handling all the details
was very useful. I am not sure what I would have done if I hadn’t discovered such a thing like
this. I am able to now look ahead to my future. Thanks so much for this impressive and results-oriented help.
I will not be reluctant to propose the blog to any person who should receive assistance about this matter.
Hi Rebecca. Thanks for the tutorial. Sounds like a great plan to keep sun out. Wonder if fabric glue or a glue stick could be used for hemming the bottom. That’s a lot of sewing at the bottom for those of of us lacking sewing machine. Going to give it a try. Thank u.
Let me know how it works!
These look awesome.
Do you have trouble with the wind blowing the curtains, I know they are tied down but do they create a sail?
Thanks
Thanks!! Nope, they have air circulating around them pretty well–we’ve never had an issue! If they were bigger it might be a problem!
What is the chrome tie down on the floor called? Where can I find them?
They’re concrete anchors: https://amzn.to/2CHu7co :)
Where do you get the plastic grommets and how do you attach them
Hi there,
Here’s a link to the grommets that were used: https://amzn.to/3upIwiE
They come with directions on how to attach them, but one piece essentially pokes through and the other connects to it. It’s super easy :)