This site contains affiliate links. Please see Policies for more information.
Looking for more blogging tips? Everything But the Posts, my new book, gives tips about setting up a blog, connecting with your community, and monetizing.
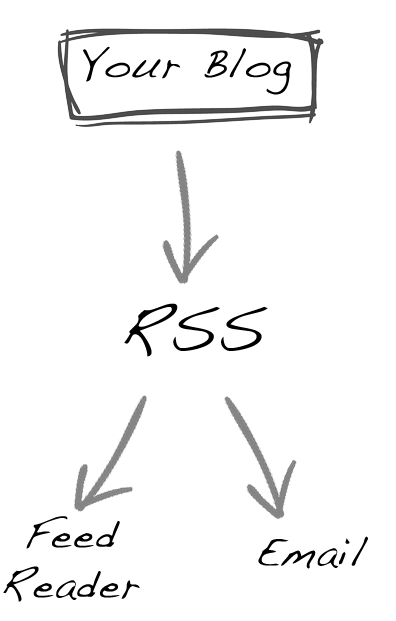
There are two ways to subscribe to someone’s blog–RSS and email (which is through RSS). When dealing with RSS feeds, it can get very confusing very quickly. I’m going to try and help make it all clear for you!
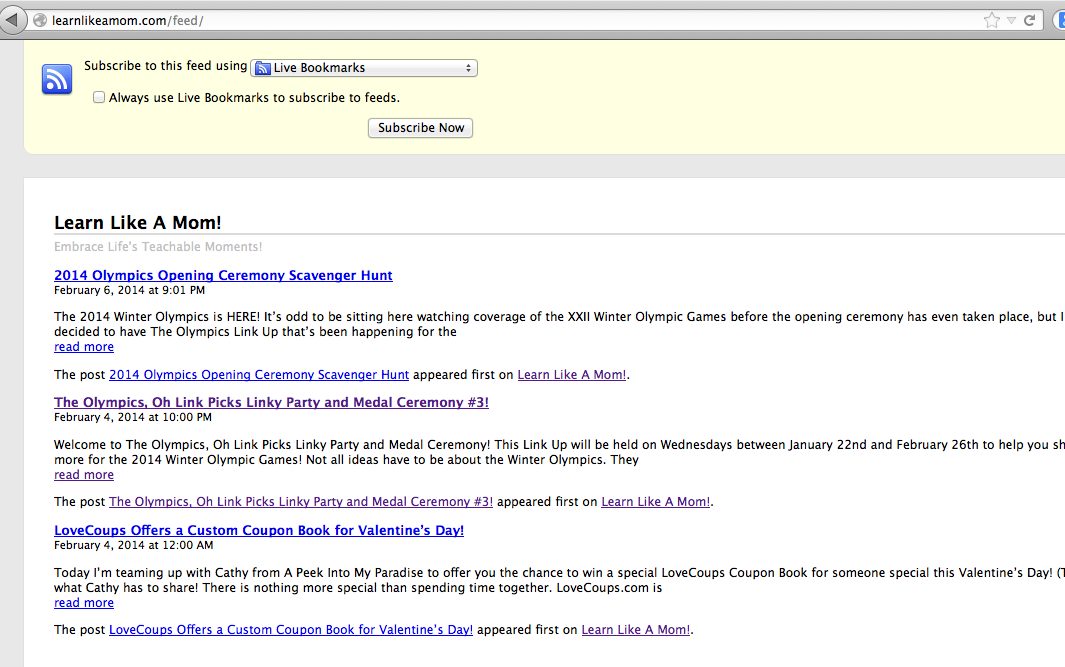
Every website that’s routinely updated has a feed. It’s usually found at http://YourBlogName.com/feed. When you go to that address, it won’t look like your blog and it won’t look very user-friendly, but that’s OK. It’s supposed to look that way.
Take a look at my friend Anna’s RSS feed:
Subscribe by RSS
RSS feed readers, such as Bloglovin or Feedly, offer you a place to manage the blogs and websites you subscribe to. A feed reader is notified every time a post is published from any of the feeds it’s told to follow. When you log into your reader, you’ll see a list of all the blogs you follow and their new blog posts. As you read the posts, your feed reader will mark them as read. It’s a great way to keep up with your favorite bloggers.
Subscribe by Email
Dedicated email subscriber services such as JetPack (a popular WordPress.org plugin) or MailChimp send an email to you every time new content is available, the same way that it adds a post to a feed reader when there’s a new one.
Feedburner is probably the most popular feed tool because it can handle RSS and email subscriptions, but Feedburner emails are… well… ugly.
I said it.
So, let’s use Feedburner for our RSS subscribers and MailChimp for our email subscribers. It’s pretty easy to set up.
Here’s how to set up MailChimp like a boss. First, you’ll need to set up your list. MailChimp has a blog post that details how to export your subscriber list from Feedburner and then import it to MailChimp. So, go do that now. If you don’t have anything to import from Feedburner, just create a list in the MailChimp dashboard–it’s super simple.
Here’s how to set up your RSS to email campaign.
1. Log in to Mail Chimp and click “create campaign” on the top right side.
2. You’ll see these options:
Regular ol’ Campaign: This is a fancy way to send an email.
Plain-text Campaign: This is a fancy way to send an email with no images, just text.
A/B Split Campaign: This is kind of cool. Send an email to your list, but separate the list in two. Try two different subjects, different “from” names, or even different times of the day to be sent.
RSS-Driven Campaign: Ding! Ding! Ding! This is the one you want to check! This is a campaign that sends an email to your subscribers when there’s a new item in your RSS feed.
3. Enter your feed URL where provided. If you’re not 100% sure about this, you can just add your blog URL here–MailChimp will find the feed for you.
4. Tell it when to send and which list to send to, then at the bottom right of the screen click “next.”
5. Now, you’re going to start answering questions. Here’s what you’ll see:

Just answer your campaign name, your name, and your email address for now. Click next.
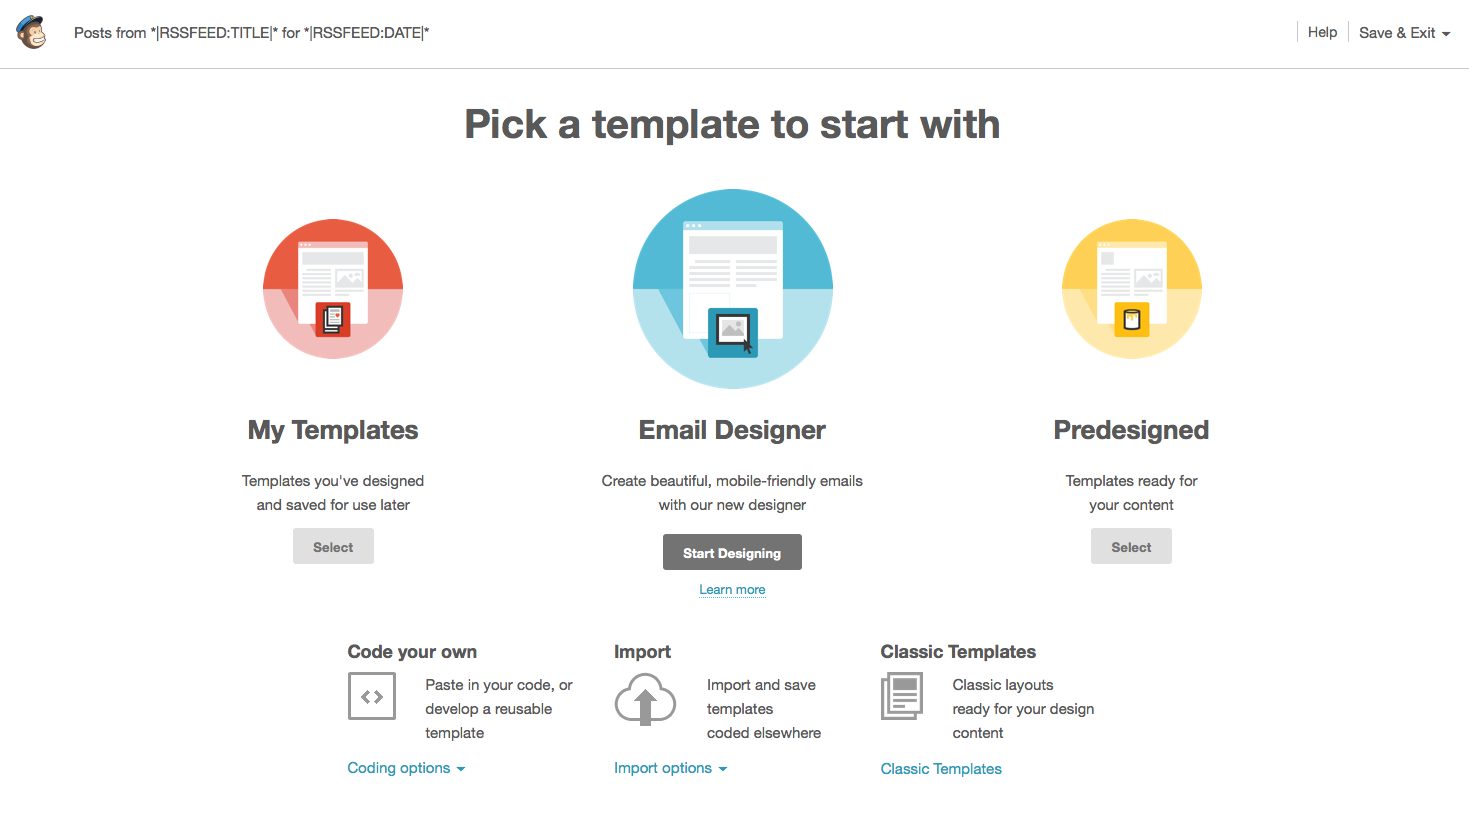
6. Ack! Choices! It’s ok, just choose Email Designer in the middle:
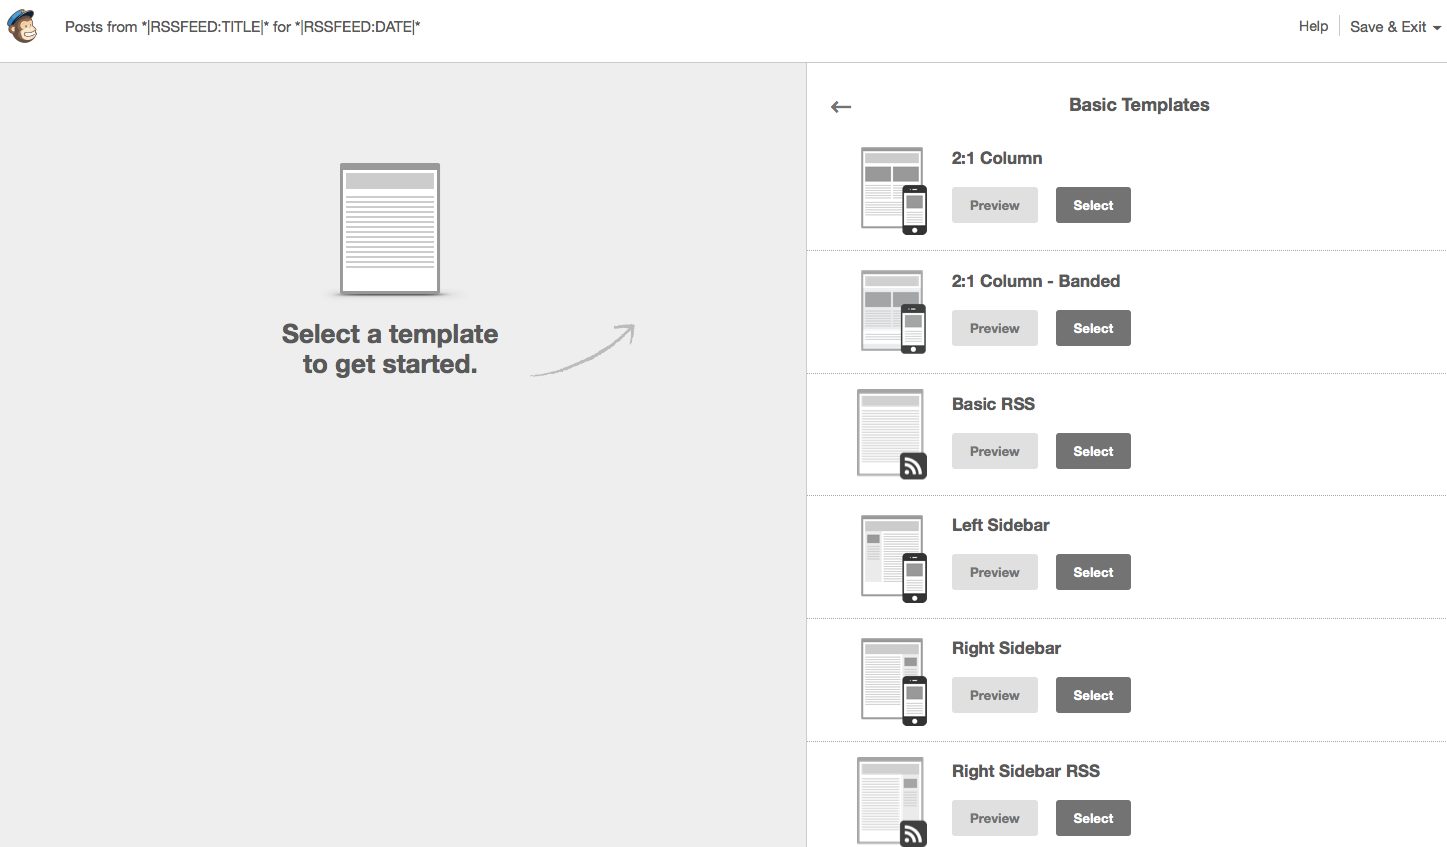
7. Click a template you’d like to use on the right. I’m partial to the Basic Template Right Sidebar option:
Choosing a template and then changing your mind down the road isn’t impossible, but it’s a bit of a pain. Try to choose wisely.
8. This is what your design form looks like:
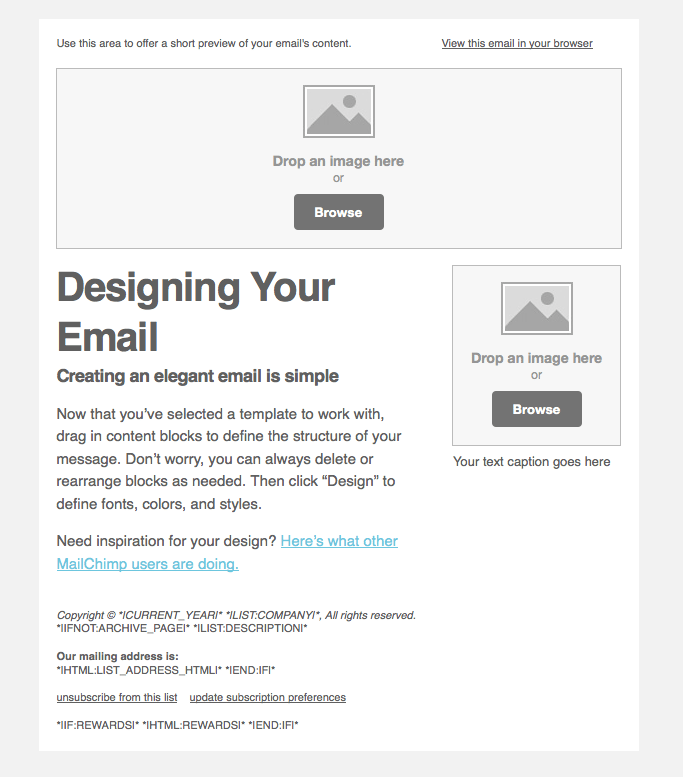
An important (and tricky) part of your email is what goes in the big text box. You’ll have to use merge tags (MailChimp code) for this. I choose to put my most recent post and the last three of my blog posts in my text area. This is the code I use in there:
__________
*|RSS:POSTS|*
Have a few extra minutes? Check out these recent posts:
*|RSS:RECENT3|*
__________
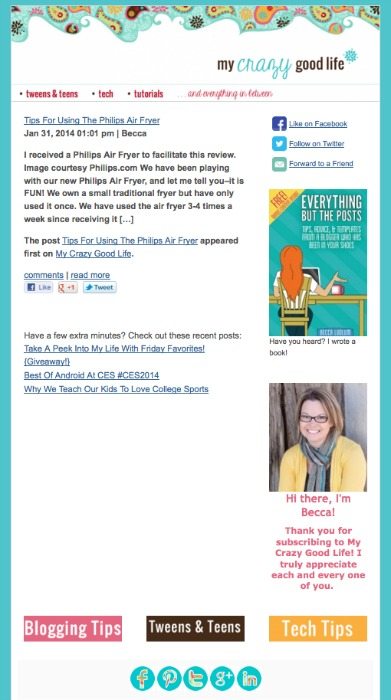
And here’s what my RSS to email campaign looks like:
9. When you’re done designing, click the “preview and test” button on the top right and then the “enter preview mode” button. You’ll be able to see what your subscribers see.
10. Click “next” through the plain text version of your email, which will be sent to those who request to not see the HTML (pretty) version.
11. Click “confirm,” and then “Start RSS.”
Congratulations! You just set up your RSS to Email campaign! You can go back in and make changes by clicking “campaigns” in the MailChimp dashboard and then clicking the name of the campaign you’d like to edit. At the top right of the screen click on “Pause and Edit Campaign.” Don’t forget to restart it!
To stop your Feedburner emails from going out (so your subscribers don’t get duplicate emails), you’ll have to turn off the email subscription service in Feedburner. Do this by visiting Feedburner > Publicize > Email Subscriptions > Deactivate.
Now that you have a MailChimp list set up, learn how to add a branded subscribe box that matches your blog to your sidebar. It’ll help remind people to sign up for your newsletter!









This was very helpful!
Thank you.
Nice! I noticed that you have navigation menu items on the email. Are those linked menu items and if so how did you do those? Thank you,
Katie Rosebraugh
How were you able to do your email newsletter without showing your address? Mine keeps saying it is required by law and international spam laws but I don’t want my address sent to the world!
Thank you so much for this tutorial! I was getting a bit overwhelmed on how to set it all up and you really helped walk me through each step :)
I’m so glad it was helpful, Nicole! Thanks for stopping by!
Thank you so much for this! Every tutorial I found glossed over the part about designing your template. Thank you for explaining how to actually get the RSS feed into your template!
You’re so welcome!
Thank you so much for this! You just helped me immensely to fix my very broken MailChimp RSS feed. :D
Yay!!! I’m so glad I could help!
I had a recipe plugin go wonky and had to delete it. When I deleted it, the recipe post went with it. I had to redo the post, is there a way to keep the “new post” from going through the RSS feed with MailChimp?
Hi Lori,
I think that when it pushes to your RSS, it pushes to MailChimp whether your want it to or not. :-/ I’m struggling with that too!
I had a sneaky feeling it probably would. Thank you!
How are you preventing *|RSS:RECENT3|* from duplicating the main post pulled in by *|RSS:POSTS|* ? When I try this, I get my most recent post in detail at the top, but below it repeats it in my list of 3 recent posts.
Ack! I’m not sure. I can tell you that MailChimp customer support is awesome though!! I’d try asking them!
I want to to thank youu for this wonderful read!!
I absolutely loved every little bit of it.
I have you bookmarked to check out new things you
post…
Thanks Becca for this very helpful post! I have my rss/newsletter all up and ready! (o:
Hey girl! What an awesome tut! I finally decided to give in and do the RSS/Mailchimp thing now that I’ve made the switch to WP! I had no idea you could set up such pretty ones! I love the idea of using my own images for links! CUTE!
I do have 2 questions tho- In your example above, it shows 1 Post (rss:posts) and then 3 Titles (rss:recent3)…
For whatever reason mine shows 3 Posts (rss:posts) and then 3 Titles (rss:recent3) [note: they are not all 6 the same]
Is there a way to make only 1 Post and 3 Titles, like yours? And if so, is there a way to show the entire post instead of just a snippet?
Sorry to bombard ;) Thanks for the post!
Thanks, Lorey!
I think all of your questions will be answered here: http://kb.mailchimp.com/merge-tags/all-the-merge-tags-cheatsheet?_ga=1.167836905.971425632.1394562426
Just find what you need and plug it in!
Becca
Great information! I have been searching around for information about RSS and you answered my questions.
Danny
Hello,
Thank you for this helpful tutorial. It gave me great insight into laying out a glossy newsletter, but I have a question regarding RSS feed. I see that you selected a custom layout and not one of the RSS templates. How is this RSS-driven if you are having to customize it yourself daily/weekly? Don’t you need to select one of the RSS specific templates in order for it to be truly automated? The RSS emails from MailChimp are unattractive and I’ve only been able to direct images into the feed using a plugin with WordPress.
Hi! I found your blog trying to google the answer to my question and I still can’t quite figure it out. Someone set up mail chimp for me. It emails the entire post and I wanted to try emailing partial post. Do you know where and how to change that? Right now I see this code:
*|RSSITEM:CONTENT_FULL|*
So I figured that is what I should change but I am really not sure. Thanks in advance!
Hey Melanie,
Read #8 :)
Just wanted to pop in and say thank you! This is the first tutorial I’ve seen that didn’t make me keep pushing this to the back burner. It was easy to follow and thorough which means I’ve not got mine set up! Thank you again, Aloha!
Just wanted to pop in and say thank you! This is the first tutorial I’ve seen that didn’t make me keep pushing this to the back burner. It was easy to follow and thorough which means I’ve got mine set up! Thank you again, Aloha!
Yay!! I am so glad it was helpful!
Thanks for the great tutorial and clear instructions; the code you provided was invaluable to my email newsletter, and all my questions were answered :)
Yay!!! Thanks for your feedback, Chantel!!
Thanks, your blog post helped me a lot!
This was SO helpful! Thank you so much for sharing!
This is exactly what I needed. Thank you for sharing just started on Mailchimp and it is all a bit confusing.