

This site contains affiliate links. Please see Policies for more information.
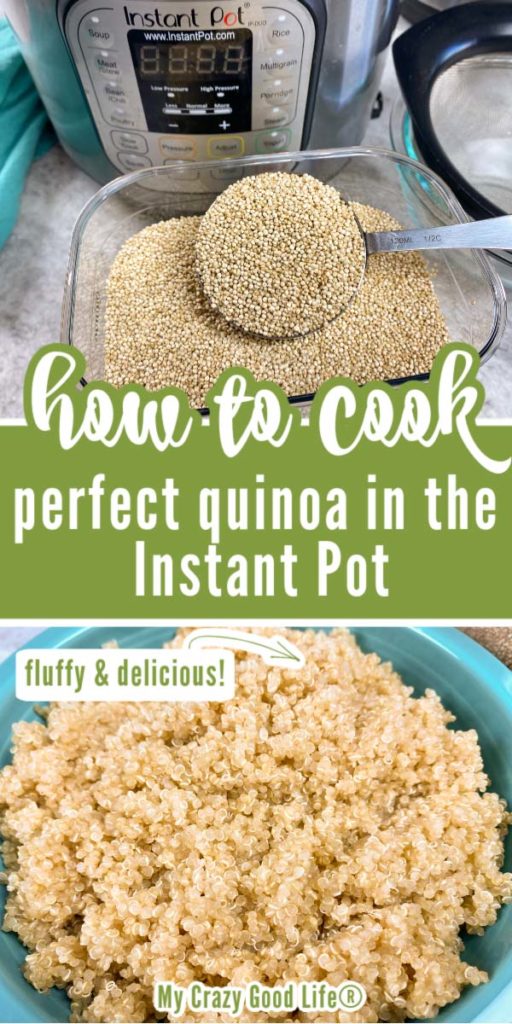
Learning how to cook this easy Instant Pot quinoa makes for perfect quinoa every time. This method walks you through how to cook quinoa in a pressure cooker–any electric pressure cooker you have.
The Instant Pot is my favorite way to cook quinoa, as well as other healthy grains. Brown rice, white rice, and quinoa are staples around my home and I love making them in batches and freezing them for busy weeknights.
What is quinoa and why should I be eating it?
Quinoa (keen-wah) is sometimes called an ancient grain because it has been cultivated in South America for centuries. This superfood is not a grain at all, but a seed.
Quinoa is naturally gluten-free and provides twice the protein and fiber of rice. Because os the whole grain aspect and the higher fiber, quinoa will keep you full longer than other grains. Quinoa is also a better source of essential amino acids than other grains.
How to cook quinoa in the Instant Pot
Time needed: 6 minutes
Not counting the time your pot will take to come to pressure, this Instant Pot quinoa recipe only takes 6 minutes!
- Prepare your pot
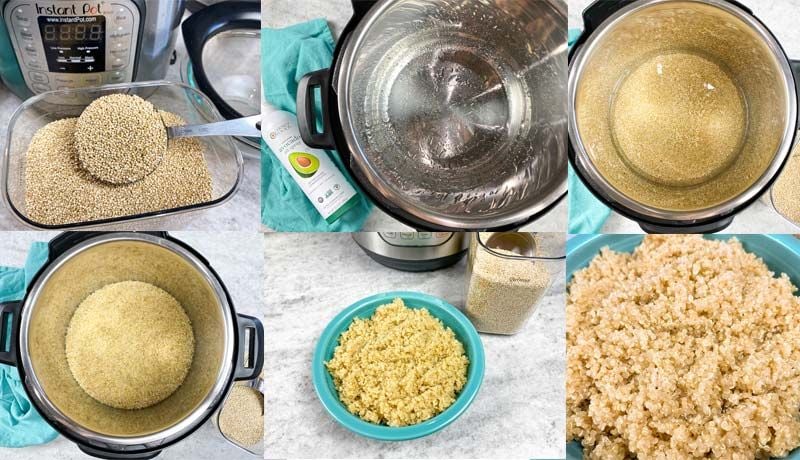
Spray your Instant Pot insert (the steel pot that goes in your Instant Pot) thoroughly with cooking spray (I prefer olive oil, coconut oil, or avocado oil).
- Rinse your quinoa
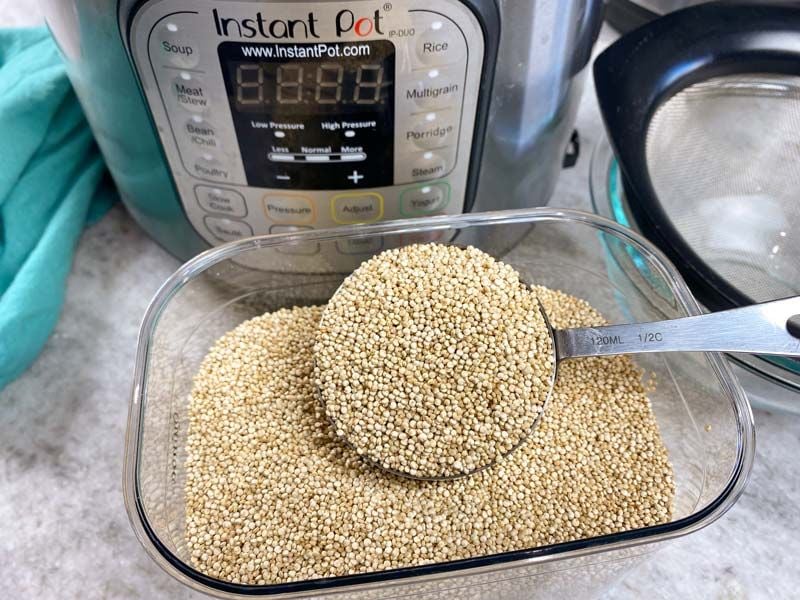
Rinse and drain your cup of quinoa (or however much you choose to make) for a few seconds before adding it to the Instant Pot.
*Don’t skip this step, it removes the coating that causes bitterness and will make you quinoa light and fluffy. - Add water to your pot
Add 1 1/2 cups of water to your Instant Pot.
- Pressure Cook
Close the lid of your pot and turn your pressure release valve to Sealing. Select Pressure Cook or Manual and cook on high pressure for 1 minute.
Turn off the “keep warm” function by pressing the button. This will help the quinoa to release from the pot. - Natural/Quick Release
After the cooking time is complete, allow your pot to naturally release for 5 minutes. This means don’t touch the sealing valve yet. After 5 minutes, flip the valve to venting and release the remaining pressure.
- Remove the lid
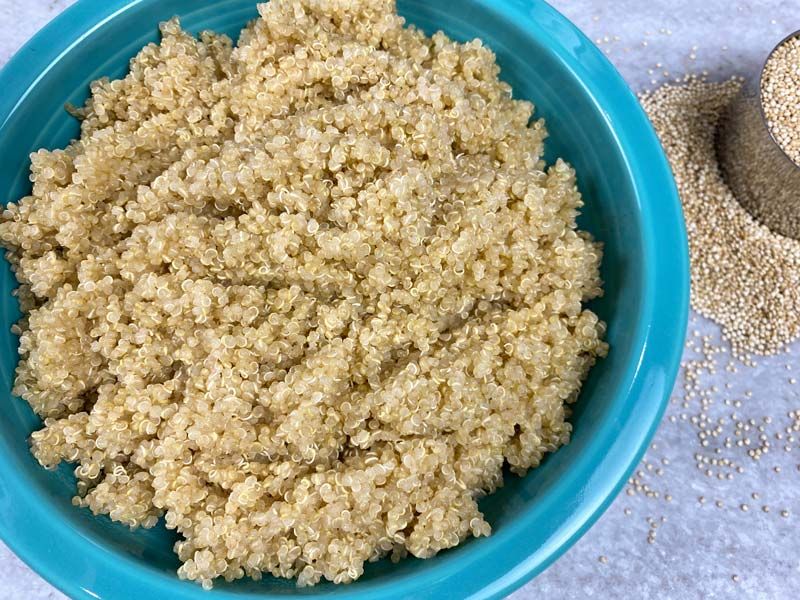
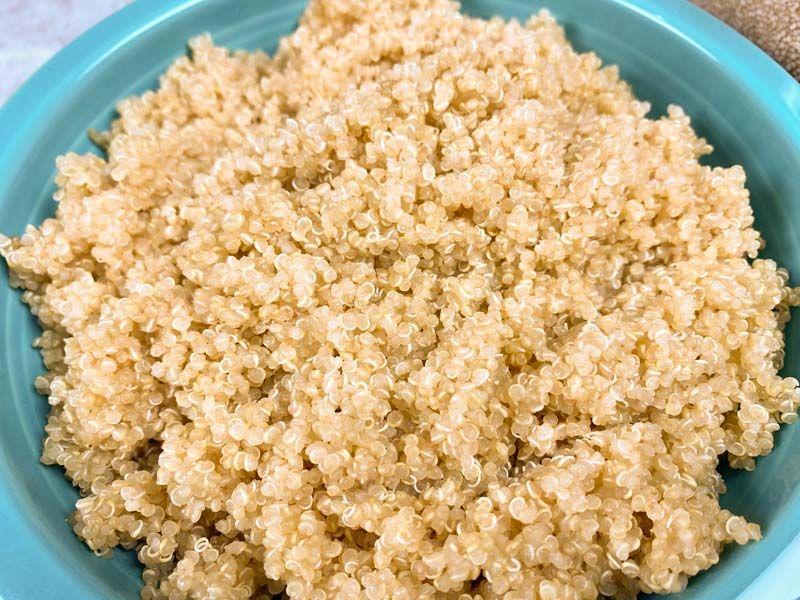
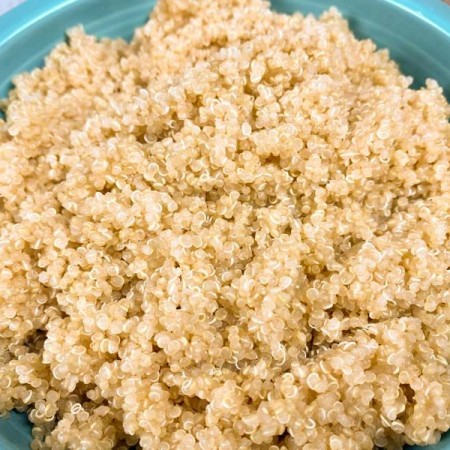
Fluff and stir your quinoa and add salt to taste. You can eat the quinoa immediately or allow it to cool and then freeze it for meal prep.
Recipe Tips
- To add flavor to this quinoa recipe, use low sodium broth or coconut milk instead of water.
- For easy freezing for meal prep, let the quinoa cool to room temperature and put it in individual or family sized freezer bags. Flatten it into a thin layer for easy thawing.
- Add salt to taste.
- Add fresh herbs while your quinoa is still hot for extra flavor.
- I used white quinoa for this recipe.
Why Should You Wash Quinoa?
Quinoa has a naturally occurring coating called saponin. Saponin has a bitter taste and if not rinsed off of uncooked quinoa, your entire batch will taste a bit soapy. While most grocery stores sell pre-rinsed quinoa, this simple step is well worth avoiding that unwanted flavor on your prepared quinoa.
How to make Instant Pot Quinoa Pot in Pot
The most important thing when making this recipe pot in pot is to make sure you have a dish that is large enough to fit cooked quinoa, as it expands while cooking.
This recipe makes 3 cups of cooked quinoa, which means that the size of the quinoa triples when cooked. This recipe will fit perfectly in a dish that fits at least 3 cups of food.
- Rinse and drain the dry quinoa.
- Spray an Instant Pot safe dish with nonstick cooking spray to avoid sticking. Add quinoa and water to the dish (remember, it has to have at least a 3 cup capacity).
- Add 1 cup of water to the inner steel liner of your Instant Pot.
- Cover your dish with foil.
- Using your trivet, lower the covered dish into the Instant Pot.
- Cook on high pressure for 1 minute, and allow for a 5 minute natural release after the cook time is finished.
- After 5 minutes, quick release the steam by turning your valve to Venting.
- Enjoy!
Healthy Eating Plans
Quinoa is the perfect whole grain side that can be cooked quickly. Though I love brown rice, sometimes I don’t have 25 extra minutes at dinner time. I love this recipe for a quick side dish.
Weight Watchers: One 1/2 cup serving of quinoa is 3 2025 Points | 3 2023 Points | 1 Blue Plan Point | 1 Green Plan Point |1 Purple Plan Point.
- More Blue Plan Recipes
- More Green Plan Recipes
- More Purple Plan Recipes
- More WW 2023 Point Recipes
21 Day Fix/Ultimate Portion Fix: One 1/2 cup serving of quinoa counts as one yellow container on the 21 Day Fix.
2B Mindset: This is a great FFC on 2B Mindset. High in protein, too!
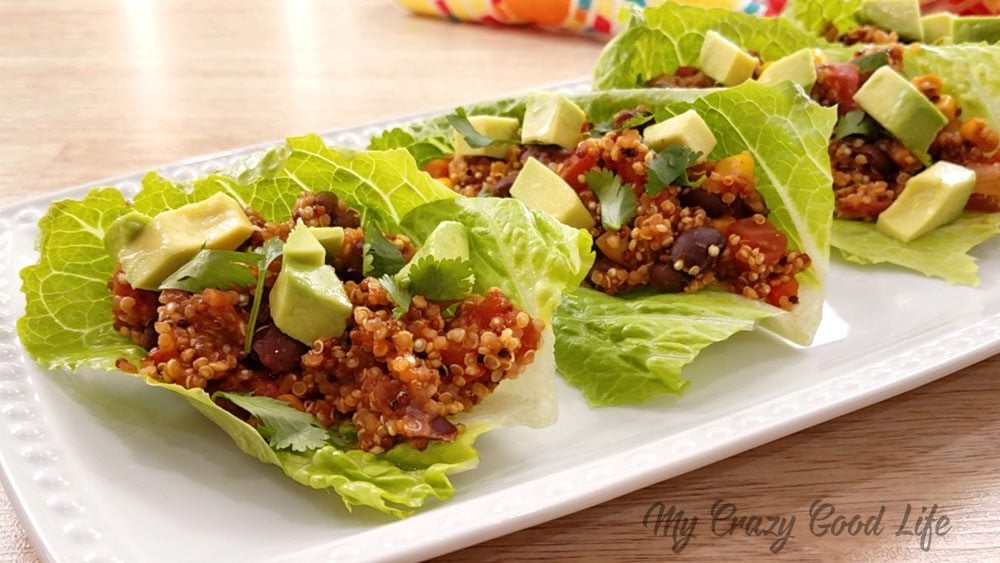
Healthy recipes to make with this Quinoa
- Buffalo Chicken Roll Ups
- Boneless Buffalo Wings
- Copycat Chipotle Chicken
- Spicy Mexican Meatloaf
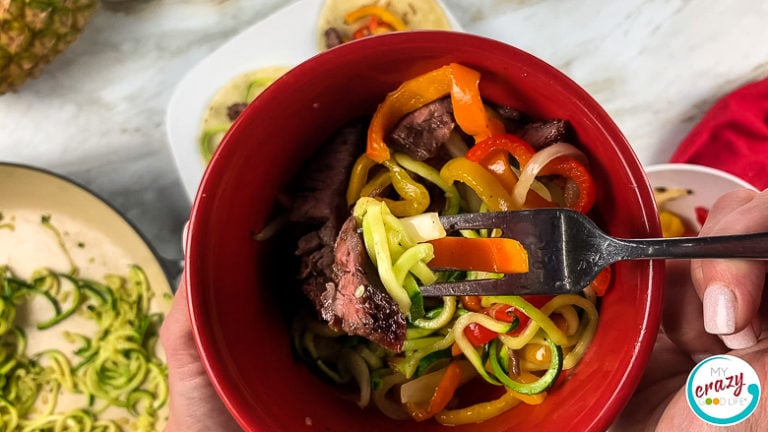
- Vegetarian Portobello Mushroom Fajitas
- Avocado Stuffed Chicken Breast with Bacon
How to Make Easy Instant Pot Quinoa
Equipment
- Instant Pot 6 qt
- Strainer
- Sealing Rings
Ingredients
- 1 cup dry quinoa rinsed
- 1 ½ cups water
Instructions
- Spray your Instant Pot with cooking oil.
- Rinse and drain the quinoa.
- Place rinsed quinoa and water into the Instant Pot.
- Put the lid on your Instant Pot and turn the pressure valve to sealing.
- Press Pressure Cook/Manual and set the time for 1 minute. Turn off your keep warm setting.
- When cook time is complete, allow the pot to release naturally for 5 minutes.
- After 5 minutes, quick release the remaining pressure and remove the lid.
- Fluff and stir your quinoa and add salt to taste. Store in the fridge up to 6 days or in the freezer up to 2 months.
Notes
- To add flavor to this quinoa recipe, use low sodium broth, or coconut milk instead of water.
- For easy freezing let the quinoa cool to room temperature and put it in individual or family sized freezer bags. Flatten it into a thin layer for easy thawing.
- Add salt to taste.
- Add fresh herbs while your quinoa is still hot for extra flavor.
Nutrition
Make This Recipe?
Make sure to follow on Pinterest @bludlum and on Instagram @beccaludlum


We love quinoa but it’s such a pain to make stovetop! This is the perfect solution. Thanks Becca!
This was great, such a simple way to make quinoa! Yum
Best quinoa I have ever made at home! Excellent recipe!
Can I double this recipe ?
Absolutely! Double all the ingredients, but use the same cooking time :)
Not the perfect recipe. It burned before it was done cooking and was ruined. Not enough liquid.
I’m sorry this didn’t work for you Colleen. What size is your pot? What type of liquid did you use? I make this often and use this recipe in my 6 qt.
Does the time change if I double the recipe? Do I double the time to cook it? I need to release?
The recipe stays the same – cook time and release time – if you double it! :)
Made it for the first time today and it turned out perfect! This is so much easier than on the stovetop.
I’ve made this a number of times and it has been perfect. Last time I made it with red quinoa and it wasn’t quite done. Would you suggest setting it for 2 minutes with the same pressure release or 1 minute with longer time for pressure release.
I’d just allow for more pressure release time – it might take a little testing :)