This site contains affiliate links. Please see Policies for more information.
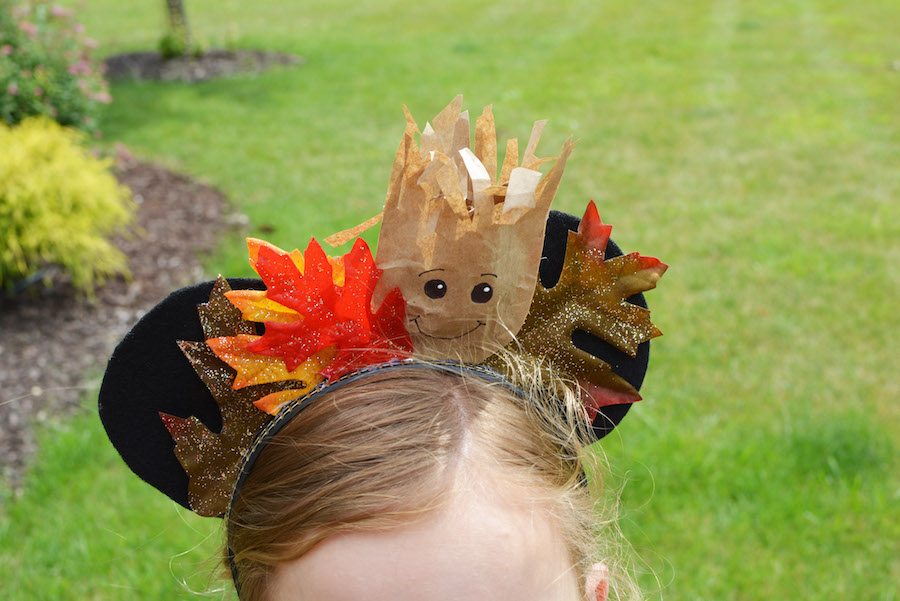
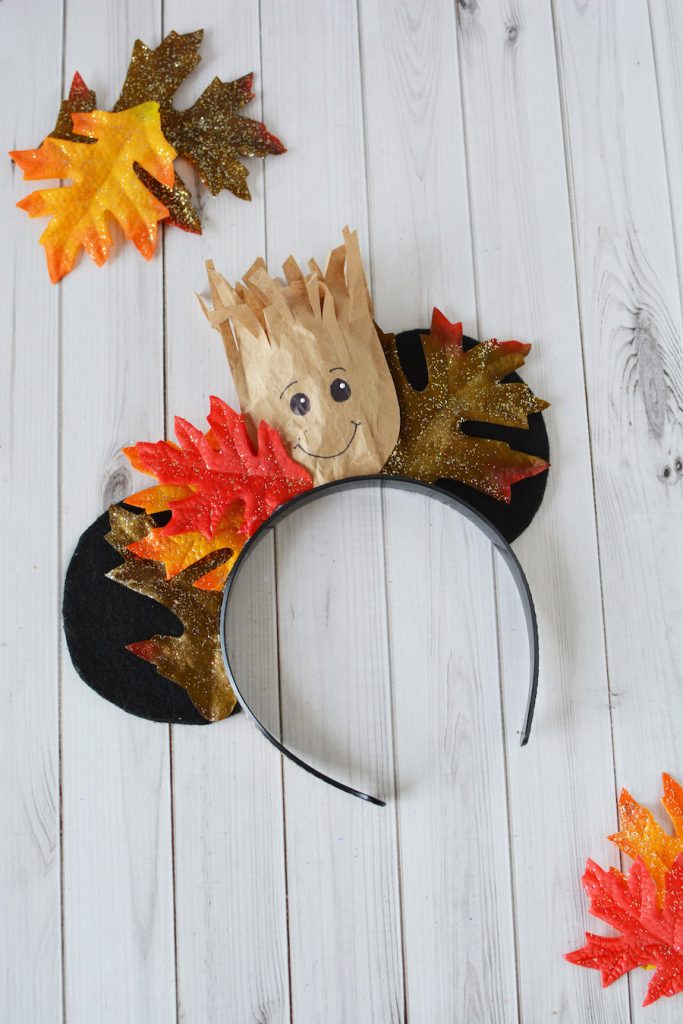
DIY Groot ears are a just one of the many ways you can prepare for a trip to any of the Disney parks. If you don’t have a lot of time, this is the perfect DIY set of ears for you!
Having a unique and fun set of Mickey ears while you are visiting Disney is a fun way to interact with other travelers, park employees, and better yet: your favorite characters!
DIY Groot ears are easy to make, the whole family can get involved. Use this project as a starting point and you can make the whole Guardians of the Galaxy team and travel as a matching unit. The possibilities are endless and SO much fun.
DIY Groot Ears
Making your own DIY Groot Ears is a fun and creative way to get ready for a trip to Disney, halloween, or just because you love to craft…occasionally guilty as charged! These ears are simple and fun. Best of all, they travel well because Groot is supposed to look crinkled.
Some of the materials you might not have on hand are linked below for easy shopping. These make a great gift for your favorite Groot or GotG fan as well.
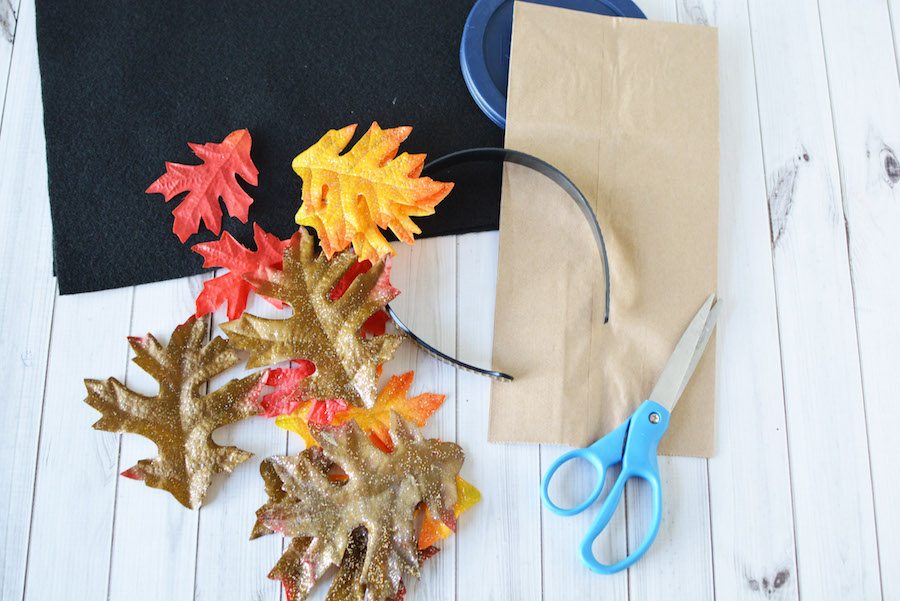
Materials Needed for DIY Groot Ears:
Headband
1 Sheet black felt
Faux leaves
Brown paper lunch bag (great for lunches and snacks while traveling too)
Black marker
White acrylic paint, paint pen, puffy paint or white out (optional)
Scissors
Hot glue
4″ Circle template
White colored pencil
Directions For Making DIY Groot Ears:
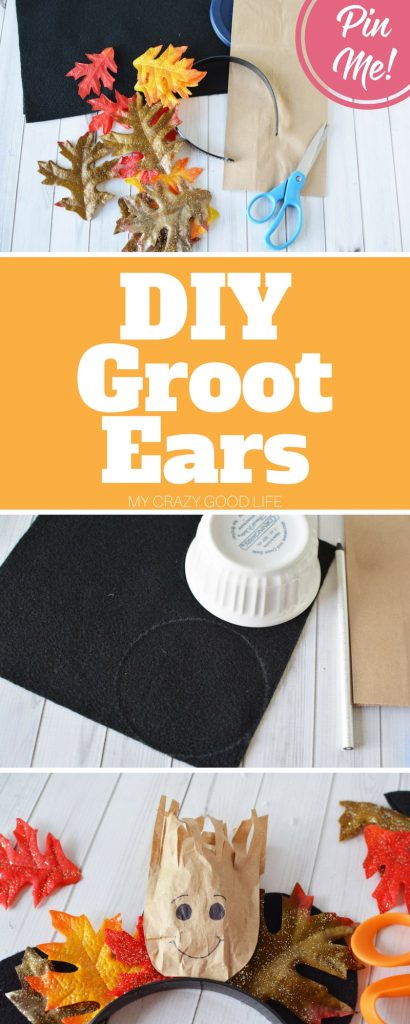
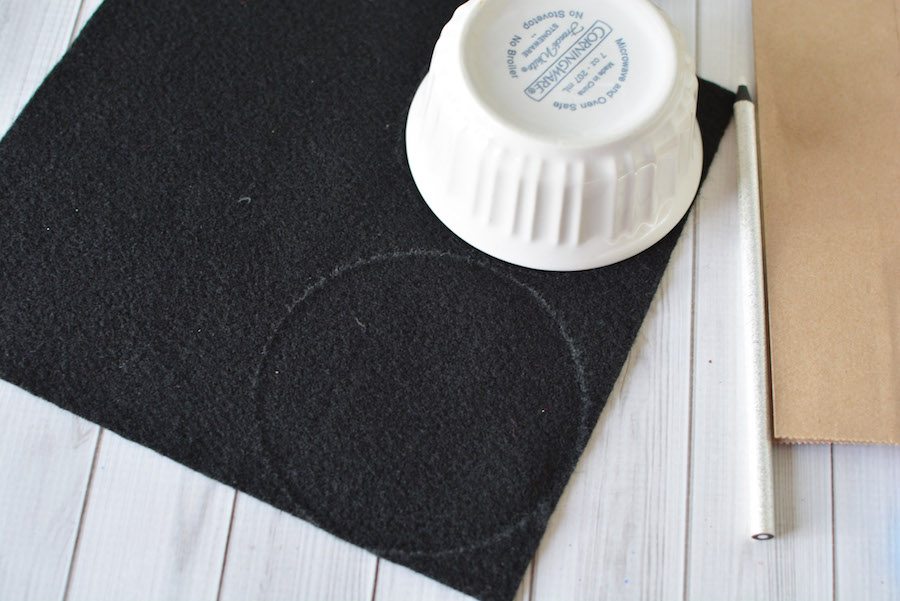
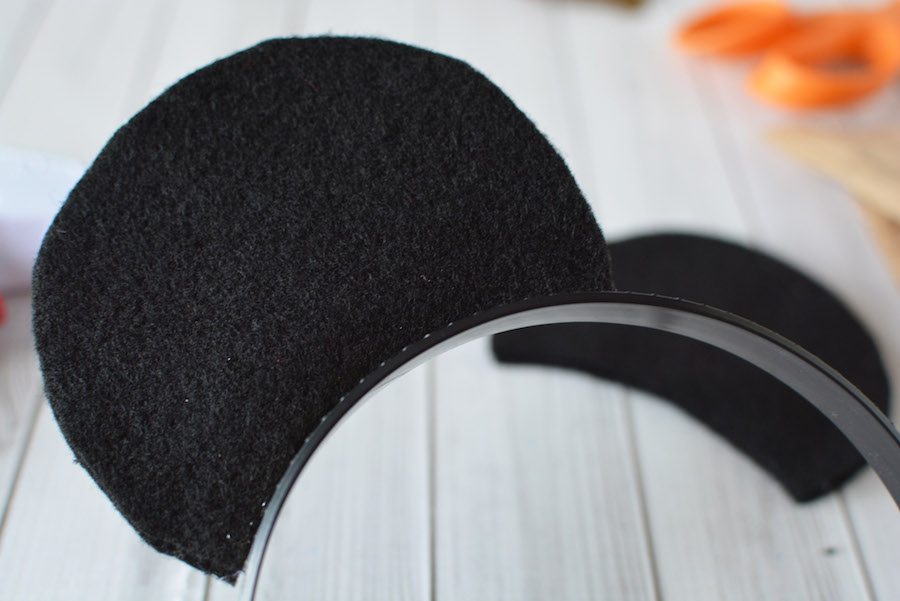
Use a small 4″ circle template, such as a bowl to draw a circle on the black felt with a white colored pencil.
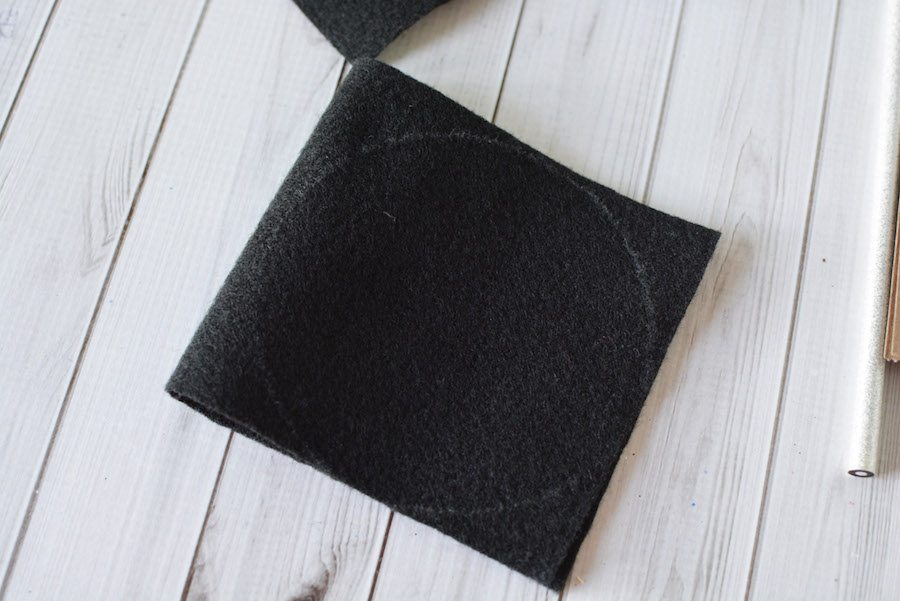
Fold the felt in half and cut 2 circles at one time. Repeat so you have for circles total.
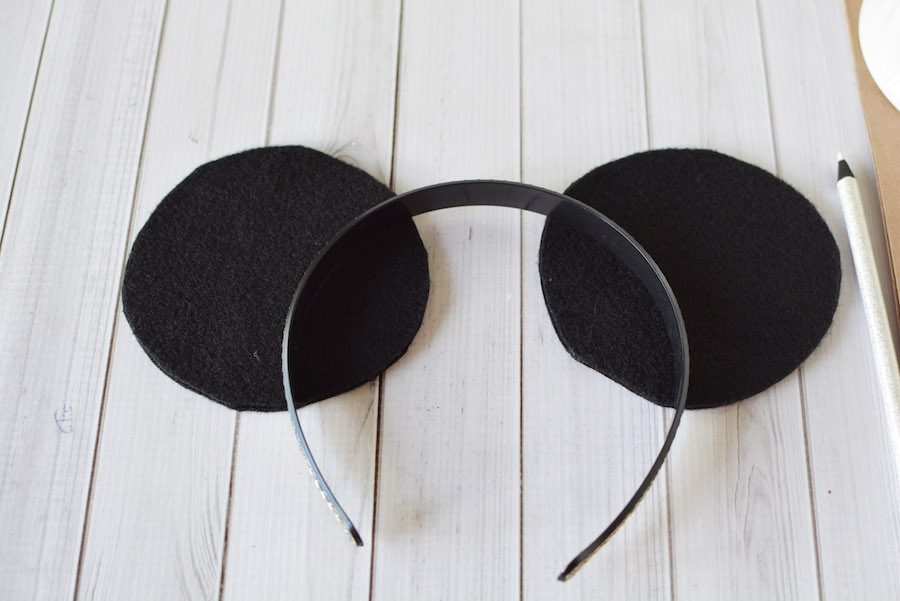
Place the headband onto the circles as you’d like to arrange your ears. Trace the bottom of the headband onto the black felt circles with white colored pencil. Trim the ears and discard the excess felt.
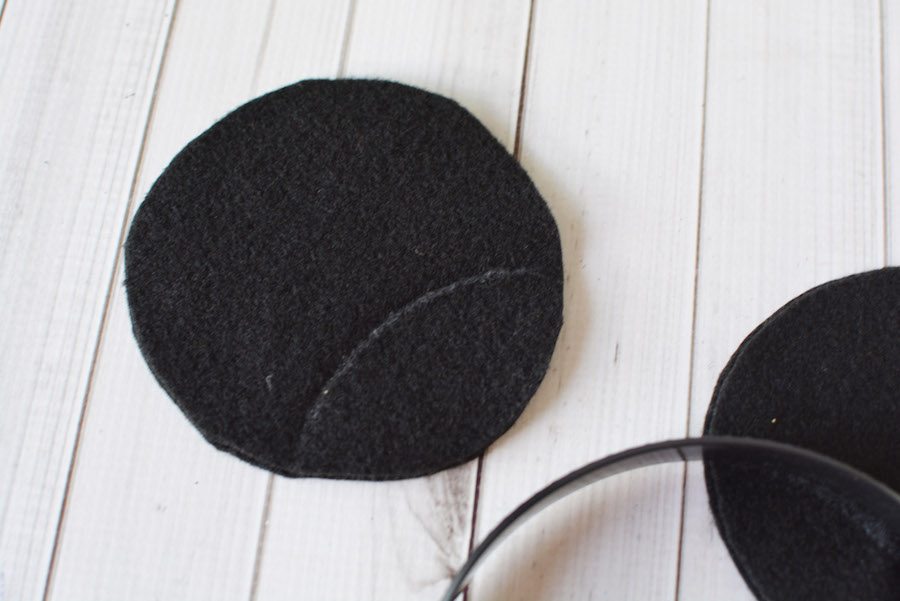
Glue the two ears together, then glue to the headband as shown.
Place leaves under the headband and draw a line to trim the leaves. Cut with scissors and attach to the headband.
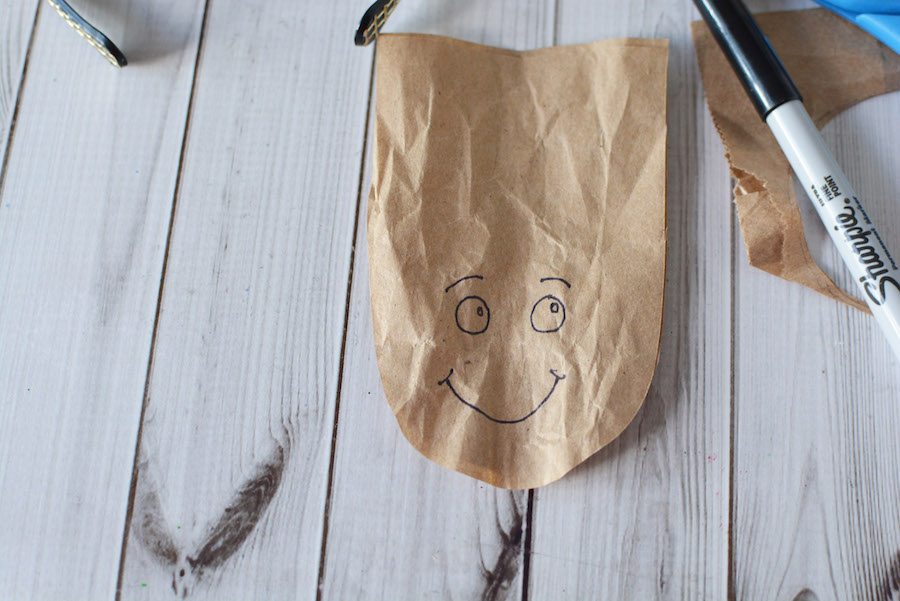
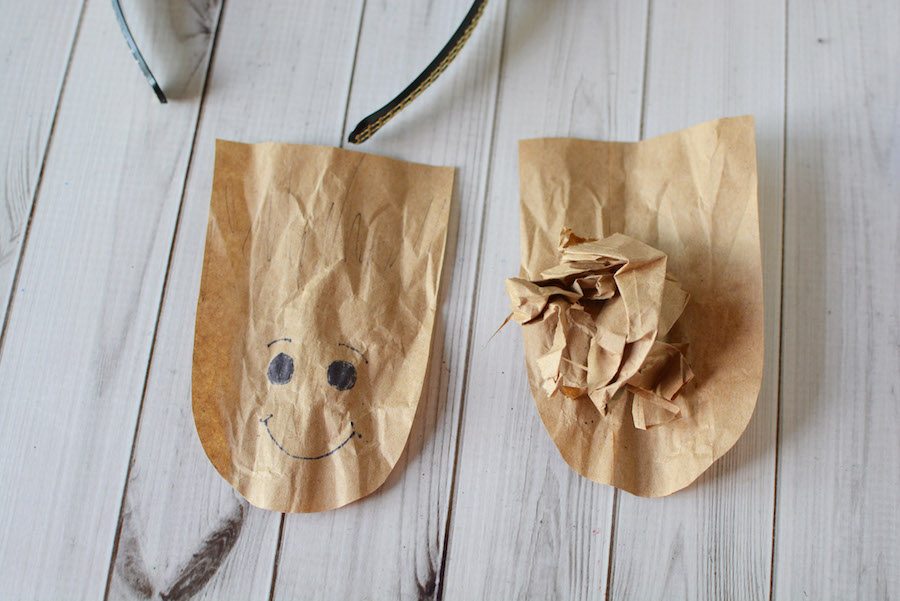
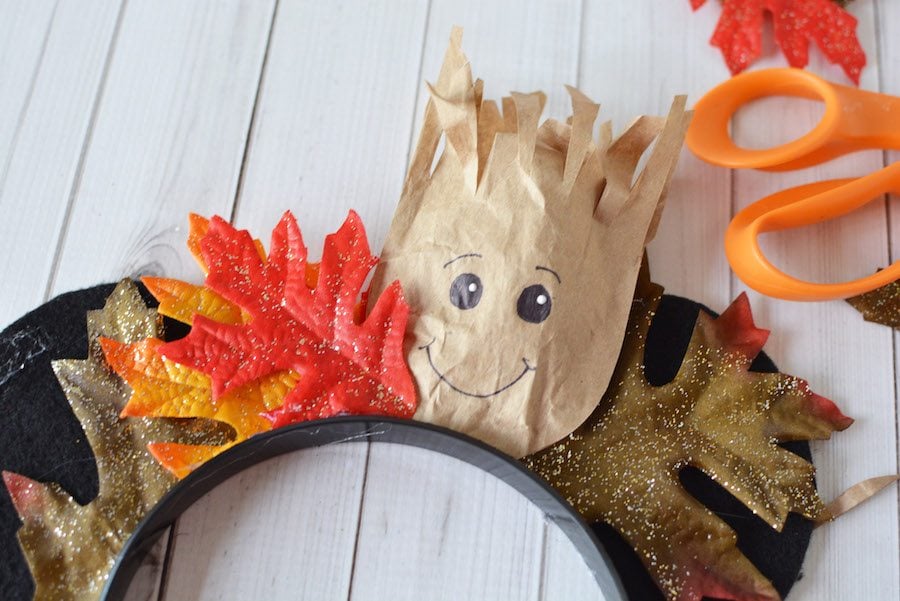
To create a groot, gently crumble a brown lunch bag. Draw a head outline on the brown paper bag. Cut it out and add some eyes and a mouth with the black marker. Make sure you are cutting through 2 sides of the bag so you have 2 pieces.
Crumble a scrap piece of the bag and set it in the center of the two pieces. Add hot glue around the 3 edges of the head, leaving the top open. Stuff with the crumpled bag.
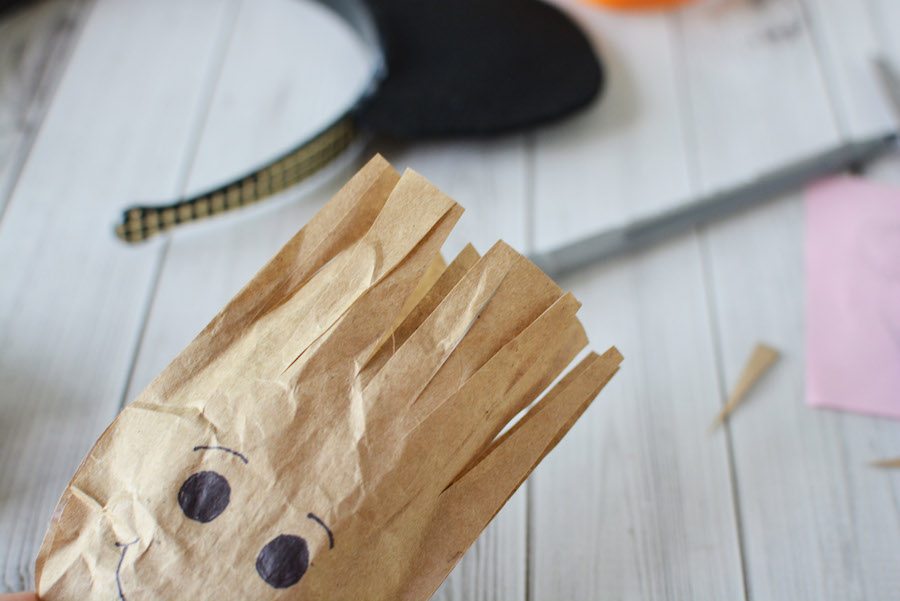
Cut frayed sections into the top of the bag and cut into them to make them irregular. Crumble them to add dimension.
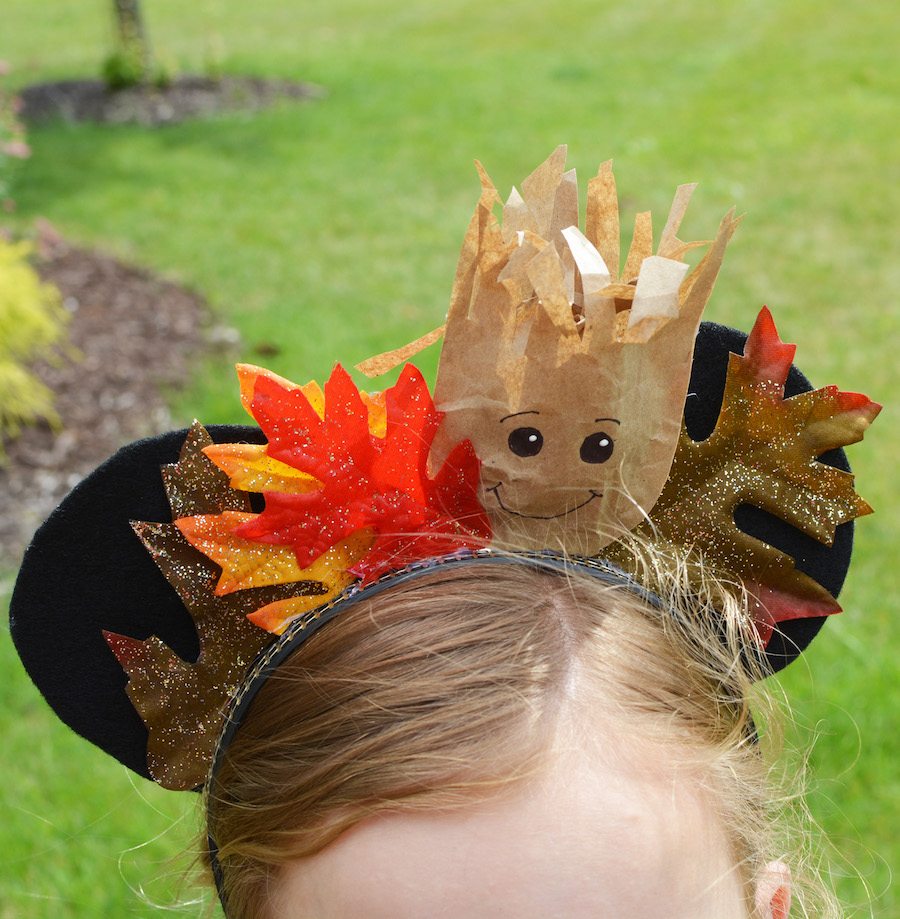
Attach the groot to the headband with hot glue and add a dot in the eyes with white paint/paint pen/white out if desired.
Looking for more great Disney crafts?
Edible Fairy Dust Necklace | Disney Cruise Fish Extender Idea
Fish Extender Gift | Edible Pixi Dust
Tic Tac Box DIY Fish Extender Craft













Did you love this recipe?
Make sure to comment below so we can chat about it!