

This site contains affiliate links. Please see Policies for more information.
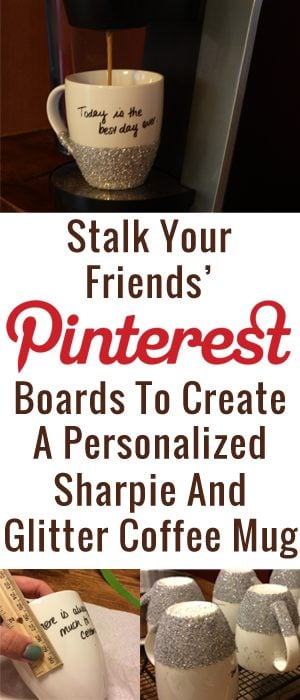
As I was browsing Pinterest one night, a beautiful image from Nest of Posies caught my eye. It was of a glitter coffee mug in front of a Christmas tree with the fun saying, “All Mama wants is a Silent Night.”
I wanted one.
But it seemed like a lot of work to do for one mug. And for something that *I* wanted so close to the holidays.
So, I decided to make gifts and order 6 beautiful white mugs and some glitter from Amazon. Then I wouldn’t be selfish, right?
Just say yes.
There was one problem, though. I’m not witty.
I couldn’t think of something to write on my friend’s mugs that was unique but not corny, witty but not silly.
So, I turned to their Pinterest boards.
Do you know that almost everyone has a board full of quotes?
I looked through the quotes they had pinned and chose one I loved for them. Now, their mugs are personal and sparkly. And there really isn’t anything better than that, is there?

A quick note: these mugs require several steps and a total craft time of about 5 days.
You’ll need:
–Mugs
-A Sharpie
–Decoupage (I used Martha Stewart’s Gloss finish)
-Paintbrushes for the decoupage
-Drying rack
-Large bowl (for the glitter)
-A ruler
-Painter’s Tape
1. Choose your quotes. Shorter is better, you can even cut a quote down or paraphrase it.
2. Clean the mugs with rubbing alcohol, especially where you’ll be writing.
3. Write on your mugs! It’s important to remember that the best part about this gift is that it’s personal-not perfect. I practiced writing on a cardboard box with the Sharpie, then started writing on the mugs. If you mess up, use rubbing alcohol to wipe the marker off and try again. Don’t get discouraged :)
We have tried writing on dishes with Sharpie before and it came off pretty easily. After reading several tutorials, here’s what I did to make the letters on these mugs stick.
4. Allow your Sharpie sayings to dry overnight.
5. After allowing your mugs to dry, place them in the oven, then turn the oven on to 350 degrees. Yes, you read that right. They need to heat up slowly together.
6. After your oven heats up to 350, set a timer for 30 minutes.
7. After 30 minutes, turn your oven off and leave the mugs in the oven to cool for 3 hours.
8. Wait 24 hours for the marker to cure.
9. Wipe the mugs off with rubbing alcohol, staying away from the writing. You’ll mainly be focusing on the bottom of the mug and the handle where the glitter will go.
10. Using a ruler, measure to the bottom of your quote and make a mark. Go around the mug with the ruler and make several more marks so you can make a straight line for the glitter.

11. Using a thin piece of painter’s tape (I actually tore my tape in half lengthwise) so it won’t touch your quote, tape off where you drew your marks so your glitter will be in a straight line.
Ann Marie over at White House Black Shutters has a tutorial for the glitter. I’m going to pass you off to her post for directions and leave you with a few thoughts from me (the non-crafter) about my observations when making these.
 After the first coat of glitter
I used a portable fan to help dry the mugs between coats of decoupage. Even in the dry desert climate, it seemed like the decoupage took longer than 24 hours to dry for me.
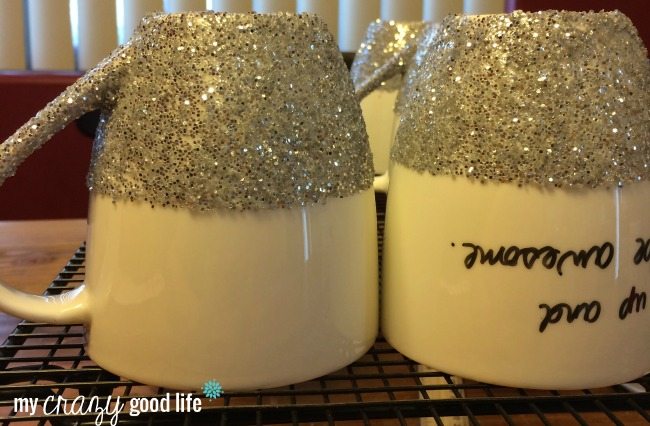
When applying my 2nd coat of glitter, I saw some areas that were a little “light.” I’d double check your mug while doing the first coat to make sure you can fix them. Adding extra glitter after the fact makes some spots extra thick.
I applied two coats of decoupage to the top of my cup, as well. I wanted to make sure there was no chance of the marker coming off.
I have been using my mug daily and hand washing it, and the decoupage I used said that after curing for 28 days these mugs can be put in the dishwasher! The tutorials I linked to above mentioned this, as well.
*note: I attempted to put the mug in the dishwasher after 35 days. It was not dishwasher safe. The mug is definitely cute enough to warrant hand washing, though!*
So, who are you going to make a mug for?


I really love that you added glitter to these mugs, so adorable!
Do you know if these can be used… and washed or are they just for show?
Linda, these can be used and washed! You can even wash them in the dishwasher after they cure for 28 days!
What a great idea. Have a dear friend who’s birthday is 2/14.
Can you make me one that says Princess or Awesomeness? Thank you for a great idea. (JK)
Great job!! Been meaning to try this project out!
Thanks, Jenni!
Do you know how much I love that you looked at their pinterest board to see what quotes they liked? Awesome.
I am going to make one with my one word for 2014. I can easily make one word mugs for my bloggy friends too :)
I LOVE that idea!
What a genius idea! I love that you got the quotes from their own Pinterest boards LOL :)
So cute – I had no idea this could be done!
Love this! I’m planning on doing this in a few days! I was wondering though…your blog mentions a second coat of glitter, but when I went to the other blog you directed us to (White House Black Shutters) she only did one coat of glitter. I was wondering if I should do 2 coats of glitter then? And if so, do I apply 2 or 3 coats of decoupage after the first time I use glitter? Sorry, I hope this makes sense! I feel like I didn’t explain it very well!
Where did you get these mugs to do this project? I like that particular style! Thanks for posting :)
Can you use any mug or does it have to be a certain kind. Can I just pick up a white mug from Walmart or the dollar store?
please i would like to know if its only a sharpie marker i can use? im in nigeria and cant find that so can i use ordinary permanent markers?
Helen, I’d imagine any permanent marker would do!
If u use dishwasher safe Mog Podge then in 28 days it would be dishwasher safe. However it has to not be used at all for the 28 days.