This site contains affiliate links. Please see Policies for more information.
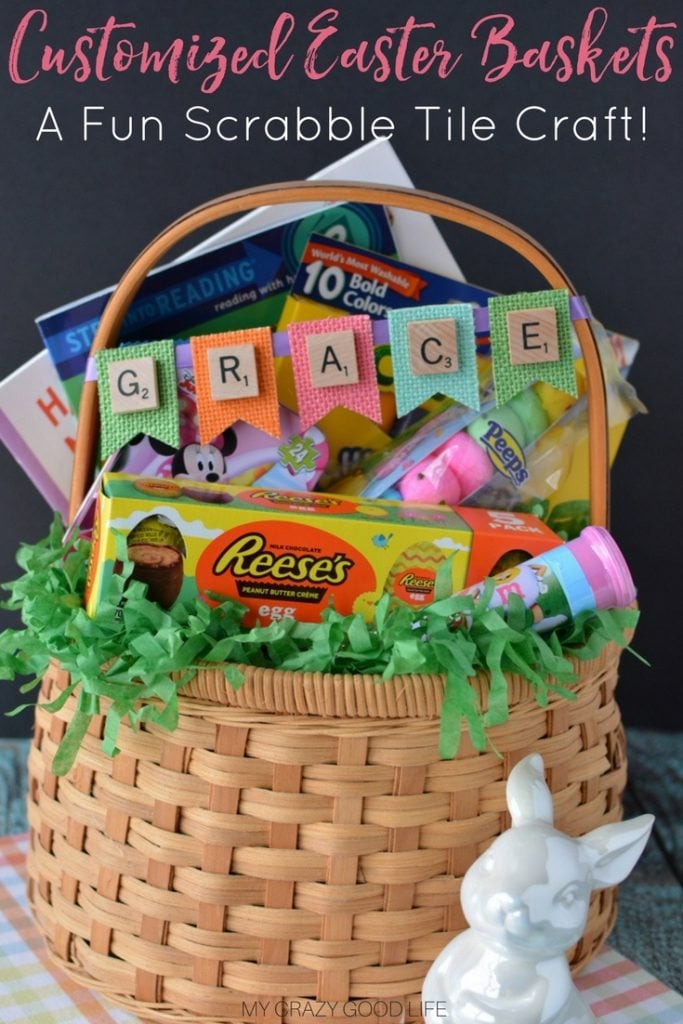
Spring is in the air. I can’t be the only one going through a major cleaning phase right?!? Another fun activity for Spring is crafting. It won’t be long until craft fairs and events are popping up all over the place. Instead of buying some customized Easter baskets this year, use this Scrabble tile crafts tutorial to make your own!
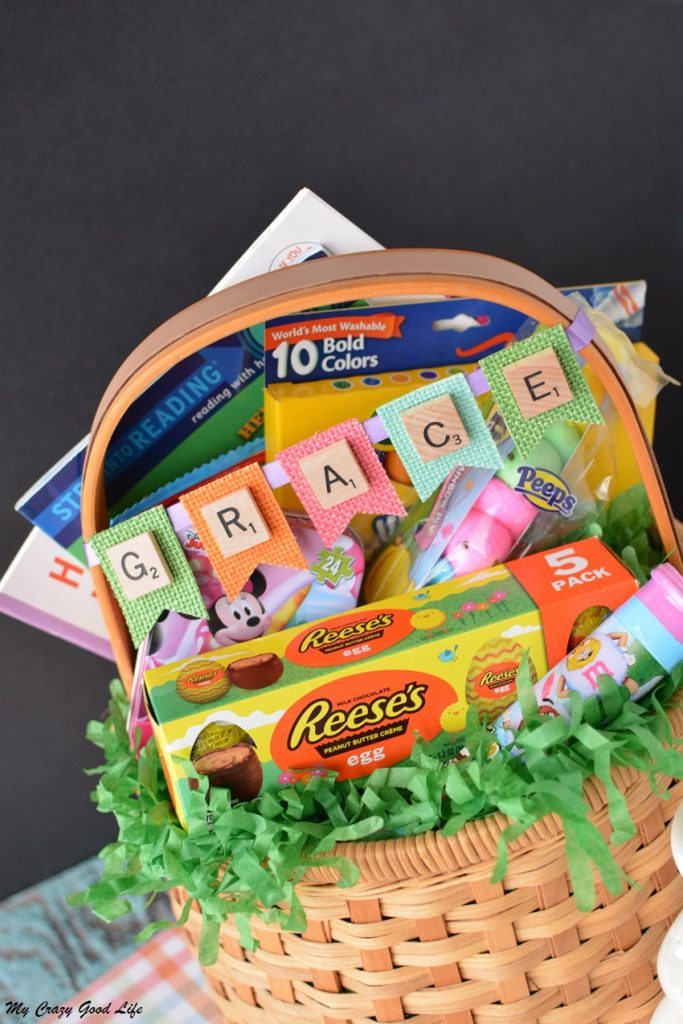
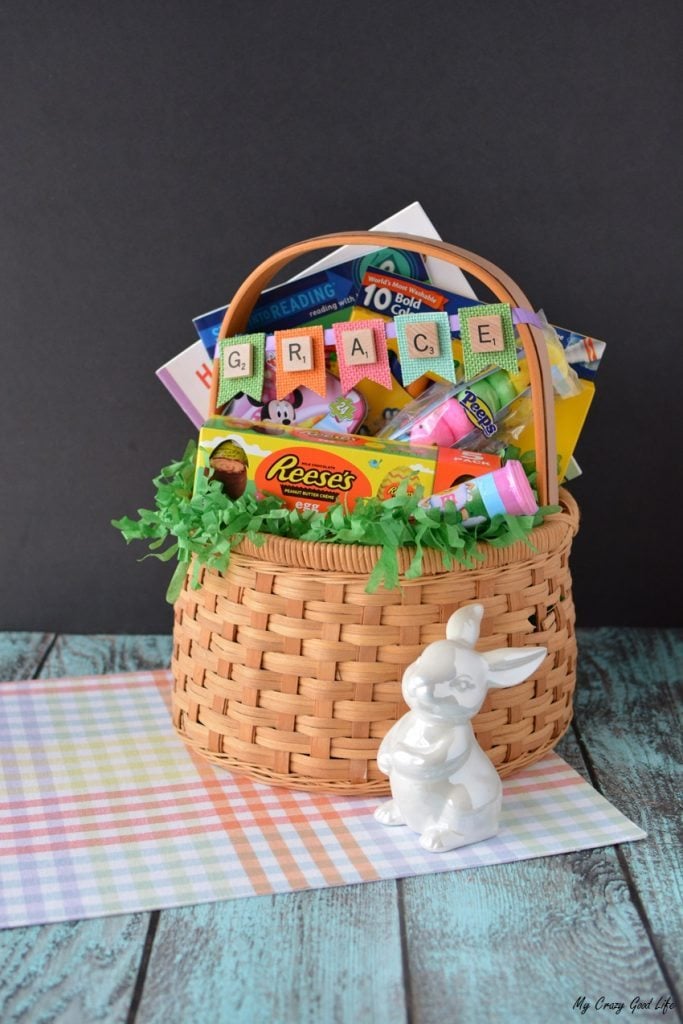
Your little ones (and bigger ones) will be thrilled to find these adorable baskets when they wake up Easter morning. You can fill their baskets with even more fun DIY projects…or chocolate…and more chocolate…and marshmallows. The great thing about this tutorial is that you can customize any Easter basket you choose. Pick one out that has sentimental meaning, or perhaps your kiddos would love to find a basket that has a theme! With just a few quick steps you’ll have an adorable surprise for Easter this year.
Scrabble Tile Crafts | Customized Easter Baskets:
Easter is quickly approaching. If you want to make some Customized Easter Baskets for your favorite little bunnies you should start now! This easy DIY will have you looking like an Easter pro. Scrabble Tile Crafts are fun, adorable, and the best part is that you can buy the tiles and still be able to play your board game with all of its’ pieces!
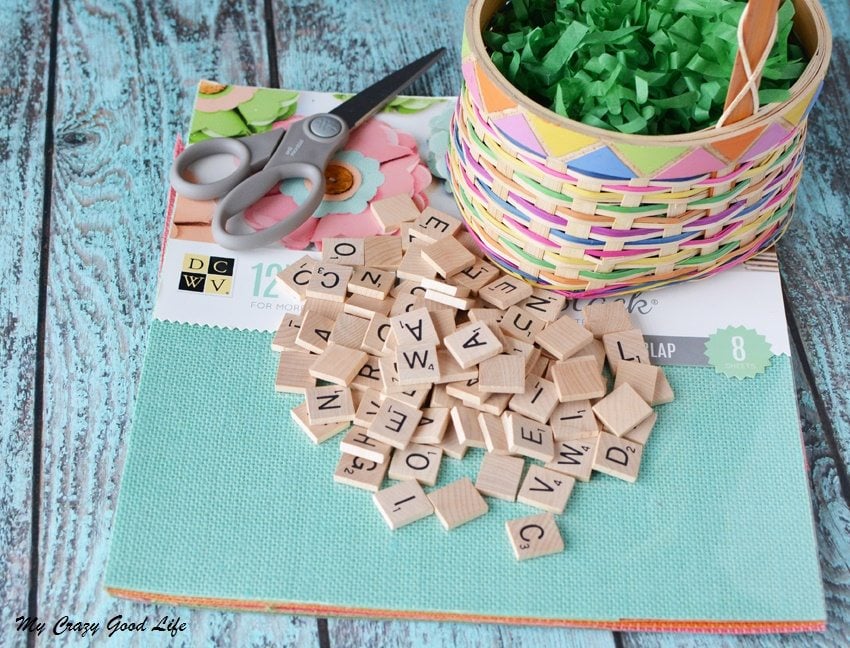
Materials Needed for Making Customized Easter Baskets | Scrabble Tile Crafts:
Burlap Paper (used DCWV 12×12 Premium Stack Covered Burlap)
Scrabble Tiles (3/4″ square size)
3/8″ ribbon
Easter Basket
Scissors
Pencil
Scrap Paper
Hot Glue
Directions for Building Scrabble Tile Crafts | Customized Easter Baskets:
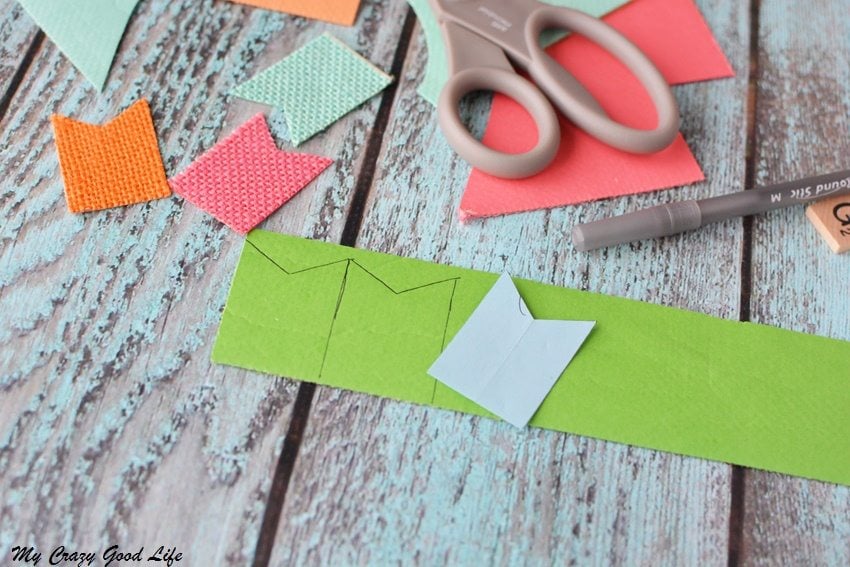
Cut a piece of scrap paper to the size of 1.25″ x 1.75.” This will be your pattern. Cut a small triangle out of the bottom. Place your scrabble tile onto the paper to make sure it fits.
Trace the pattern onto the back of the burlap paper. Select a pattern of colors depending on the length of your name.
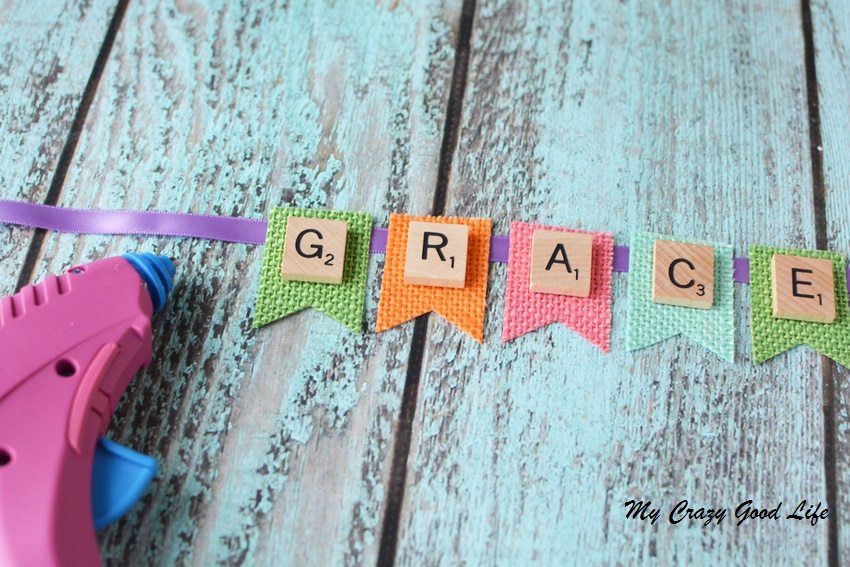
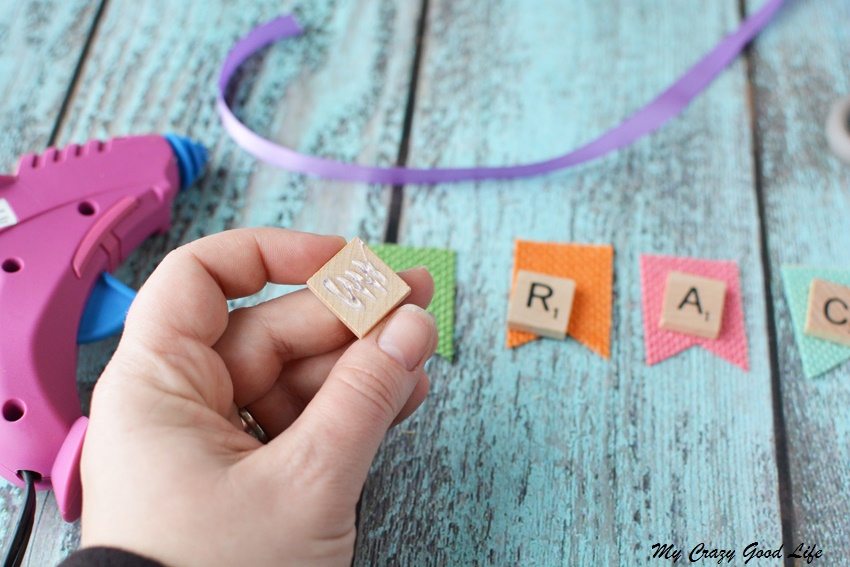
Hot glue your scrabble tiles onto the burlap banner flags.
Line up the name flags and cut a piece of ribbon the length of your basket. Add about 2-3″ to allow for the overlap/wrap around of ribbon onto the basket. If you do not want to put the ribbon across the handle, hang it in front of the basket.
Glue the flags onto the ribbon with hot glue. Attach to the basket by tying or adding a dollop of hot glue to secure.




Did you love this recipe?
Make sure to comment below so we can chat about it!