This site contains affiliate links. Please see Policies for more information.
Words out! I am in love with my Cricut. It makes beautiful and intricate crafts seem totally attainable.
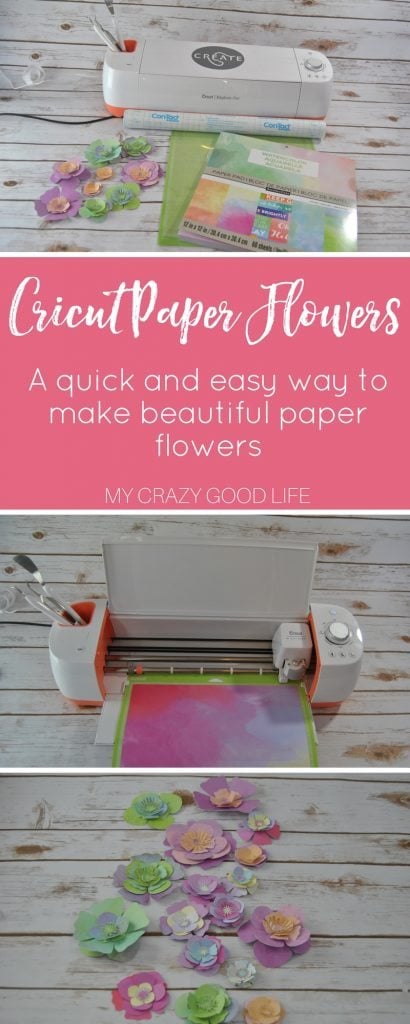
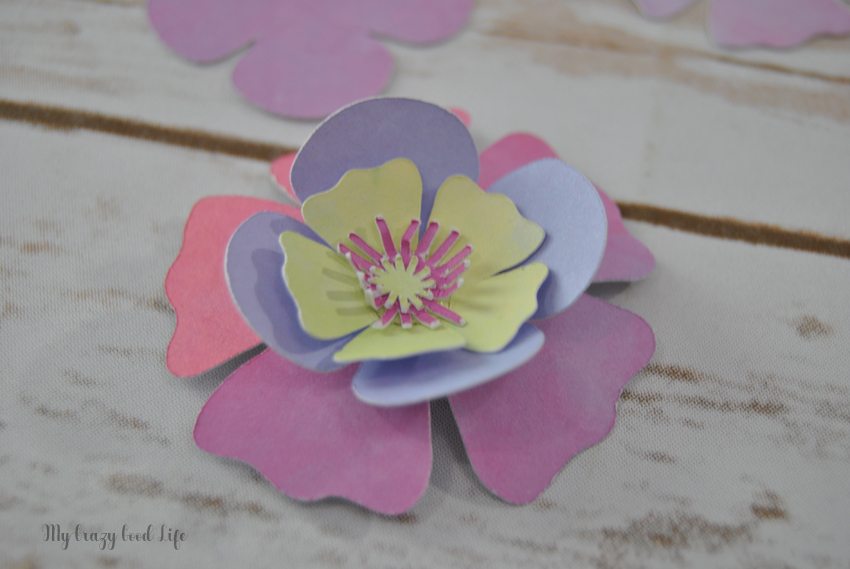
Making Cricut paper flowers is a breeze with this easy to follow guide. There are tons of different designs and applications for a paper flower.
You can put them in a shadow box, string them up for a garland or photo backdrop, you can even put them on stems and sit them out in a vase.
I’m also going to show you the easiest trick for making Cricut paper flowers that look like they’ve taken days to design. You’ll be shocked at how easy it is to get gorgeous results with this one little tweak!
Cricut Paper Flowers | Cricut Paper Crafts
Unless you have a very steady hand and some serious patience you will need just one or two specific items for this particular paper flower tutorial. Don’t worry, you can sill start making Cricut paper flowers right now, but for these beautiful results you’ll want to check out the supplies list.
Supplies Needed for Cricut Paper Flowers:
Cricut Machine with Design Space Accessibility
Light Stick Cutting Mat (or a Dull Regular Mat)
Watercolor Paper Pad by Recollections or Other Watercolor Designed Cardstock
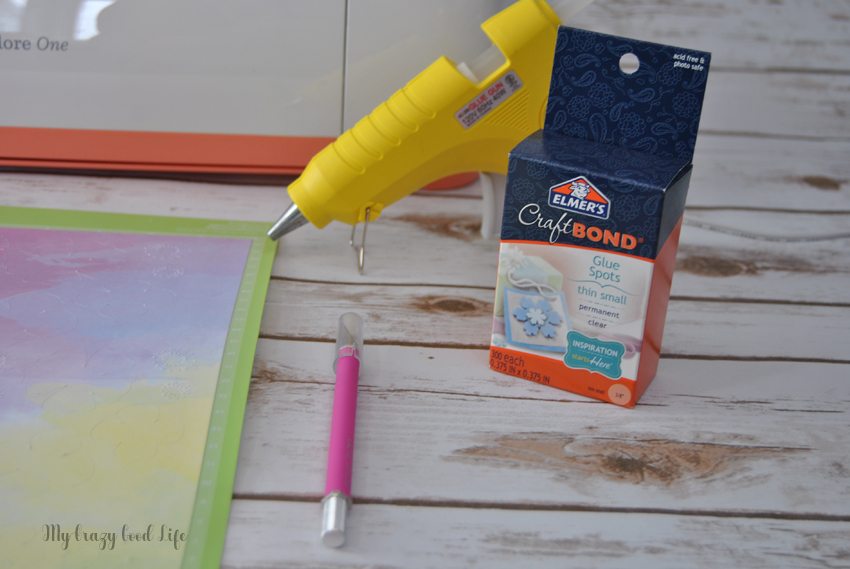
Glue Dots or Hot Glue Gun
Weeding Tool
Spatula Tool
Paper Flower Tutorial Instructions:
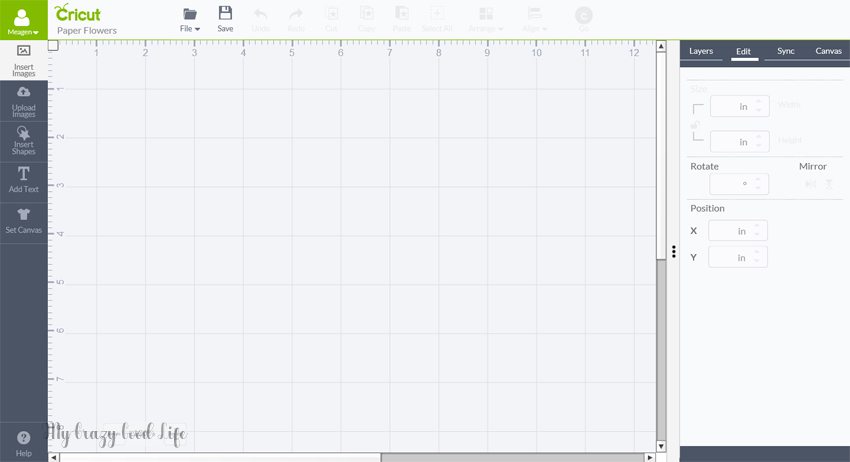
Start out with a new project.
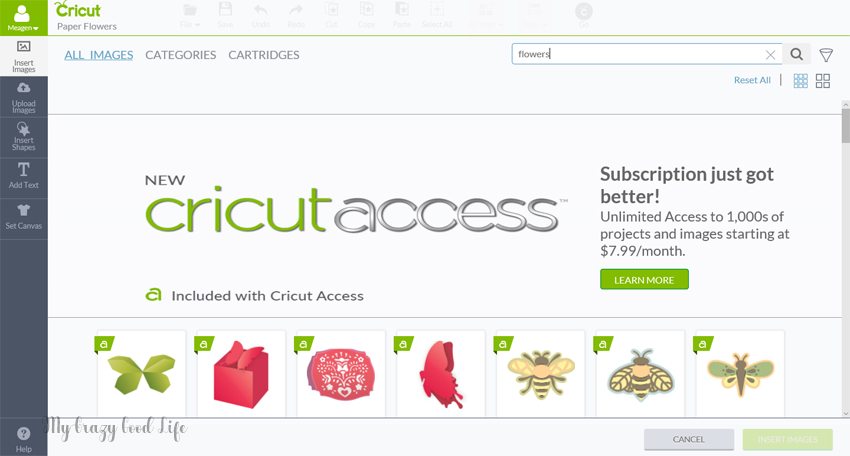
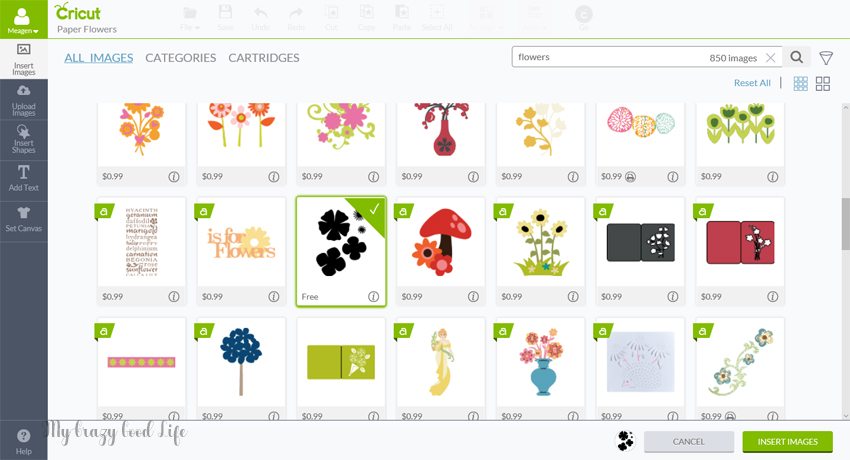
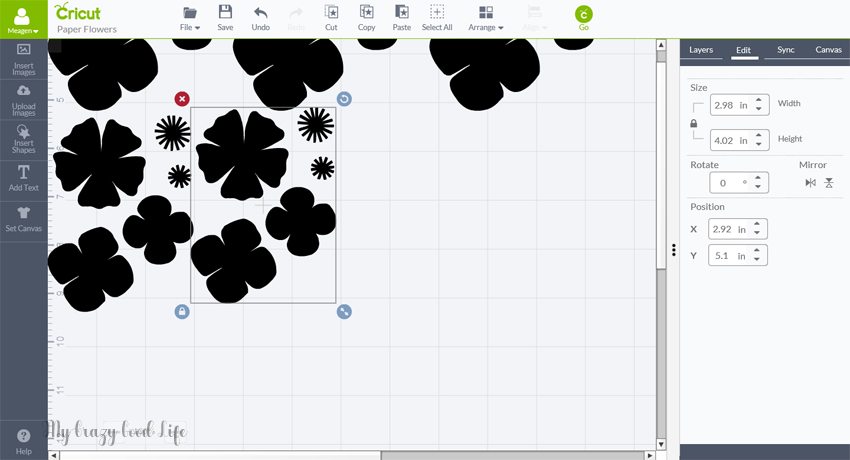
Click on “Insert Images” and search for “Paper Flowers”.
This design is free for all users on Cricut Design Space. You do not need a subscription to use or cut with this image!
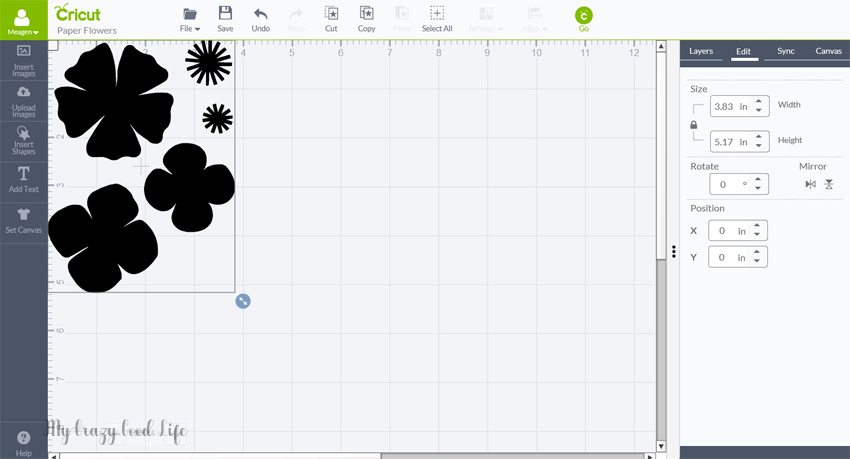
Insert the image to your new project and size to fit your needs. I’ve made these from between just a few inches to full sheets per layer for backdrops. They all look gorgeous and you can’t really go wrong. If you are planning to put these pretty flowers into a shadow box, I recommend you make them in several different sizes to stagger them within the box.
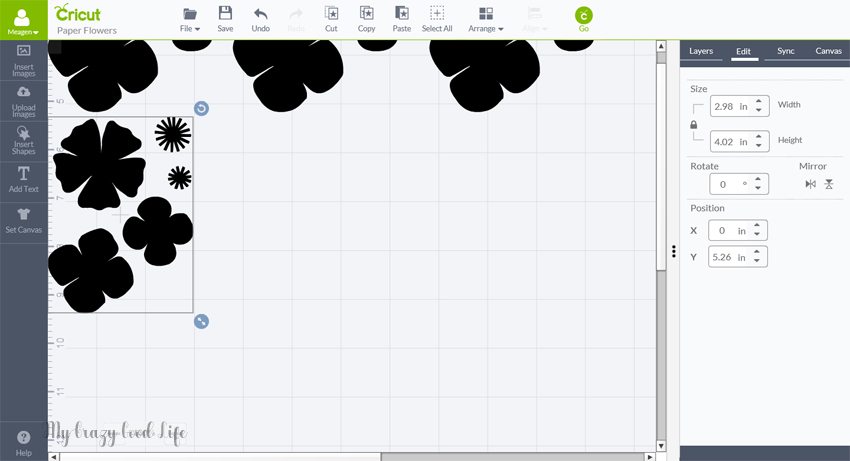
Use the “Duplicate” button on the lower right side to make multiples of your flower pattern in whatever size you need. Or “Copy” and “Paste” will do the same thing! Remember, each set of 5 pieces is designed to make just one flower.
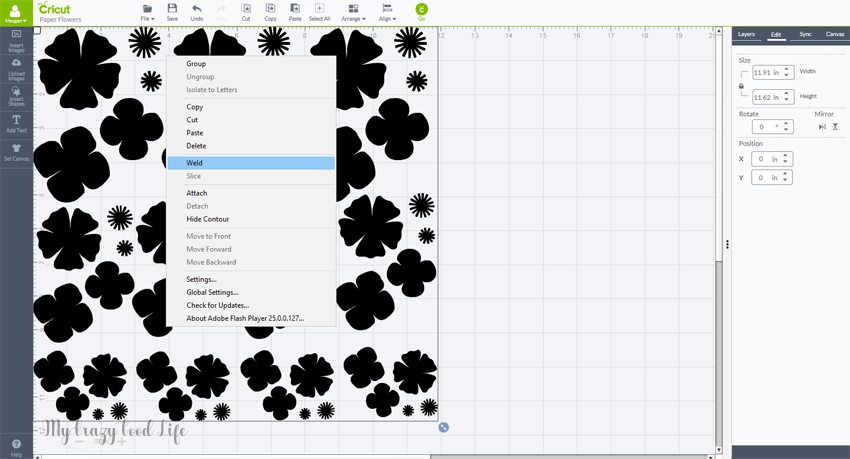
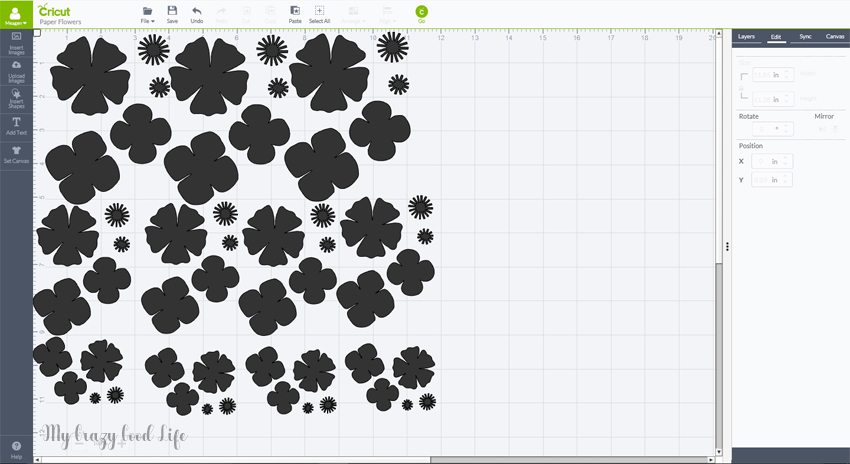
I try and get as many on the sheet as I can and then I select them all and “weld”. This seems to make it easier to keep them all in place and organized. You can always ungroup and organize them as you see fit as well.
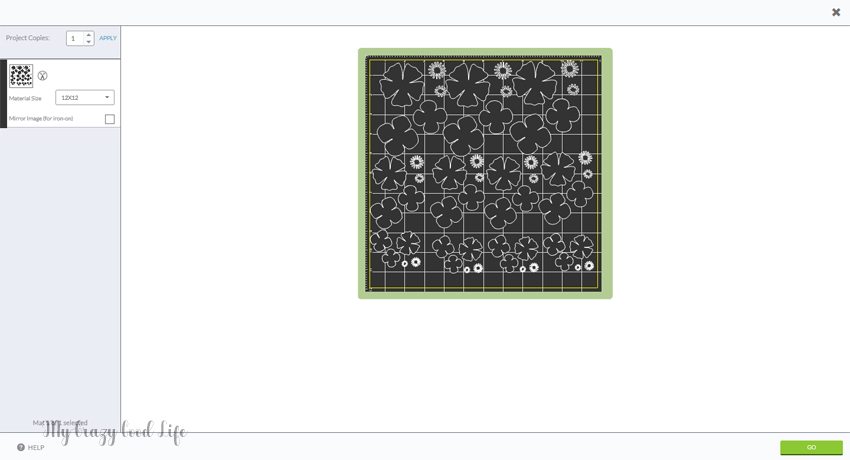
Now you are ready to cut.
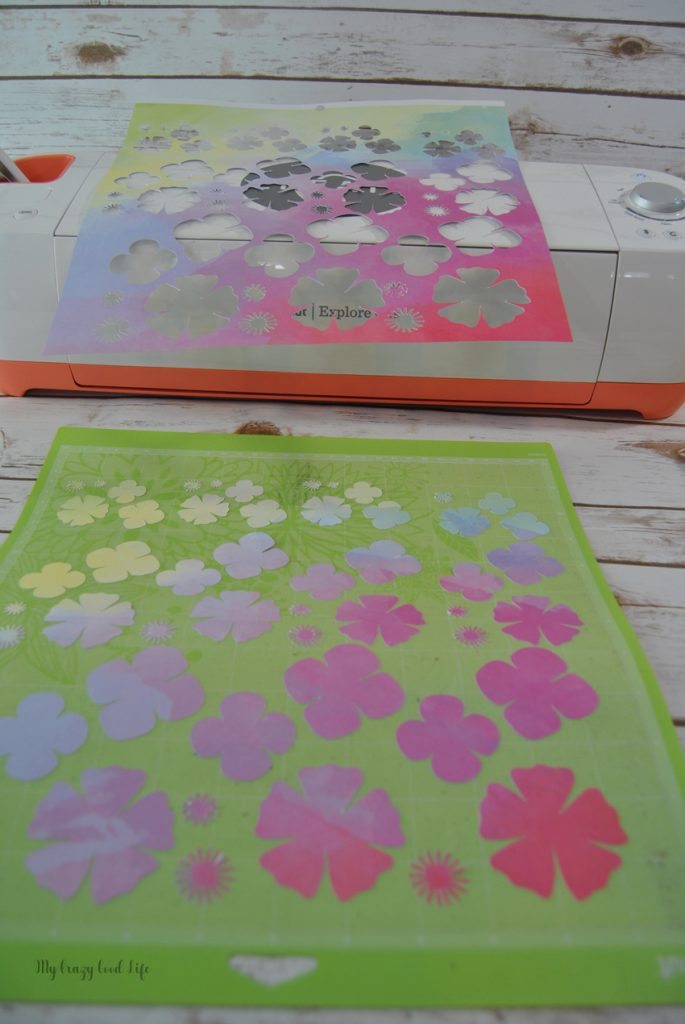
Remember to use a dull (or extra dirty) regular mat, or a light grip cutting mat. For this particular paper I cut on Light Cardstock + as well as Cardstock and they work very well on either setting. It will likely depend on how sharp your blade is. If you find you have trouble on Light Cardstock + just switch over to Cardstock even though this paper is a bit lighter than a typical cardstock.
Once you have cut your images, remove the outer edge. Leaving the flowers stuck to the mat.
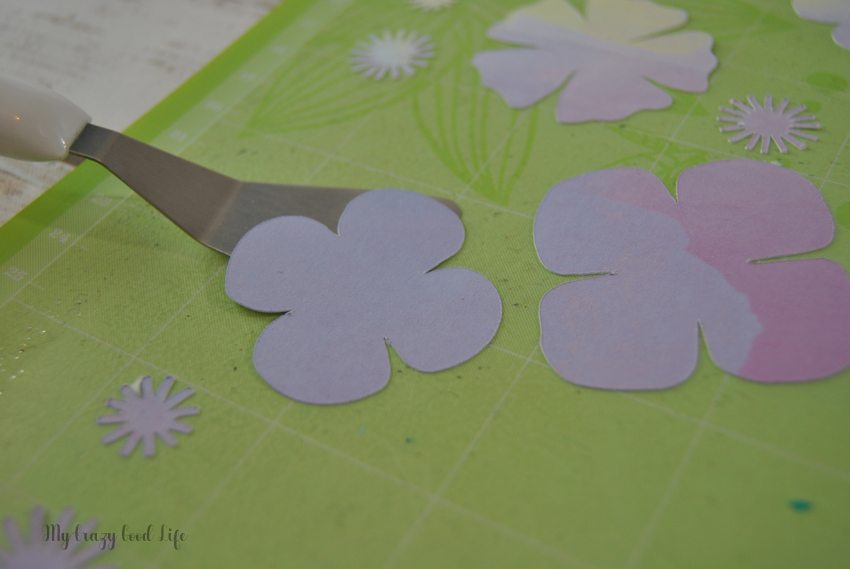
Remove the flower layers carefully using the weeding tool and spatula tool. Once you have your flowers removed you can set aside your tools and bring in the glue!
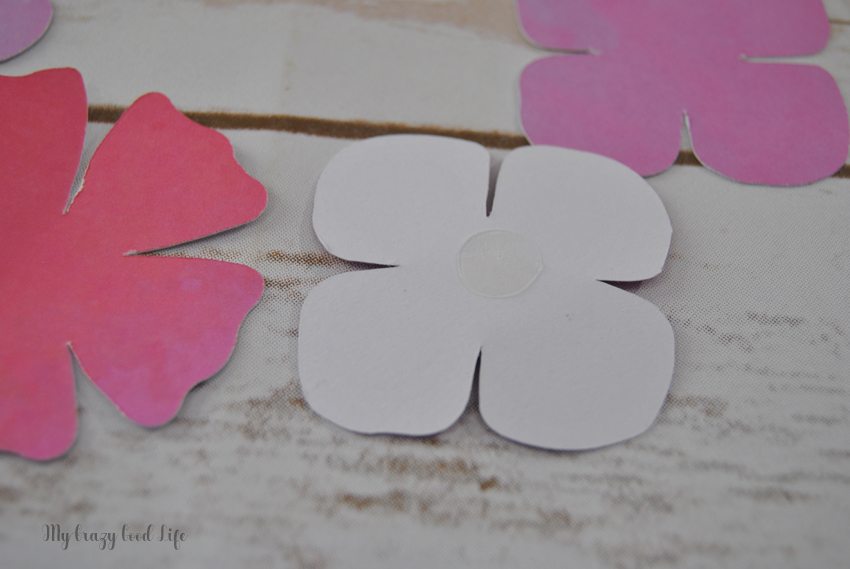
Glue dots work well for this project because they’re not wet and there is no dry time.
Carefully place your layers together beginning with the largest petals and working your way up. Make sure to pre-layer the middle pieces before putting them on as your final flower piece.
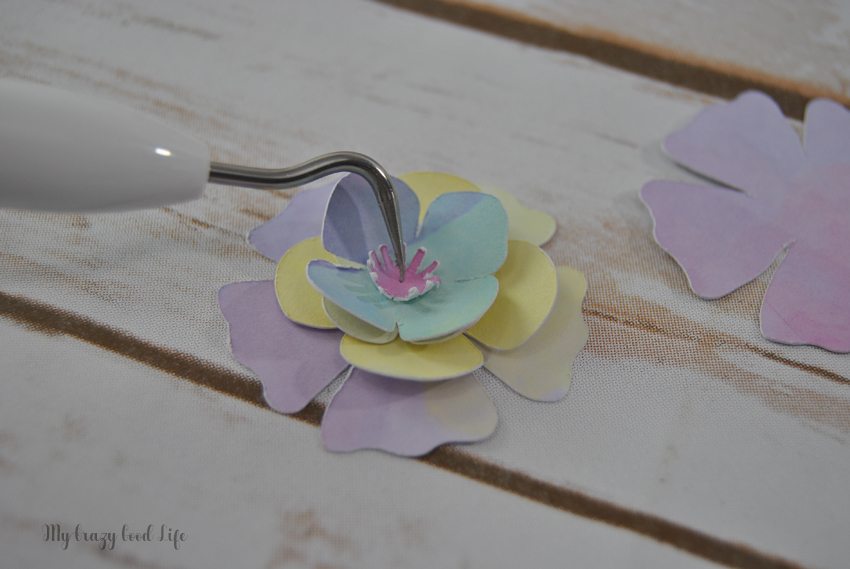
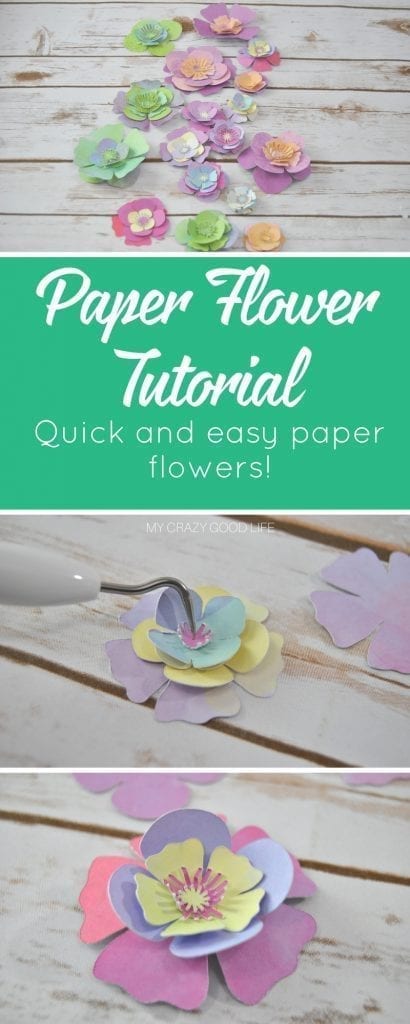
Once all the pieces are layers you can bend the edges up or down depending on the looking you are going for, don’t forget to stand up the inner pieces as well. The weeding tool works great for getting under those tiny stems.
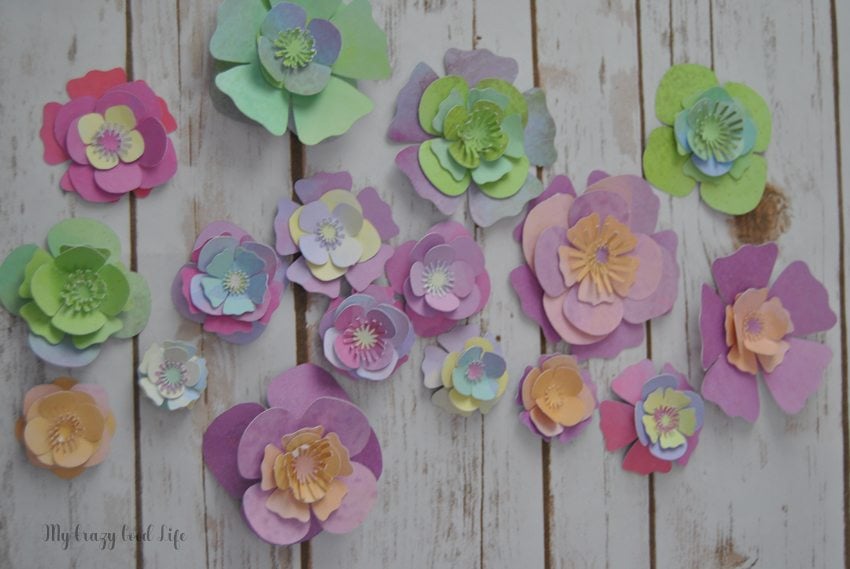
Now you are all done! You should have a simple and beautiful flower ready to be incorporated into your final project.
The watercolor paper is the best trick for making these flowers. You can pick up the Recollections Paper Pad in Watercolor at Michael’s Craft Stores. They usually have them marked down to at least 40% off. I’ve picked them up as low as 70% off with their amazing coupons and store sales.











Did you love this recipe?
Make sure to comment below so we can chat about it!