

This site contains affiliate links. Please see Policies for more information.
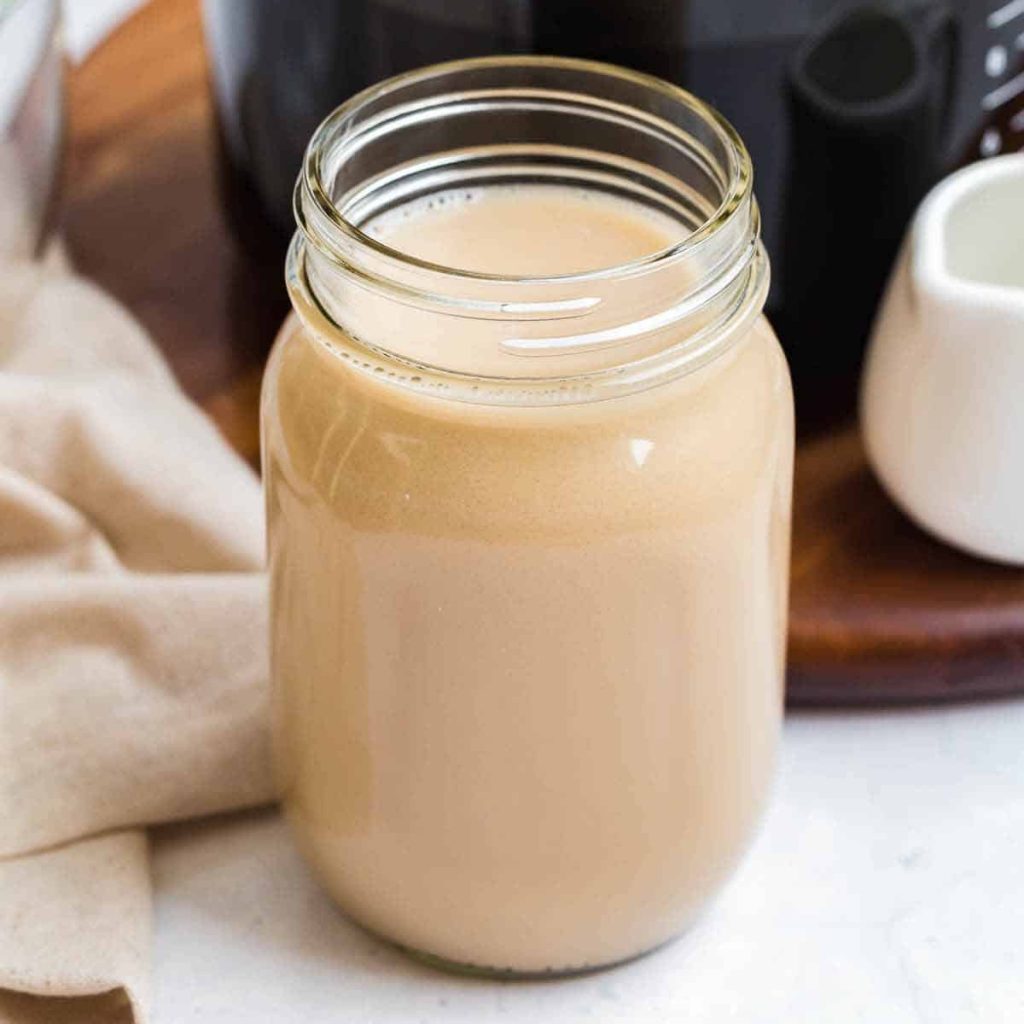
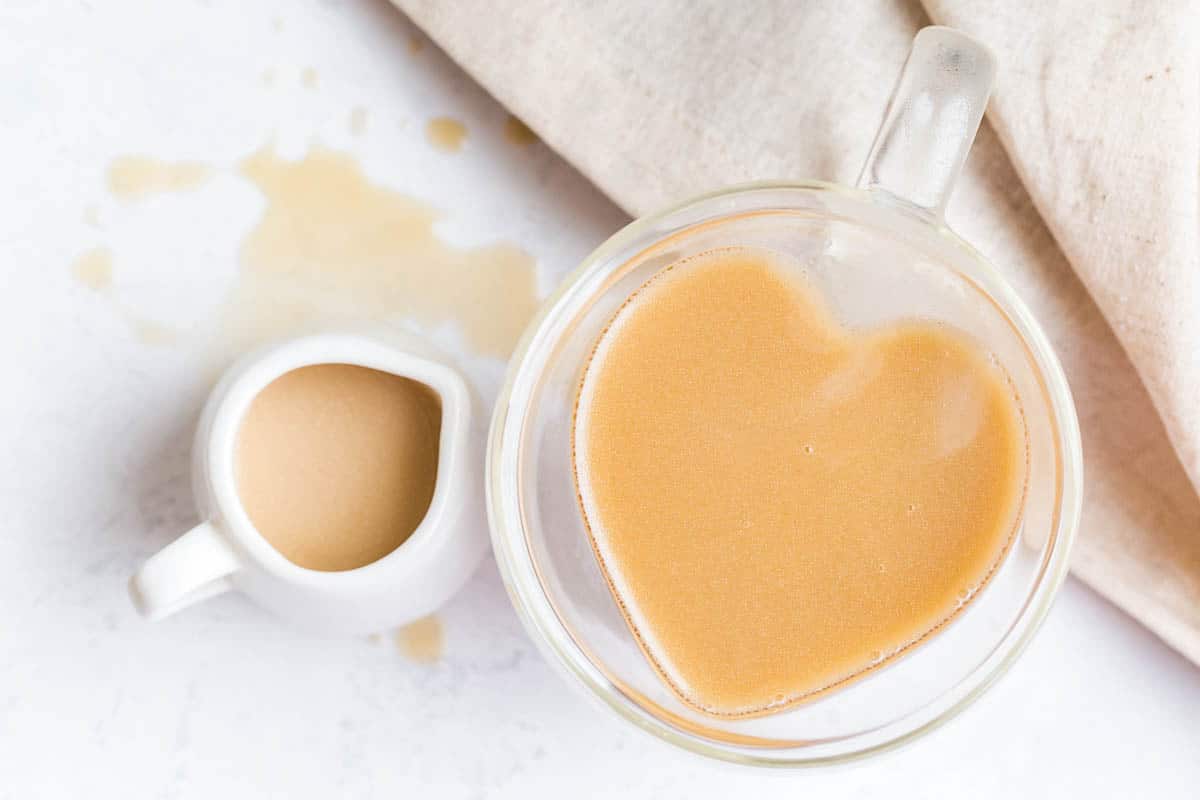
While many people love the convenience of store-bought coffee creamers, it’s not the healthiest way to start your day. I’m sharing how to make Healthy Coffee Creamer – it’s so much easier than you think, and a delicious addition to your morning cup of coffee!
Drinking coffee is a bit of a morning ritual for many, and I love pairing it with a filling breakfast. I suggest whipping up a batch of these Pancakes without Flour or healthy Peanut Butter Banana Oatmeal Bars to enjoy with your coffee this morning. Need another coffee recommendation? This Pumpkin Spice Cold Brew is my current favorite.
Recipe Snapshot
Ready to use in about 15 minutes.
Ingredients are basic and healthier than traditional store bought creamer.
Servings: Makes about 17 servings.
Skill Level: This recipe is easy enough for anyone to follow-no special cooking experience needed.
Ingredients in this Dairy Free Creamer
See the recipe card for full information on ingredients and quantities.

- Coconut Milk: You’ll want the canned coconut milk. Be sure it is unsweetened and full-fat coconut milk for that creamy taste you love. Using another non-dairy milk instead of the canned coconut milk will result in thinner more “watered down” creamer.
- Coconut Sugar: Also called coconut palm sugar or coconut crystals. Coconut sugar has a lower glycemic index than cane sugar, which means it causes a slightly lower rise in blood sugar. I’ve found that this is a 1:1 swap for brown sugar so if you can’t find coconut sugar, brown sugar will give you the same result (but with different nutritional values).
How to make Healthy Coffee Creamer
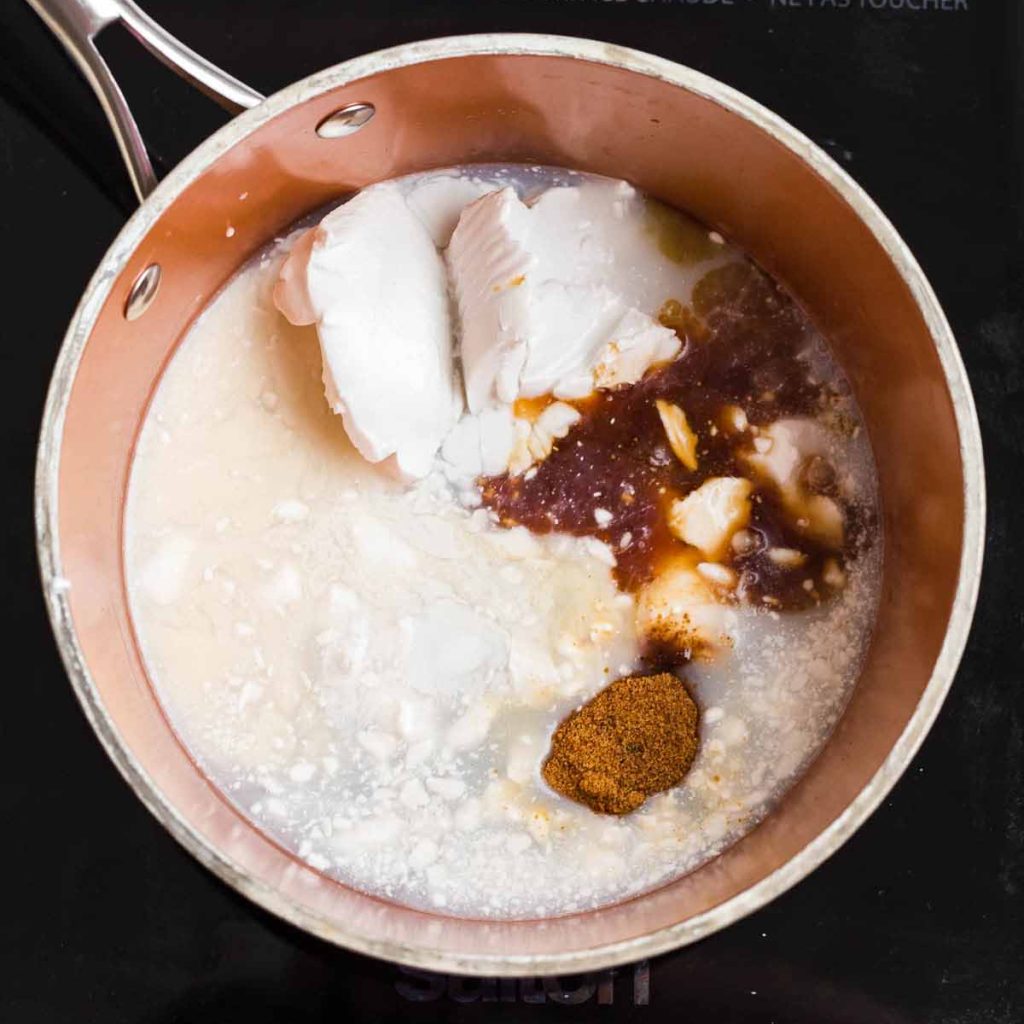
Step 1: Add canned coconut milk, almond milk, coconut sugar, and vanilla to a small saucepan.
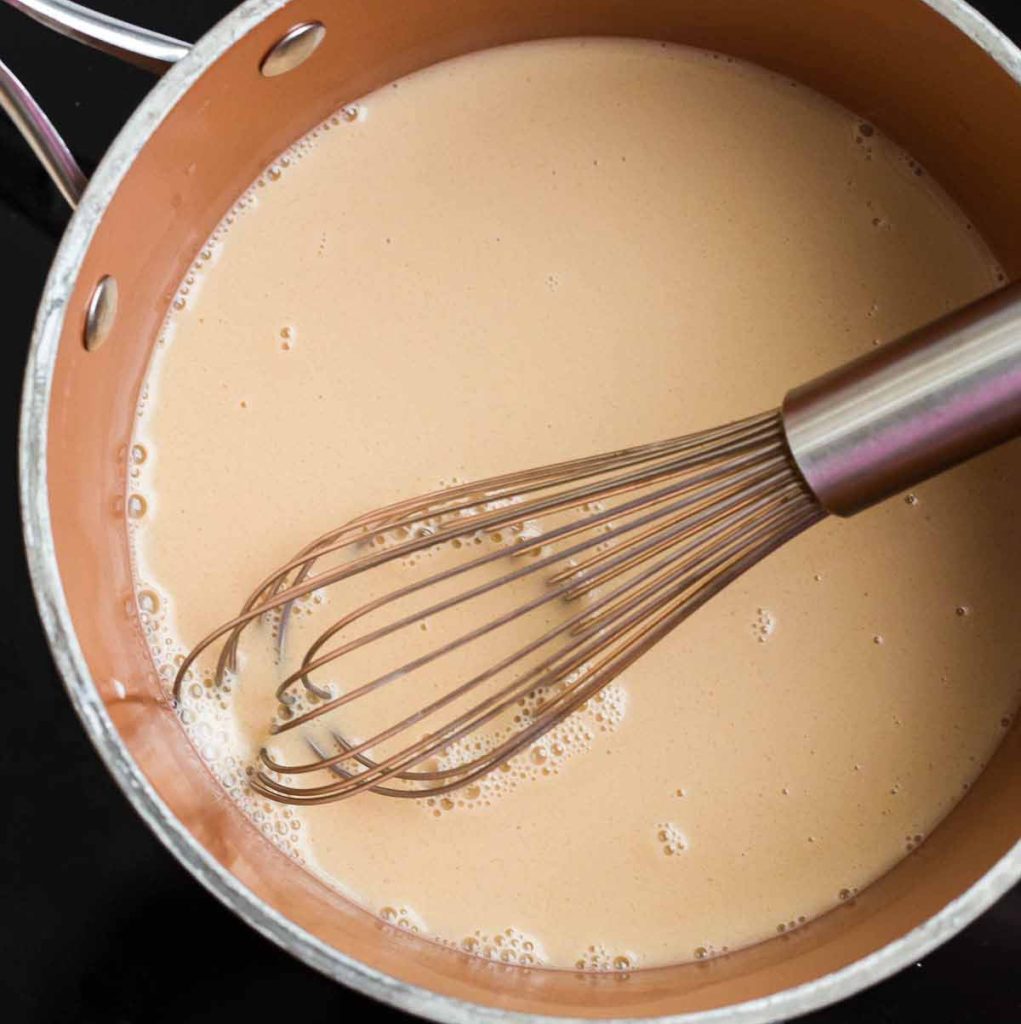
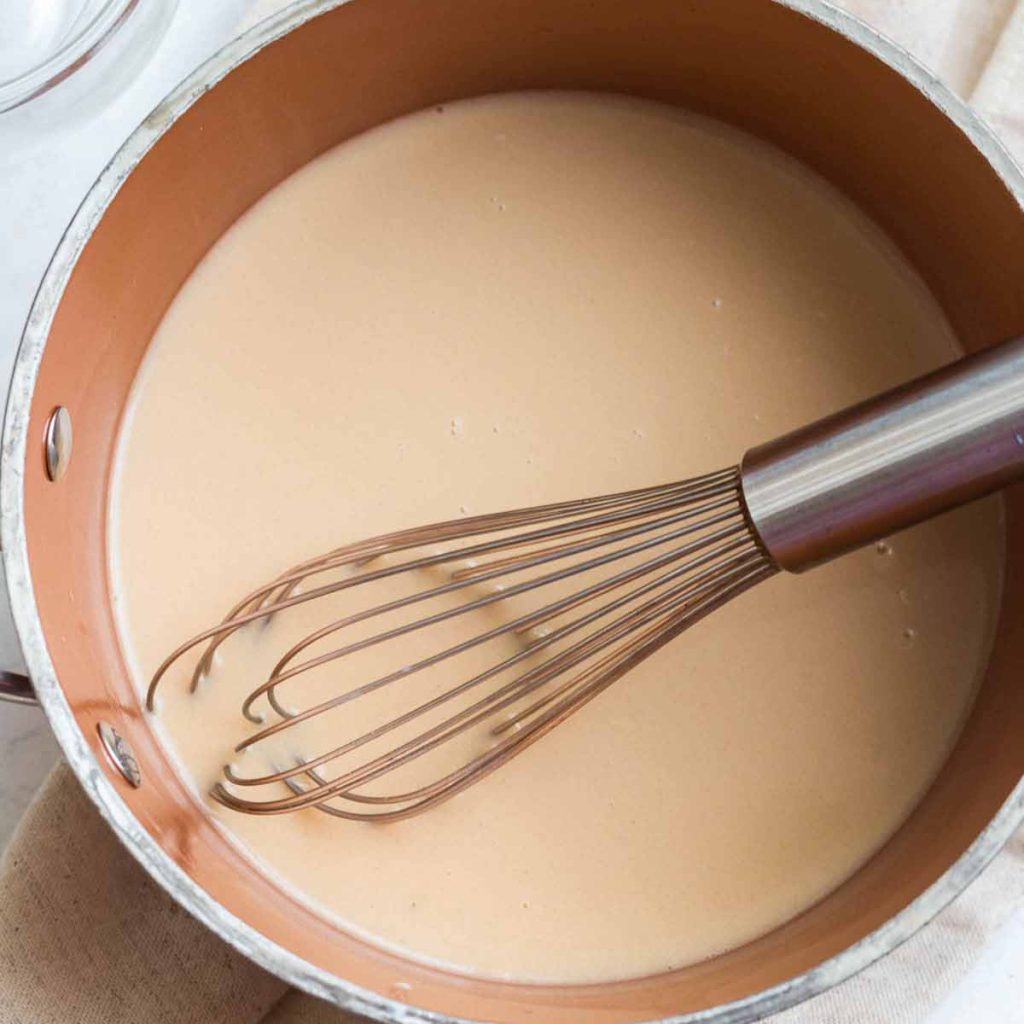
Step 2: Whisk ingredients together over low heat until the sugar melts and incorporates completely.
Want to Save This?
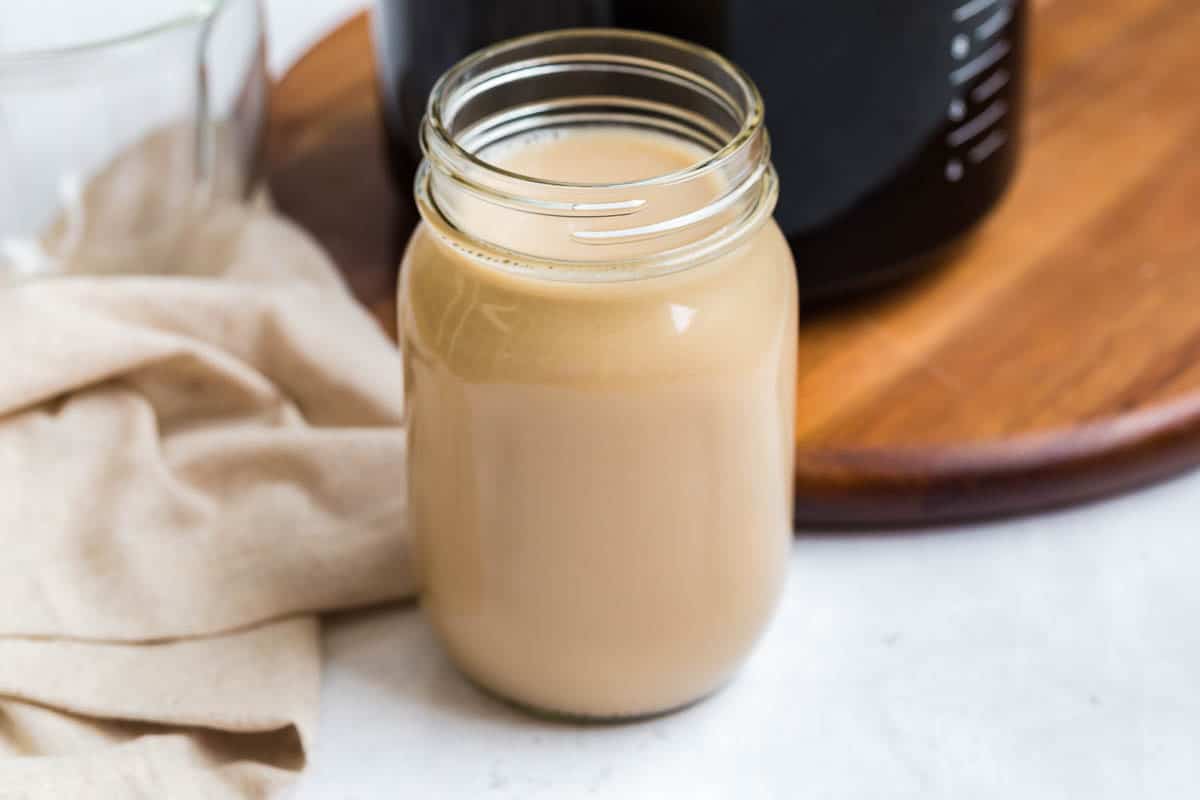
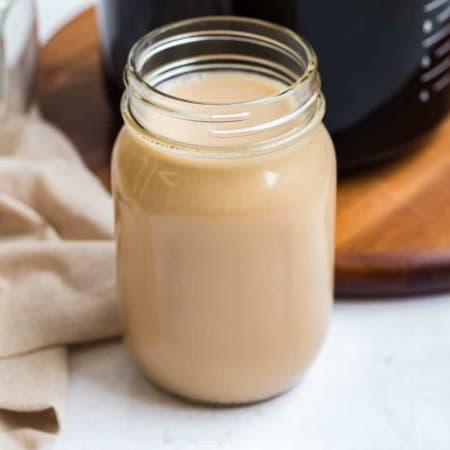
Step 3: Turn off the burner and remove the pan from the heat. Allow your creamer to cool naturally for 20 minutes so it cools closer to room temperature, then transfer it to an airtight container or glass jar and refrigerate.
Step 4: This keeps in the fridge for 5-7 days. You can also freeze it.
Recipe Tips
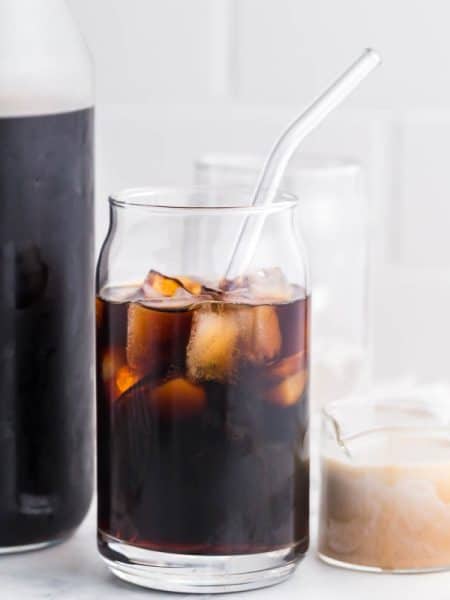
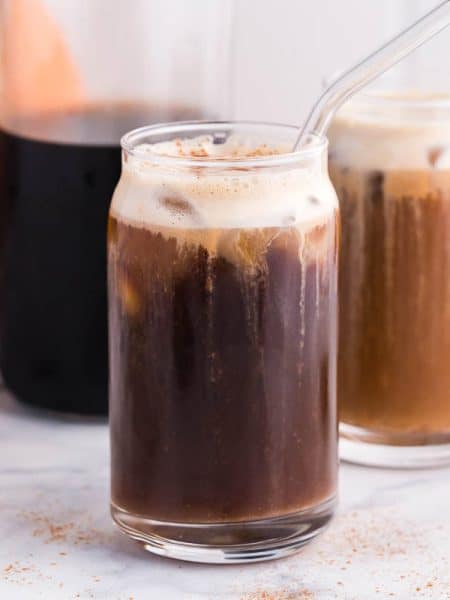
- This creamer works great in iced coffee as well. I like to make ice cubes out of the creamer, and then pour brewed ice coffee or cold brew right over them.
- Definitely add flavors that appeal to you and experiment with this recipe! Your base recipe is coconut milk, almond milk, and coconut sugar. You’re welcome to swap the vanilla out for other flavors that you like.
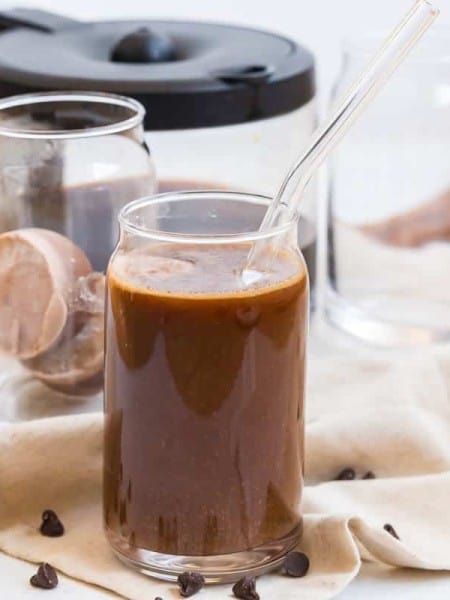
- Looking for chocolate creamer? Try this recipe for Mocha Coffee Creamer :)
- Making your own homemade coffee creamer will take some getting used to as it doesn’t last as long as store bought. I love freezing my creamer small containers so I can use a little bit at a time.
- If you prefer an unsweetened creamer, skip the coconut crystals in this recipe.
- I’ve added maple syrup in place of the coconut crystals and love that flavor. This is an easy recipe to experiment with!
Homemade Coffee Creamer FAQs
This homemade coffee creamer is less expensive, healthier, and tastes better than store bought creamers.
Traditional coffee creamers (like Coffee Mate or International Delight) are highly processed and contain ingredients like added sugar or artificial sweeteners that don’t align with common weight loss goals, or with a minimally processed diet.
I choose to not purchase fat free products for a few reasons–first, they often have artificial sweeteners or sugar in them. Also, they often contain a combination of carbohydrates that are being used to mimic the “feel” of fat in them, with no health benefits.
This recipe is so easy and delicious. Mix the ingredients on the stovetop, allow them to cool, and then refrigerate them. This easy homemade vanilla coffee creamer recipe is one you’ll keep coming back to.
Healthy Eating Plans
Weight Watchers
3 Points
21 Day Fix/Ultimate Portion Fix
For the entire recipe: 5 Blue Containers, 1/3 Teaspoon. Per 2 Tablespoon Serving: 1/2 Blue Container and trace teaspoons (I do not count them).
2B Mindset
This would be an “Accessory” on 2B Mindset
If you tried this recipe for Healthy Homemade Coffee Creamer or any other recipe on my site please leave a rating and let me know how it went in the comments!
Homemade Vanilla Coffee Creamer Recipe
Want to Save This?
Equipment
- Le Creuset Cast Iron Pot
- Glass Milk Bottles
Video
Ingredients
- 1 can coconut milk full fat, unsweetened
- 3 tbsp almond milk unsweetened
- 2 tbsp coconut sugar also called coconut sugar
- 1 tbsp vanilla
Instructions
- Add coconut milk, almond milk, coconut crystals, and vanilla extract to a small saucepan. Whisk to combine. 1 can coconut milk 3 tbsp almond milk 2 tbsp coconut sugar 1 tbsp vanilla
- Heat on low, stirring continuously until crystals incorporate with the rest of the ingredients.
- Remove from the heat and allow to cool for 20 minutes before storing in the fridge.
- Keep in fridge for 5-7 days, or freeze.
Notes
Nutrition
Make This Recipe?
Make sure to follow on Pinterest @bludlum and on Instagram @beccaludlum


It wasn’t as sweet as I wanted. Added concentrated stevia
I’m glad you altered the recipe a bit for your tastes!
We make this weekly and love freezing them!
Thank you for the recipe. What would you suggest in place of the almond milk?
Any milk will do. If you’re on a specific healthy eating plan, you’ll just want to take note of the recipe change :)
PLEASE put yoiu one or two page recipe UP FRONT.
I can’t find it anywhere and printing the online page waisted 30 pages of good paper.
Hi there,
I’m sorry that you wasted paper, I know that must be frustrating. All of our posts have the same design – the printable recipe card is at the bottom where, if you click “print”, it will only print the one page recipe, and not 30 pages of post. I hope this helps :)
What can I do to make sweeter but, still keep this healthier
You can definitely make it sweeter and still keep it on the healthier side 😊 Try adding a little more coconut sugar, or even maple syrup or honey if you’re okay with natural sweeteners. If you’d prefer to keep the sugar lower, you could stir in a few drops of liquid stevia or monk fruit sweetener — both add sweetness without much added sugar. Start small, taste, and adjust to your preference!
This is an interesting recipe. I am excited to try it. I assume the purpose of heating is to melt the coconut crystals. If I use maple syrup instead of the coconut crystals, do I still need to heat it?
Thank you for your very informative post.
Hi Nancy, if you use maple syrup I think skipping the heating process would be fine – I’d make sure to shake it up before you use it, as the syrup is a bit heavy and might sink to the bottom :)