This site contains affiliate links. Please see Policies for more information.
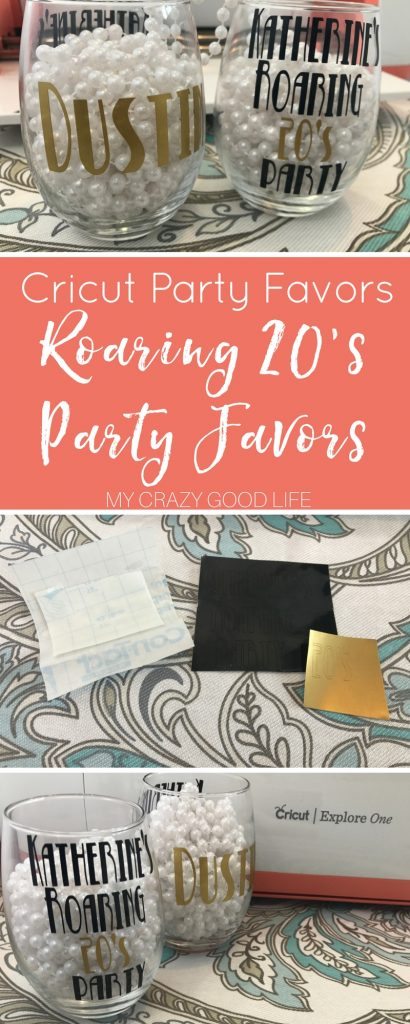
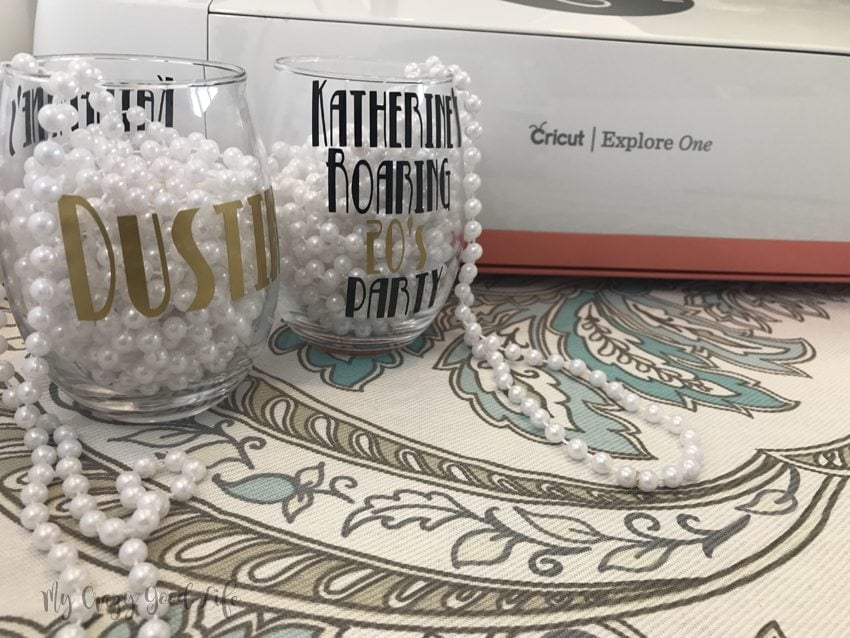
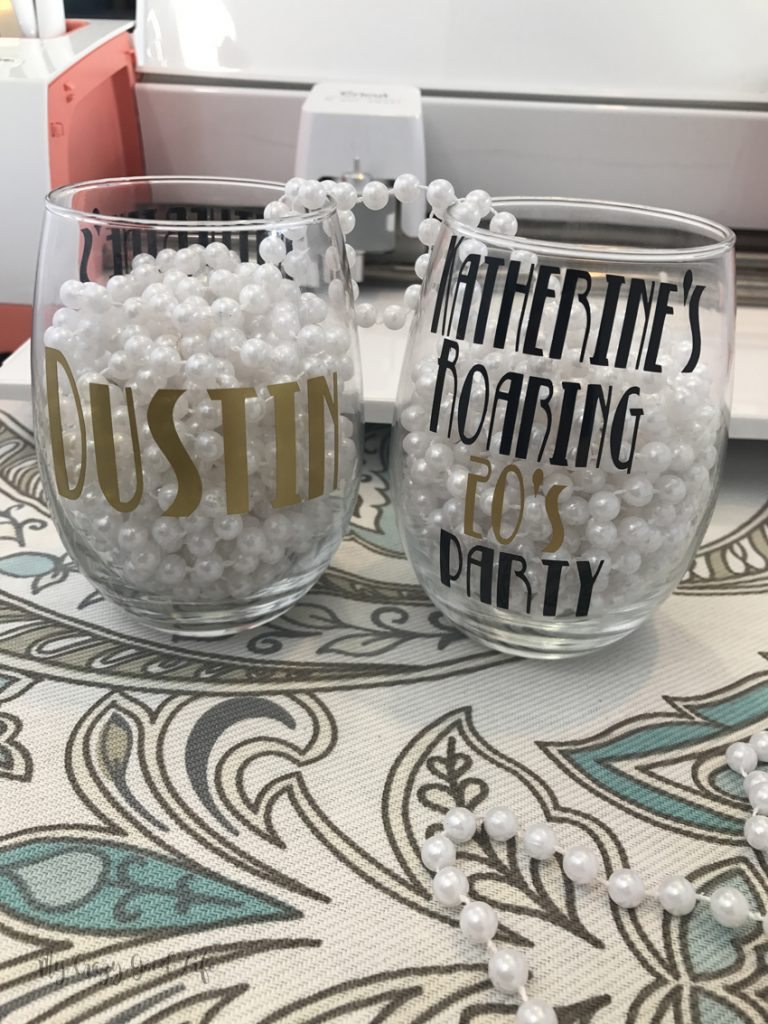
Have you been eying a Cricut or Cameo machine? Trying to justify the cost versus what you can do with it? How about making Cricut party favors! There are so many great ideas out there for parties and themes for events. The only problem is the special decorations and favors. With a Cricut you can do so much more than just crafting. Just like this quick and easy project for making Roaring 20s party favors, you’ll save time and money by personalizing things yourself.
Using permanent vinyl means that these party favors will stand the test of time. They’re water proof and safe for using and washing for years to come. Send your party guests off with something they can use and enjoy long after your event is over.
Roaring 20s Party Favors | Cricut Party Favors:
Always wash, dry, and wipe down glass wear with rubbing alcohol before applying vinyl to the surface. This will ensure that the bond is strong and permanent.
Materials Needed for Cricut Party Favors:
Stemless Wine Glasses
Cricut or Other Cutting Machine
Black 651 Permanent Vinyl
Gold 651 Permanent Vinyl
Transfer Tape
Weeding Tool
Scraper
Directions For Making Roaring 20s Party Favors:
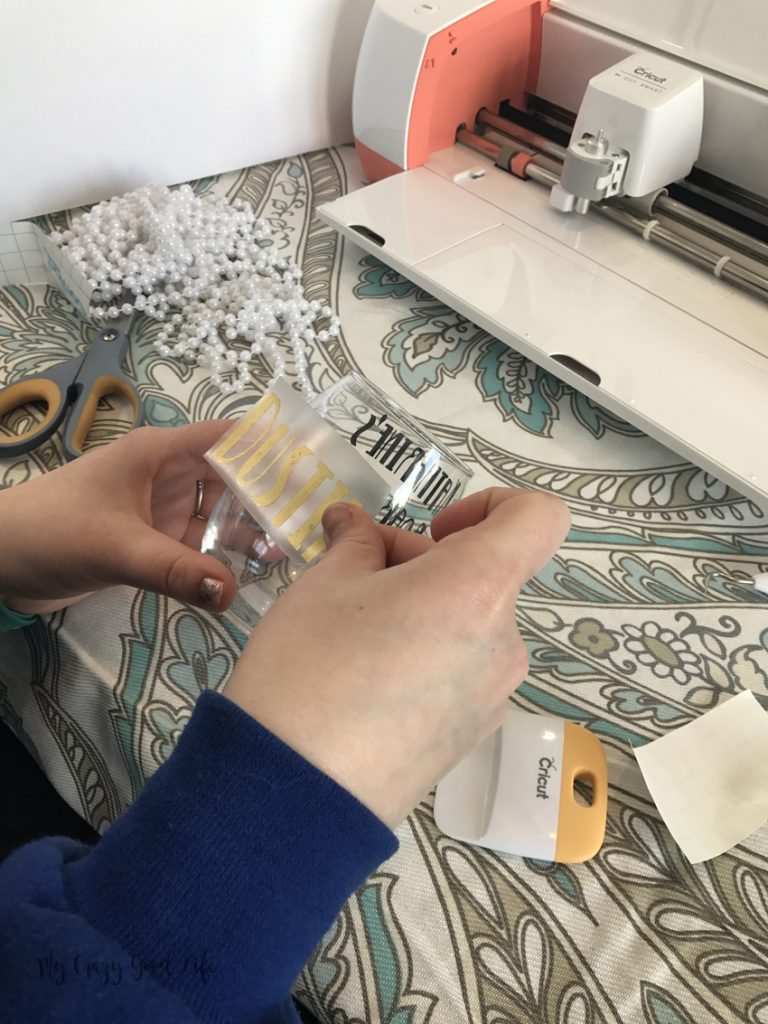
I made these cups in two steps. One to take care of the front side of the cups and then one to do the names for the back side of the cups. I recommend cutting, weeding, and trimming down all the pieces and then follow the steps to put them on the cups!
First you need to select a font. Gatsby Inline is a good one that is free for personal use. Park Lane is also a good 20s looking font that is free for personal or commercial use. Fifty Five is a good font this is Gatsby-esque without the outline which makes it really nice for weeding! I used Betty Noir which is free for personal use download as well. All of these fonts can be found online for download.
Next, decide on a party name! We went with “Katherine’s Roaring 20s Party” because it was a birthday so we had an easy title!
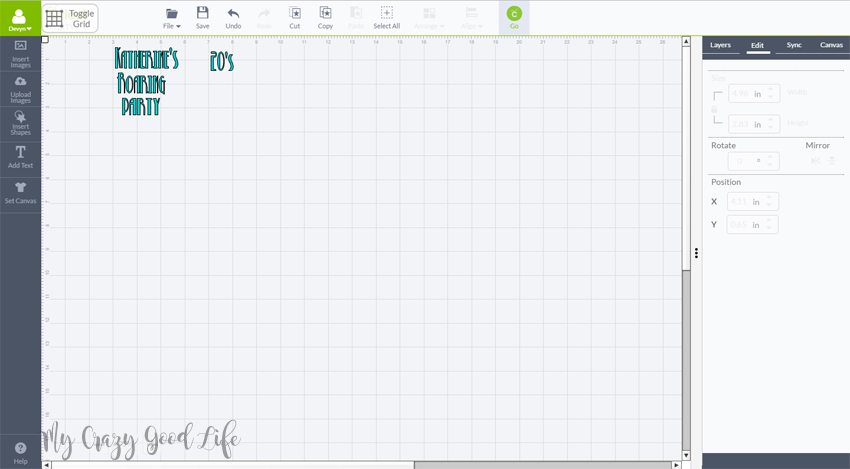
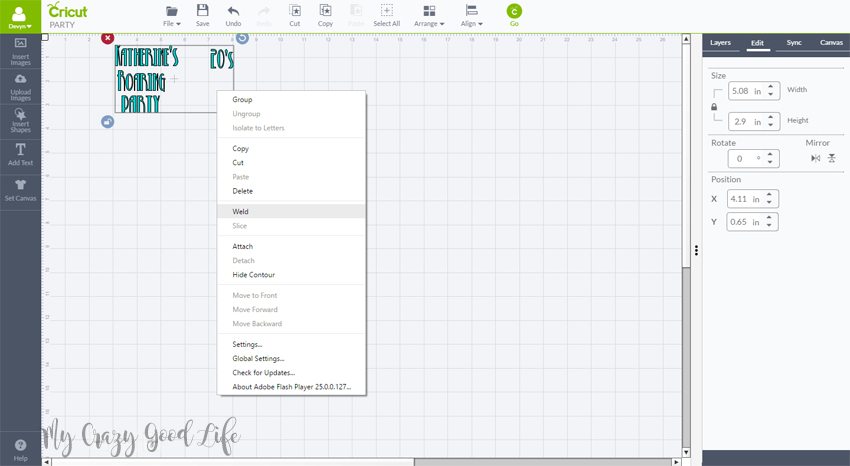
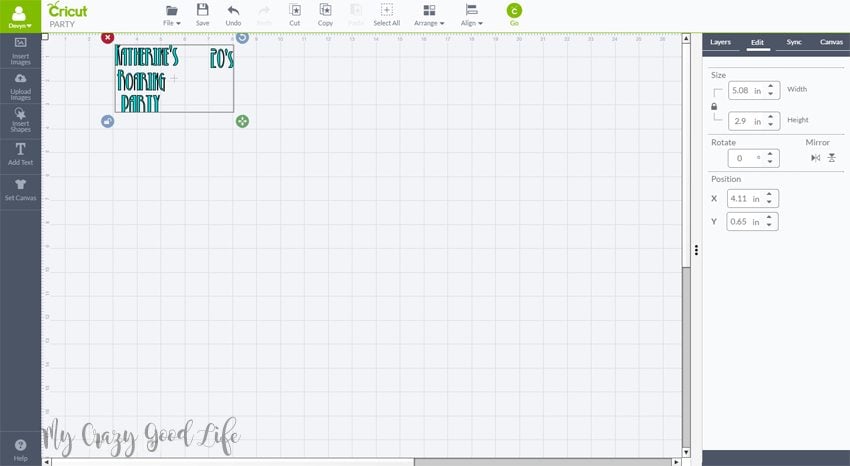
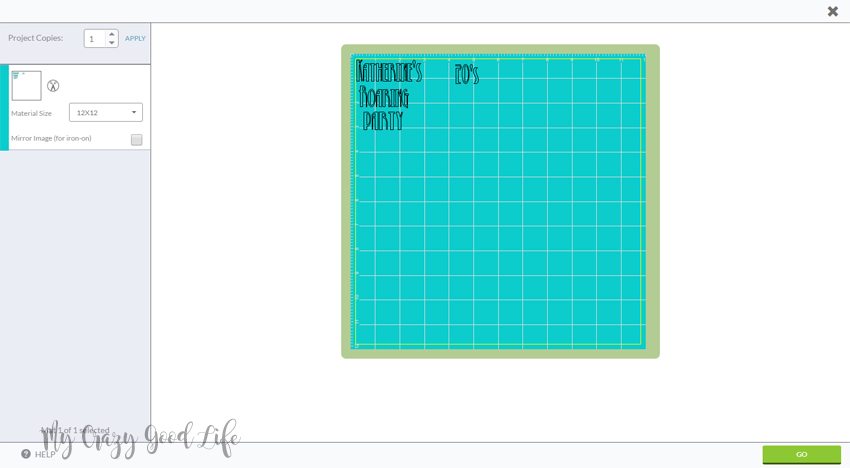
Add text to say “Katherine’s Roaring Party” and “20s” and format to use Betty Noir or another similar font.
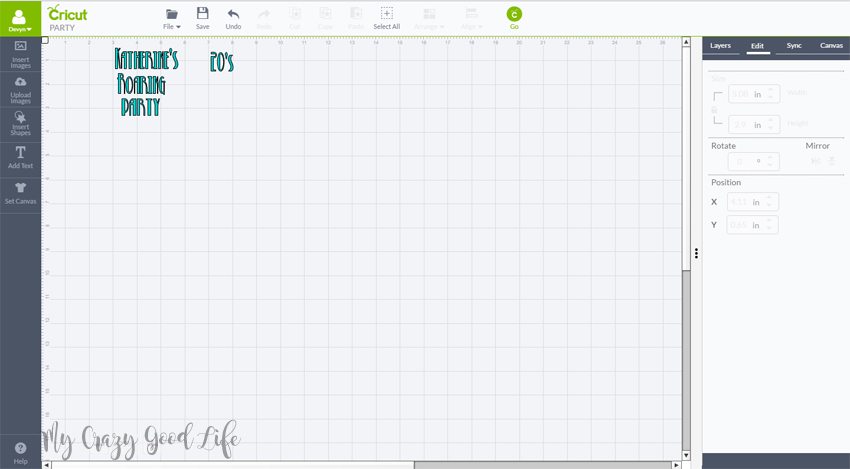
Arrange on the mat and weld or group so it stays put in one section.
Size to fit! My stemless wine glasses are 15 oz and have a bout 4.5 x 4 useable space on the front so I tried to keep it within that range to make sure it would all fit on the glass.
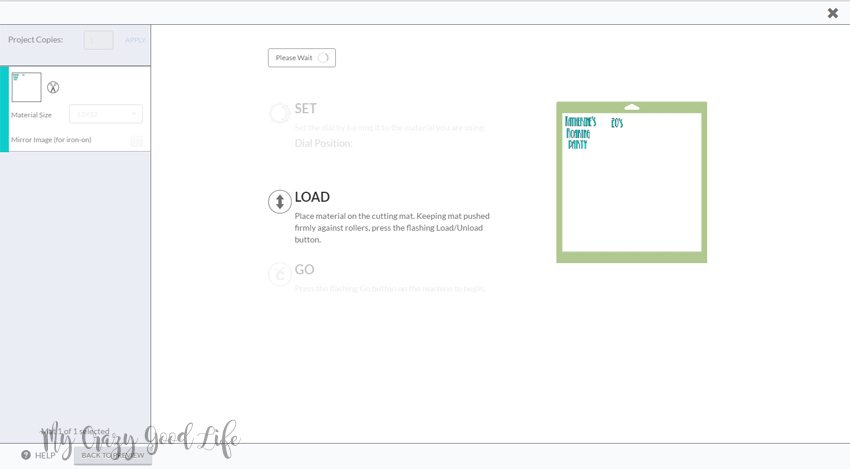
Now you are ready to cut. Click “go”.
Select your machine and load your mat.
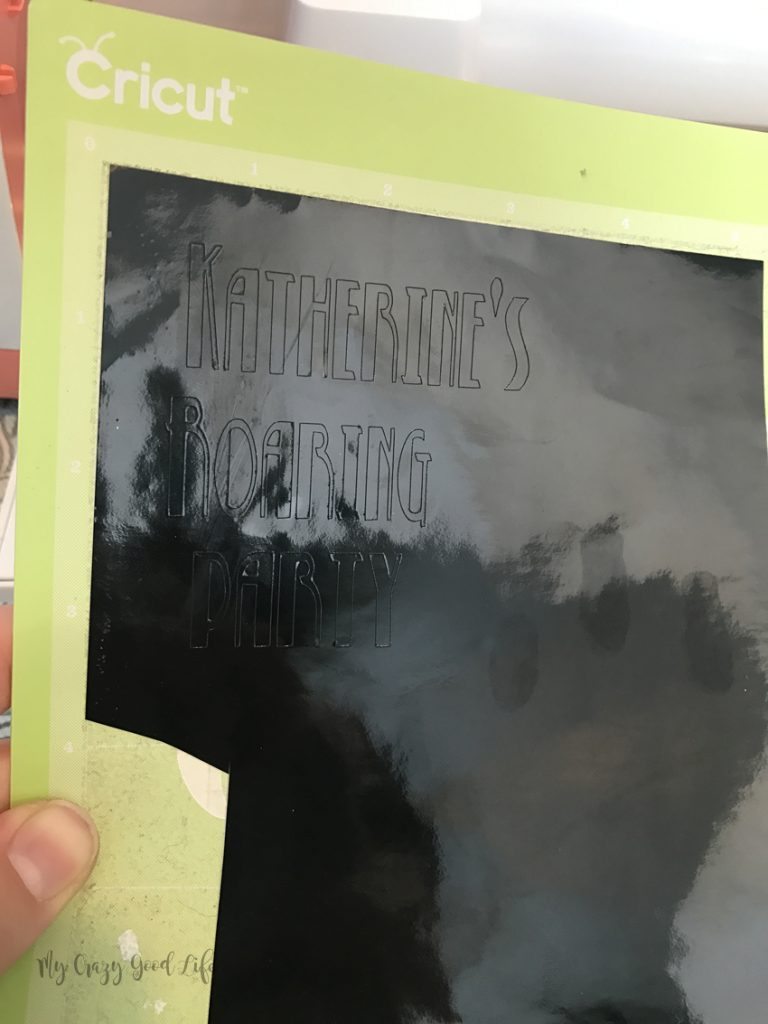
Cut.
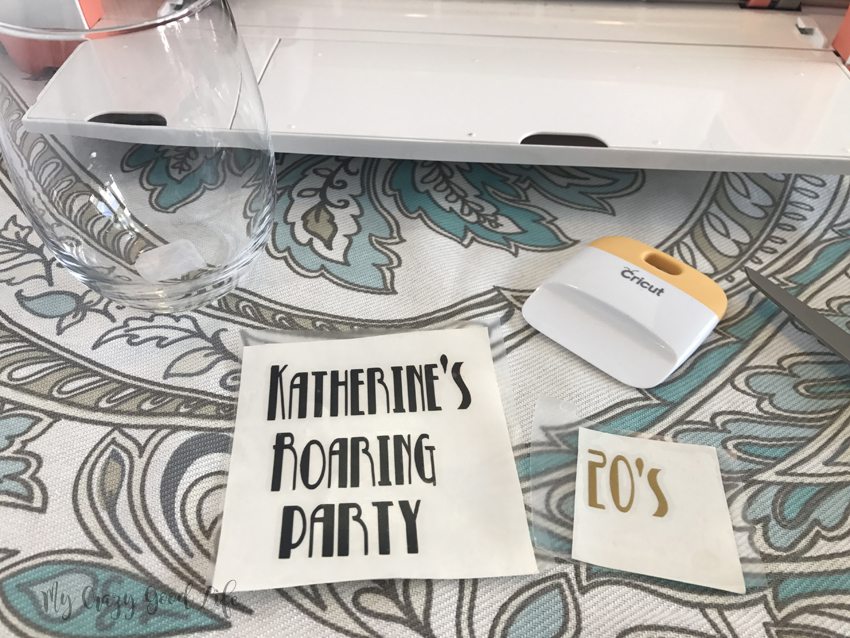
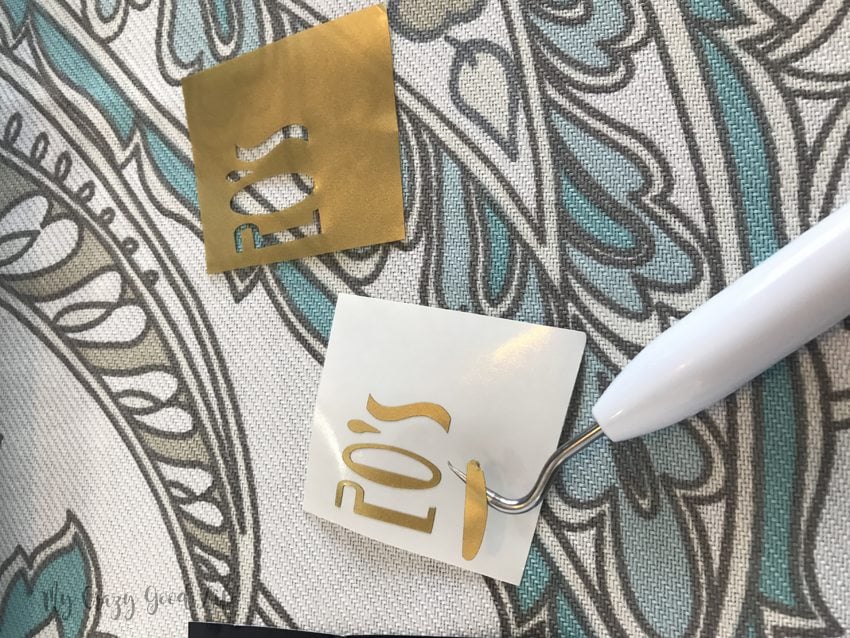
Weed out the unnecessary bits and surrounding vinyl.
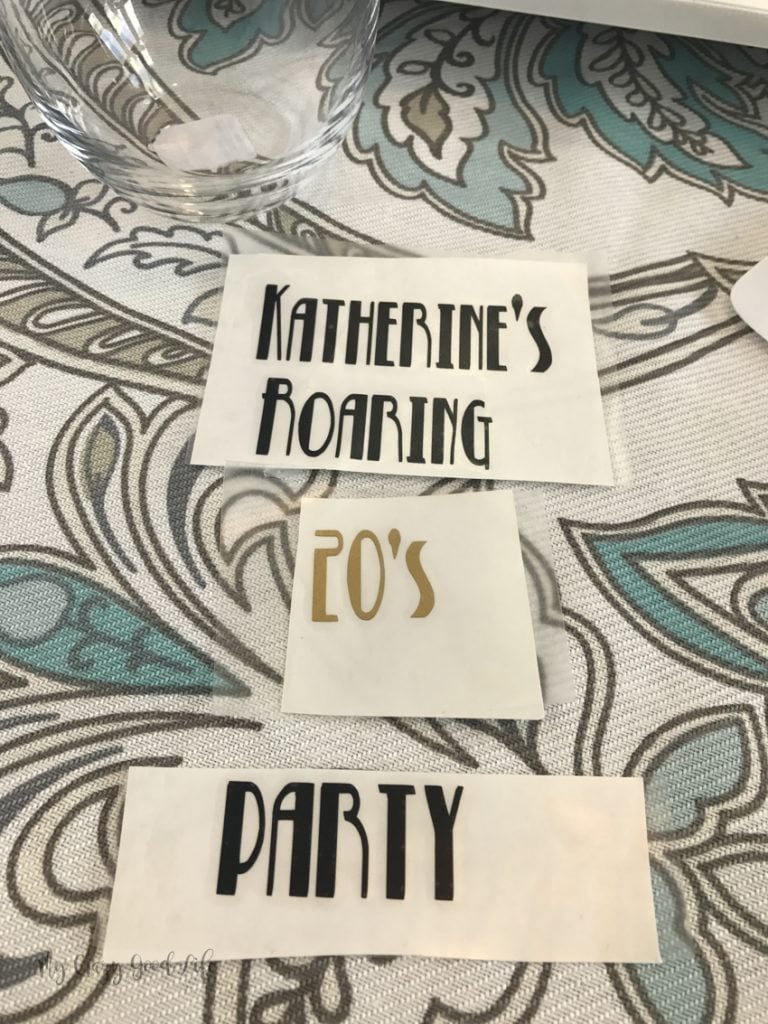
Using transfer tape or contact paper press hard to pick up those thin lines of vinyl.
(I went one line at a time to make sure it was close enough together)
Press firmly onto the glass before removing the contact paper slowly.
Smooth down all edges and allow to cure for 72 hours before exposing to moisture.
Notes About Cricut Party Favors | Roaring 20s Party Favors:
When making Cricut party favors it’s usually easy to use the person’s name or the event title to make it extra special.
I knew I wanted to do the “20s” and the names in gold vinyl so when I set up my text I put the “20’s” off to the side. You can also just assign that it’s own color on the mat and then Design Space will automatically separate it when you go to cut. Do this by selecting the letters, numbers, or group and in the side bar under Layers you should be able to click on the element and select the color.
Most colorful 651 vinyl will last for several years outdoors and through washings, white and black have a lifespan of more than 6 years even under tough conditions.
