This site contains affiliate links. Please see Policies for more information.
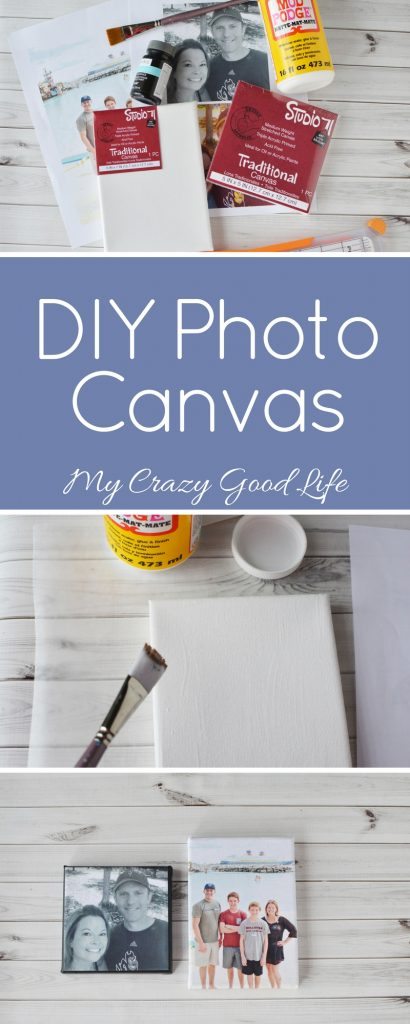
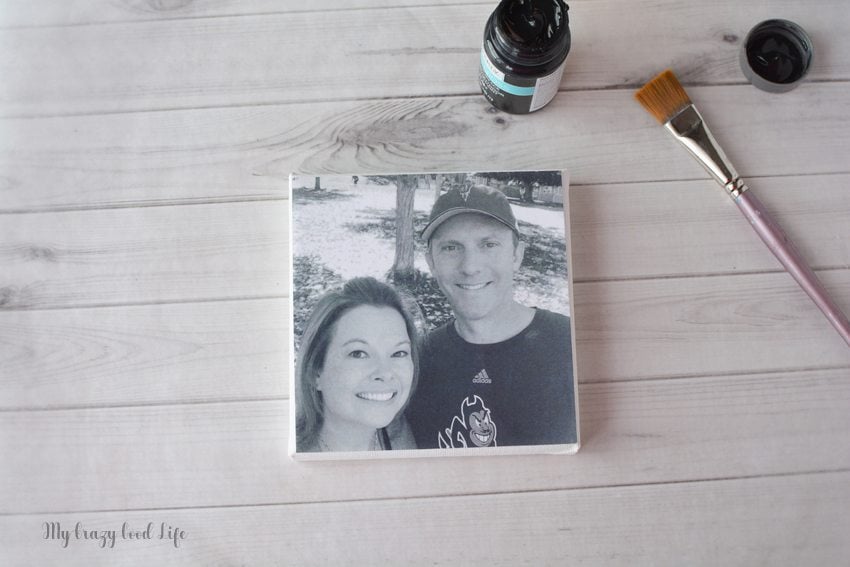
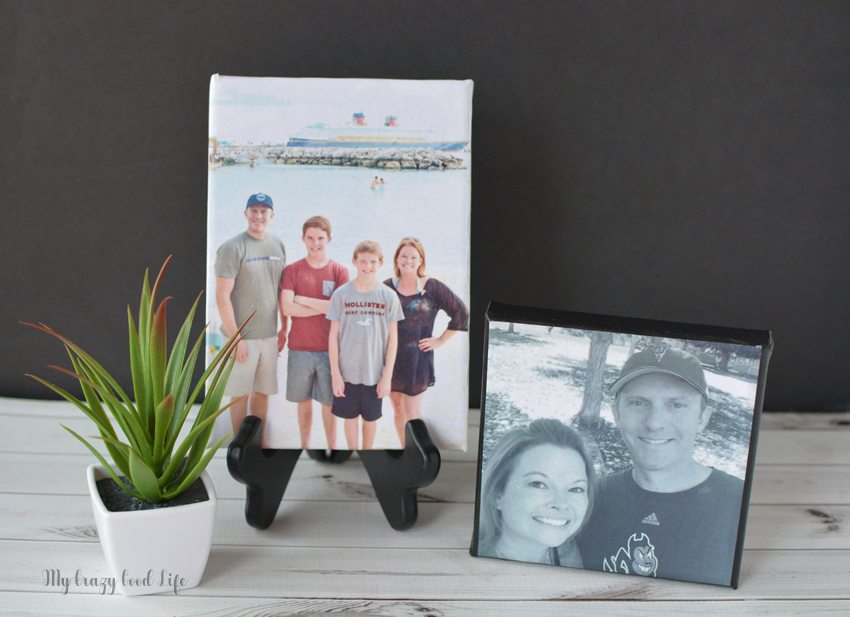
Crafting is really beneficial in our home. It calms me down, makes it easier to de-stress and unwind, plus in this case the end results are a beautiful decor addition. This craft tutorial will show you, step by step, how to make a DIY photo canvas.
I love the look of a DIY photo canvas. They are such a fun and modern-chic way of displaying our family photos. The only problem is that having a photo canvas made can be pricey. I like to switch out our photos and keep them looking up to date! Instead of spending a bunch of money on something that I’m eventually going to replace, I can save some money and have fun crafting at the same time.
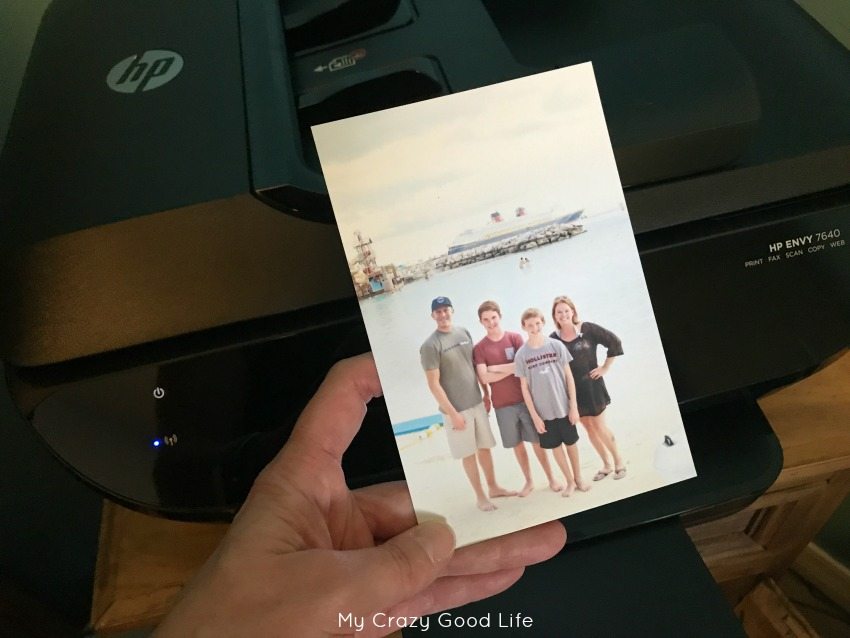
You can make a DIY photo canvas in almost any size. Pro tip: make sure you have great photo size and resolution if you decide to make a very large photo canvas. I am currently loving my new HP ENVY 7640 that I received from the HP Smart Mom Panel this year. I love the wireless feature that allows me to print from any device or computer in my house via wifi as well as the HP Instant Ink program. I didn’t use my new ENVY printer for this project because I haven’t tested a non-laser printer for photo canvases yet, but I’m dying to!
The great thing about photos is that they can transport you through time, which makes them an excellent gift. If you really want to give someone a thoughtful and personal gift, make them a DIY photo canvas. You will have hours of fun reminiscing over the events taking place in the photo and they will have a long lasting reminder of those moments you’ve shared!
DIY Photo Canvas
Much like some of the other craft tutorials I’ve shared with you, this one will take a mix of supplies you have on hand and some that you’ll need to pick up. The good news is that it’s all relatively simple and easy to find!
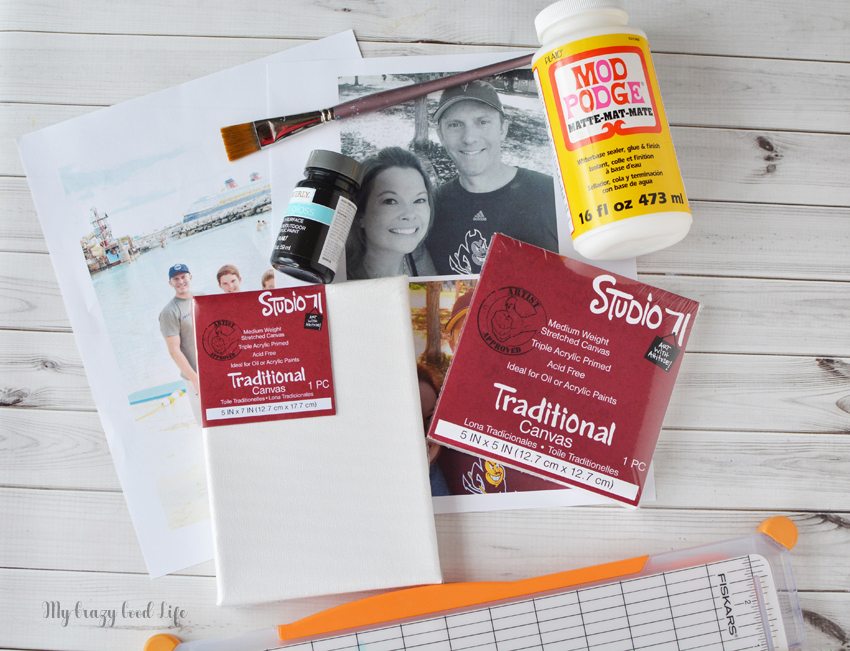
Supplies Needed to Make a DIY Photo Canvas
5×7 canvas
5×5 canvas
Photos, printed with a laser printer on paper
Mod podge, matte
Paint brush
Black acrylic paint (optional)
Paper trimmer
Pan scraper, wooden craft stick or a credit card will do
Directions for Making Your Own DIY Photo Canvas:
Select 1 picture for each canvas.
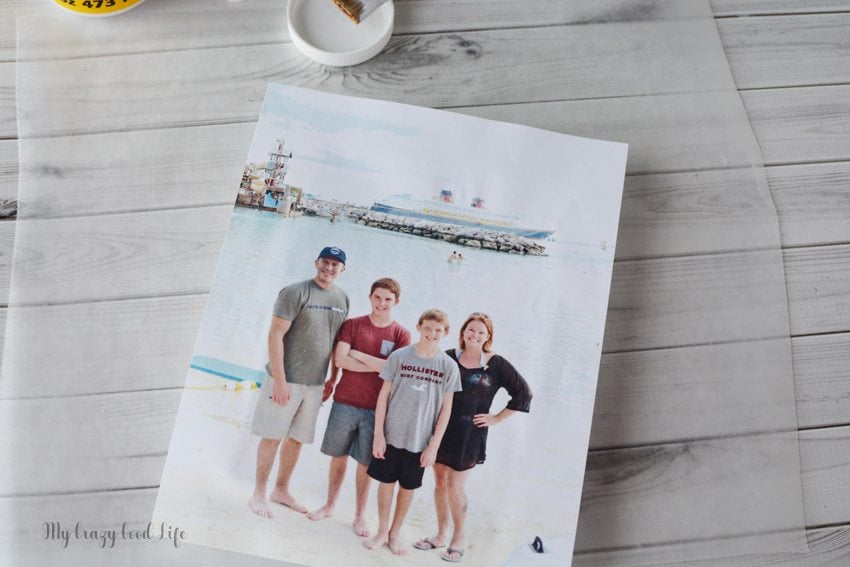
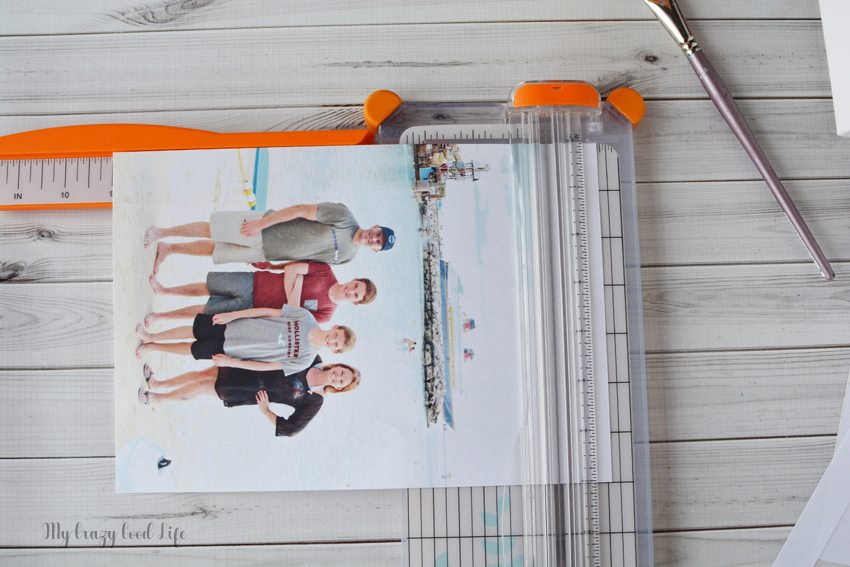
For the 5″x7″ canvas, you need your photo 2″ larger than the canvas (7″x9″).
Trim your photo with the paper trimmer.
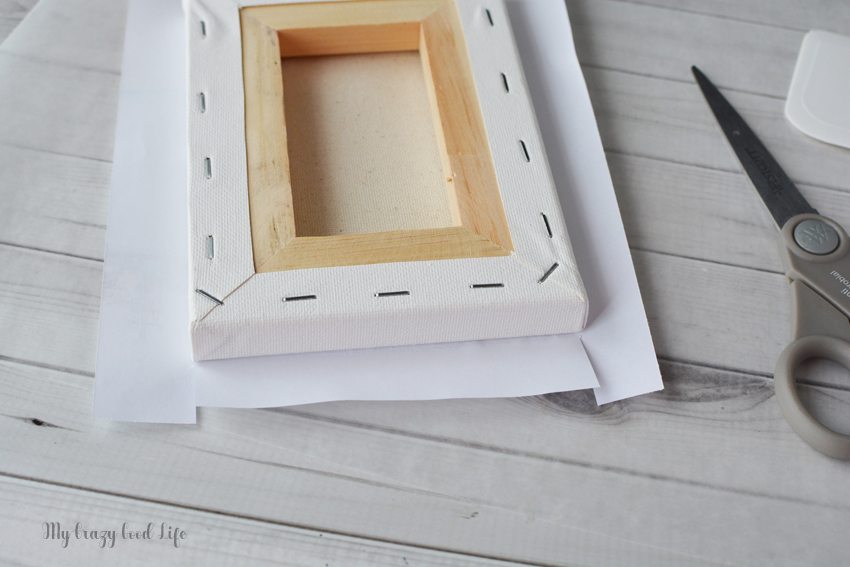
Place your photo on the canvas to see how you’d like it to fold. I decided to forego my family’s feet in order for the cruise ship to show. You can gently fold the edges down so that you have a visual to add the mod podge.
Use a paint brush and apply an even coat of mod podge to the front of the 5×7 canvas and the back of the paper picture. This is when you can keep the mod podge within the “fold” zone. It’s important to add mod podge to both the paper and to the canvas in order to allow it to move a bit before it sets.
Gently place the photo onto the canvas and smooth it out with a popsicle stick, your thumb, credit card or pan scraper. Take care in smoothing the picture so there are no wrinkles.
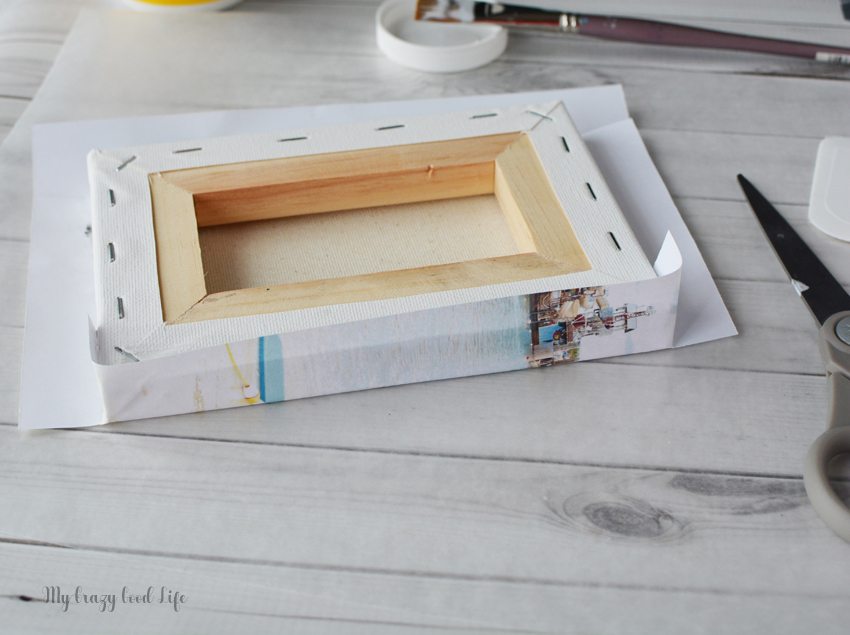
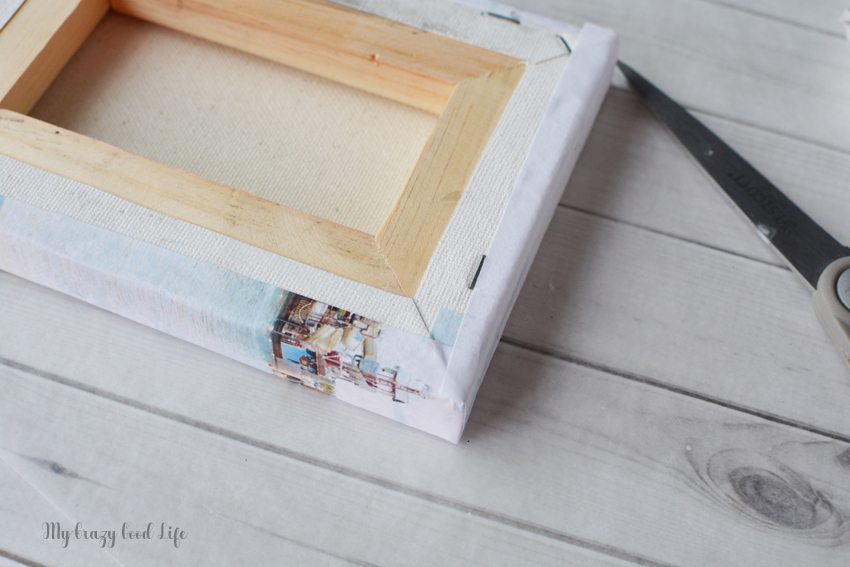
Set aside for at least 30 minutes, continuing to check for wrinkles. Flip the canvas face down and use scissors to cut the photo as shown. Wrap the edges of the photo around the canvas and affix with mod podge. Apply mod podge onto the canvas and onto the picture. Smooth the paper down after affixing. Continue to affix the short ends and then fold everything inward to the back of the canvas and affix with mod podge.
Let set 1-2 hours to completely dry. Once dry, affix another layer of mod podge to the entire canvas and let dry completely.
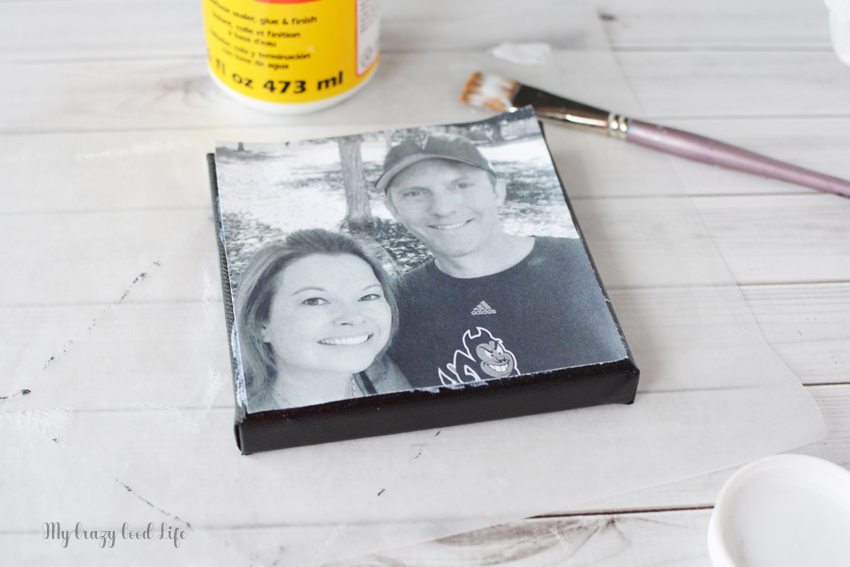
For the 5×5 canvas, trim your photo to the exact size. Gently place it onto the front of the canvas to be sure it fits. You may need to trim the edges a bit smaller.
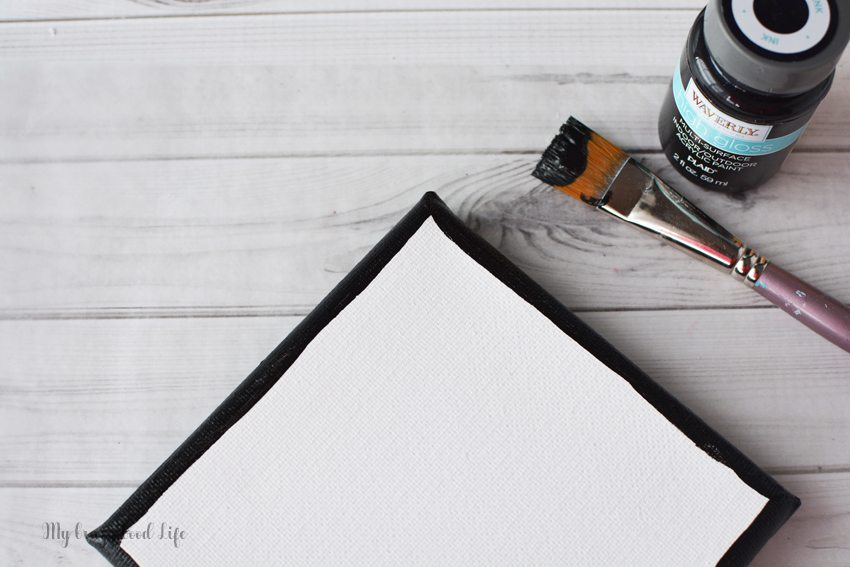
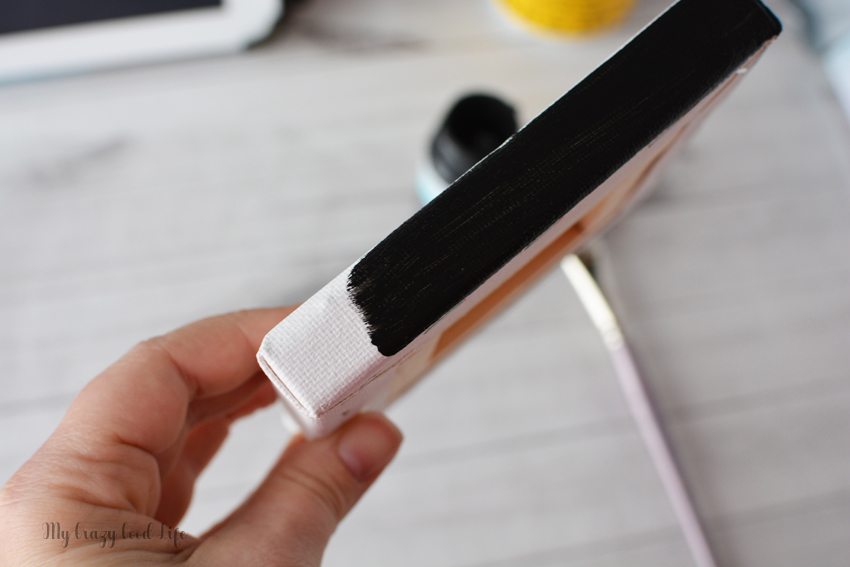
Paint the edges and about 1/4″ into the front of the canvas with black acrylic paint. Let dry completely.
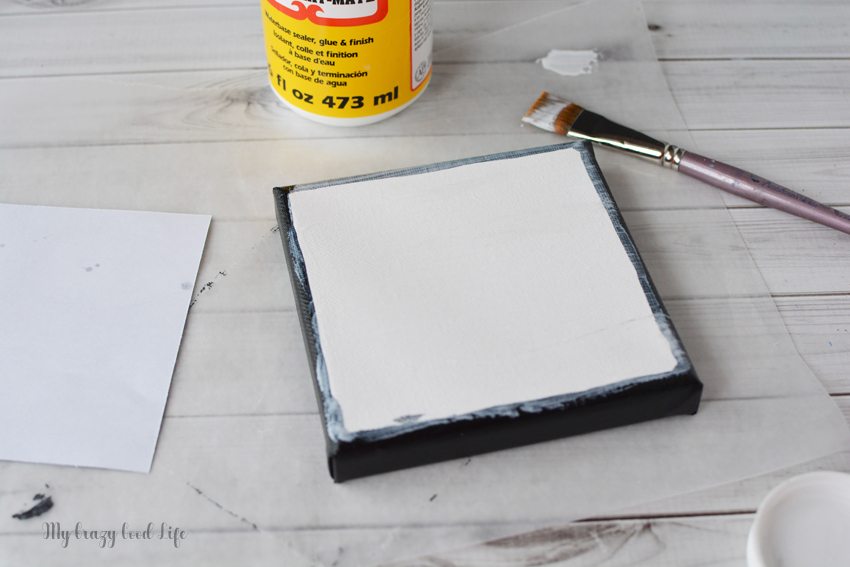
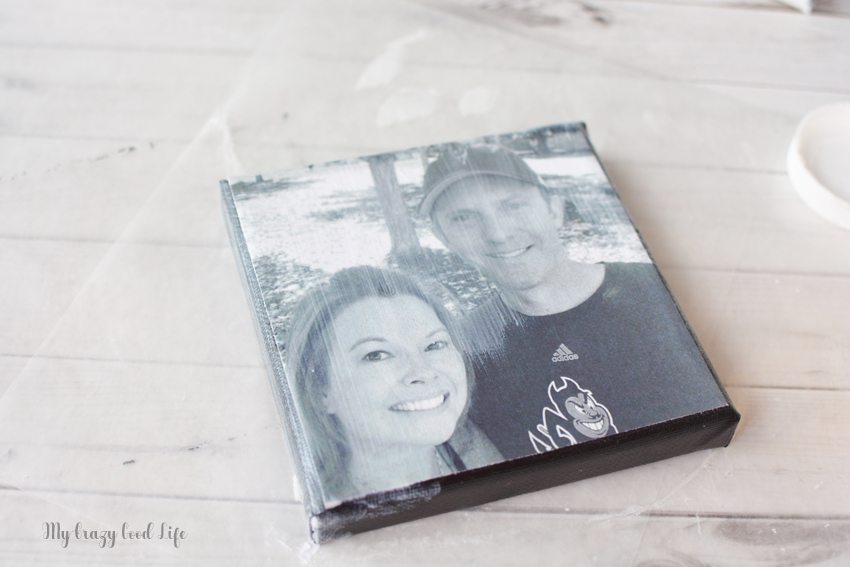
Apply mod podge to the front of the canvas and the back of your photo. Place your photo onto the canvas and gently position. Use a pan scraper or popsicle stick to smooth the image and remove all wrinkles.
Let your canvas dry but making sure you check the picture and smooth it every 15 minutes or so. You’ll want to be sure there are no wrinkles.
Let set for 1-2 hours until completely dry. Once dry, add a layer of mod podge over the image and let set to dry completely.
If you enjoyed this fun craft tutorial you’ll love making these DIY Android Cases. Have an iPhone? No worries, we’ve got you covered here.


I absolutely love this idea! The step-by-step instructions are super clear, and I can’t wait to try this out for my living room. Thanks for sharing such a fun DIY project!