This site contains affiliate links. Please see Policies for more information.
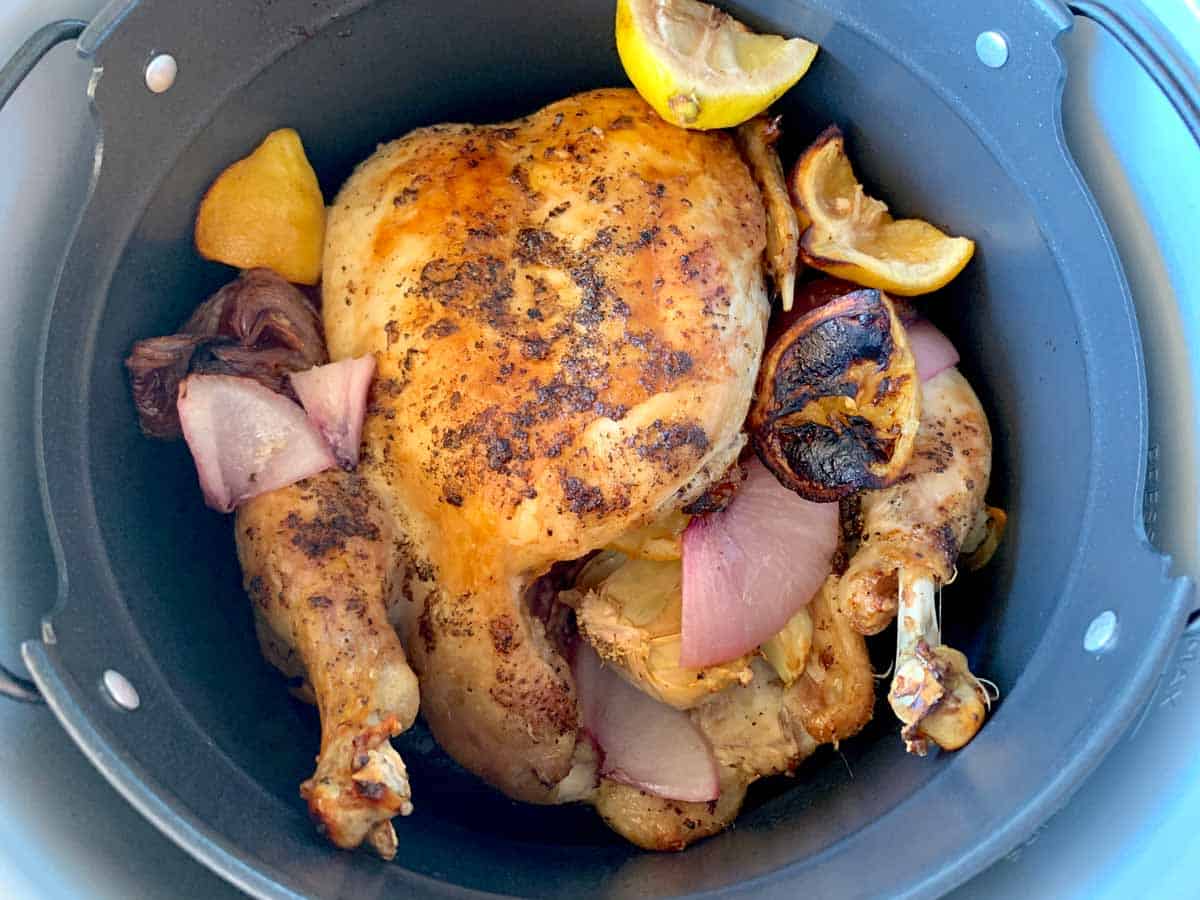
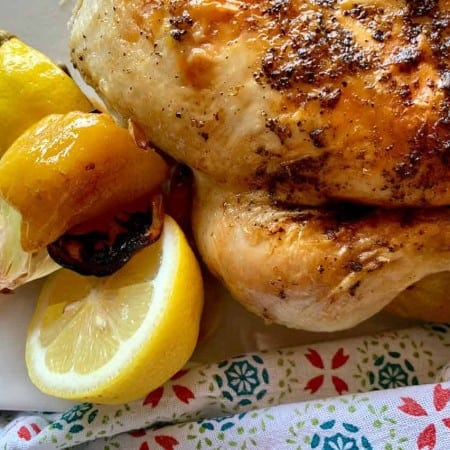
This Ninja Foodi Rotisserie Chicken recipe is so easy to make and the results are amazing! Crispy skin and juicy meat create an impressive dinner for family or friends.
If you like store bought rotisserie chicken as much as I do, you’ve got to try this Ninja Foodi Roast Chicken. I love that it browns right inside the Foodi, but is as tender as pressure cooker chicken.
If you’re looking for healthy air fryer side dishes to go with this chicken recipe, be sure to try our Air Fryer Buffalo Cauliflower!

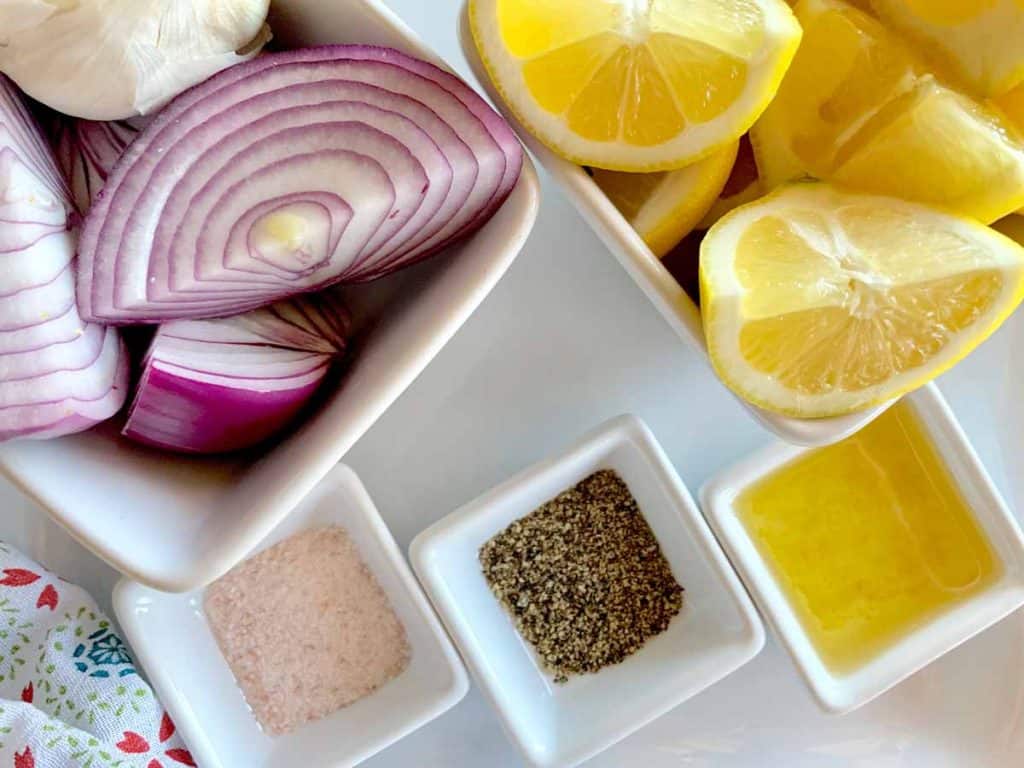
Ingredients in this Rotisserie Chicken
- Whole chicken: A 3 pound chicken will take about 18 – 20 minutes to cook.
- Red onion: You don’t want onion powder for this, real onions will give you the best flavor.
- Garlic: Fresh garlic is delicious in this recipe.
- Lemon: Fresh lemon gives amazing flavor. You’ll use the juice, zest, and whole quartered lemons.

How to Make Ninja Foodi Rotisserie Chicken
- Prepare your chicken by unwrapping it over the sink. There is need to rinse the chicken, as that will splash germs into the sink.
- Make sure the chicken’s cavity is cleared of the giblet packaging, if necessary. The giblets can be used to make chicken broth, gravy, or they can be discarded.
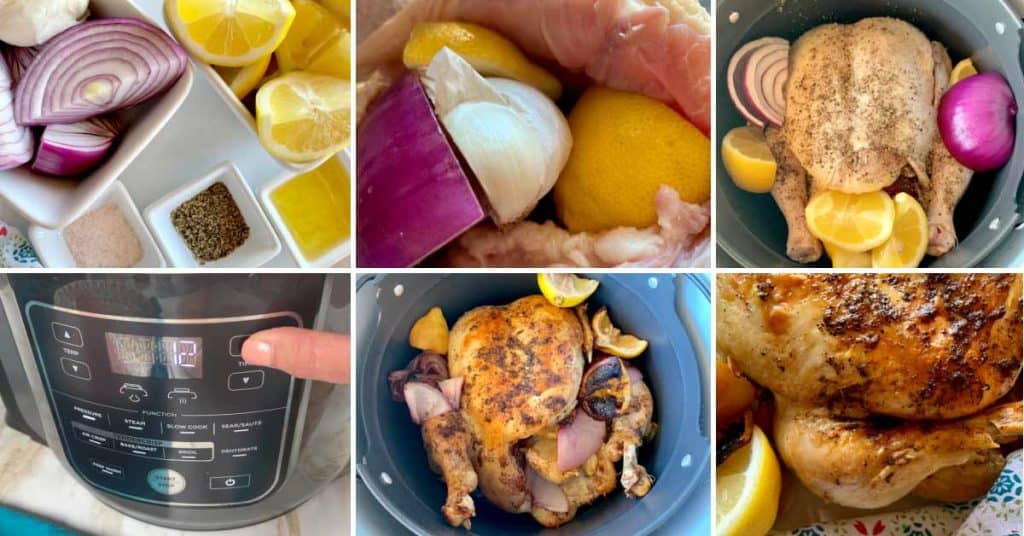
- Using paper towels, pat the chicken dry and stuff half of the onion, half the bulb of garlic, and 4 lemon quarters inside the chicken.
- In a small bowl, mix together the olive oil, lemon juice, and lemon zest. Rub about half of the mixture on the bottom and sides of the chicken.
- Place the chicken breast side up into the crisping basket of the Ninja Foodi. Add 1 1/4 cups of water to the bottom of the pot.
- Drizzle the rest of the oil mixture on top of the chicken, then sprinkle the salt and pepper onto the top of the chicken.
- Close the lid on the Foodi and place the valve in the Sealing position.
- Pressure cook the chicken on high for 6 minutes per pound, then allow the pressure to naturally release for 10 minutes before doing a quick release of the pot. This keeps the moisture in the chicken.
- Press the “air crisp” button and close the lid. Cook for 15 minutes or so, checking every 5 minutes and turning the seasonings (garlic, onions, and lemons) so they cook evenly.
- Remove the chicken. Keep the seasonings separate. The seasonings on the outside of the chicken (even the lemons) will be delicious and edible, while the ones inside should not be eaten unless you temperature check them for safety.

How to make chicken stock from leftover chicken bones
A Ninja Foodi whole chicken is the perfect start to homemade chicken stock!
Want to Save This?
Ingredients
- Chicken carcass
- 1 onion
- 2 carrots (peeled and cut into thirds)
- 4 stalks celery
- 1 tsp pepper
- 1 tsp salt (optional)
- Water
- Parsley (a few sprigs)
- 2 bay leaves
Directions
- Take all of the desirable chicken off of your chicken carcass and set it aside. Take the remaining carcass and put it back into the Foodi.
- Add in your veggies, some salt and pepper, and fresh parsley. Dried parsley will work if that’s all you have.
- Fill your inner pot with enough water to cover the chicken bones. Set a timer to check the stock and add more water as necessary. It’s best to keep the bones covered until the broth is finished.
- Pressure cook stock for 5 minutes or Saute (which will simmer the broth) for up to 30 minutes.
- Turn off the pot and allow the stock to cool.
- With a slotted spoon, remove bones and vegetables from stock. Allow the stock to cool completely before adding to mason jars or other containers.
Recipe tips
- The Foodi is an electric pressure cooker (just like an Instant Pot!) that doubles as an air fryer. Cooking a whole chicken in Ninja Foodi brings together the best of two worlds, in my opinion! While this may not be entirely cooked in an air fryer, using the Foodi cuts down on the cooking time needed and the air fry/broiler feature gets the skin nice and crispy, without having to dirty another dish.
- For any chicken, you’re going to want to cook it to an internal temperature of 165º. When I cook a whole chicken, I like to take the temperature of the chicken in 2-3 different places since it can vary a bit when you get near the bones.
- Rotisserie chicken is great for meal prep! As soon as I make a chicken, I pull the meat off. If after a day or two I know I won’t be able to use it all, I portion it into freezer bags and stick it right in the freezer. There are so many ways to use shredded chicken from a rotisserie chicken, and I think the chicken is just as delicious after freezing.
Healthy Eating Plans
Chicken is a lean protein for any healthy eating plan, and easily fits into so many recipes. You’ll want to stick to the light meat and avoid eating the skin for the best diet-friendly nutrients.
21 Day Fix
Recipe serves: About 4, depending on the size of your chicken. Counts for the entire recipe: 4 red containers, 4 teaspoons of oil. Container counts per serving: 1 red container, 1 teaspoon of oil. Each 3/4 cup serving has these counts, no matter what size your chicken is.
By omitting the oil and using skinless breast meat only, this recipe counts as 0 Points
More Ninja Foodi Recipes
- Roasted Artichokes with Dipping Sauce
- Air Fryer Frozen Vegetables
- Air Fryer Eggplant Recipe
- Healthy Ninja Foodi Mac and Cheese
- Pressure Cooker Turkey Breast

Ninja Foodi Rotisserie Chicken
Want to Save This?
Equipment
- Ninja Foodi
- Instant Pot 6 qt
- Cutting Board
Video
Ingredients
- 1 whole chicken
- 1 red onion quartered
- ½ bulb garlic
- 1-2 lemon quartered
- 4 tsp olive oil
- salt & pepper to taste
Instructions
- Prepare your chicken by carefully unwrapping it over the sink. Don't rinse the chicken. Make sure the chicken's cavity is cleared of the giblet packaging, if it came with one. The giblets can be used to make chicken broth, gravy, or they can be discarded. 1 whole chicken
- Using paper towels, pat the chicken dry. Then stuff half of the onion, half the bulb of garlic, and 4 lemon quarters inside the chicken. 1 red onion 1/2 bulb garlic 1-2 lemon
- In a small bowl mix together the olive oil, lemon juice, and lemon zest. Rub about half of the mixture on the bottom and sides of the chicken. 4 tsp olive oil
- Place the chicken breast side up into the crisping basket of the Ninja Foodi. Add 1 1/4 cups of water to the bottom of the pot.
- Drizzle the rest of the oil mixture on top of the chicken, then sprinkle the salt and pepper onto the top of the chicken.
- Pressure cook the chicken on high for 6 minutes per pound, then allow the pressure to naturally release for 10 minutes before doing a quick release.
- Press the "air crisp" button and close the lid. Cook for 15 minutes or so, checking every 5 minutes and turning the seasonings (garlic, onions, and lemons) so they cook evenly.
- Remove the chicken. Keep the seasonings separate. The ones on the outside of the chicken (even the lemons) will be delicious and edible, while the ones inside are not.
Nutrition
Make This Recipe?
Make sure to follow on Pinterest @bludlum and on Instagram @beccaludlum


I’m sorry you didn’t like this recipe, we make it often and love it.